

Two of our family's favorite books of all time are The Day the Crayons Quit and The Day the Crayons Came Home by Drew Daywalt and Oliver Jeffers. These are books that are just as fun to read aloud (imagine lots of character voices) as they are to listen to. In fact, my kids still laugh out loud at their favorite parts and we've read the books hundreds of times.
Since I don't sew very much for Nash, I had an idea to make him Red Crayon, his most favorite color. From there things got a little out of hand in the solid fabric aisle as I grabbed every color I could think of. (I'm still looking for a neon red solid somewhere because Neon Red Crayon can not be missing from our collection.)

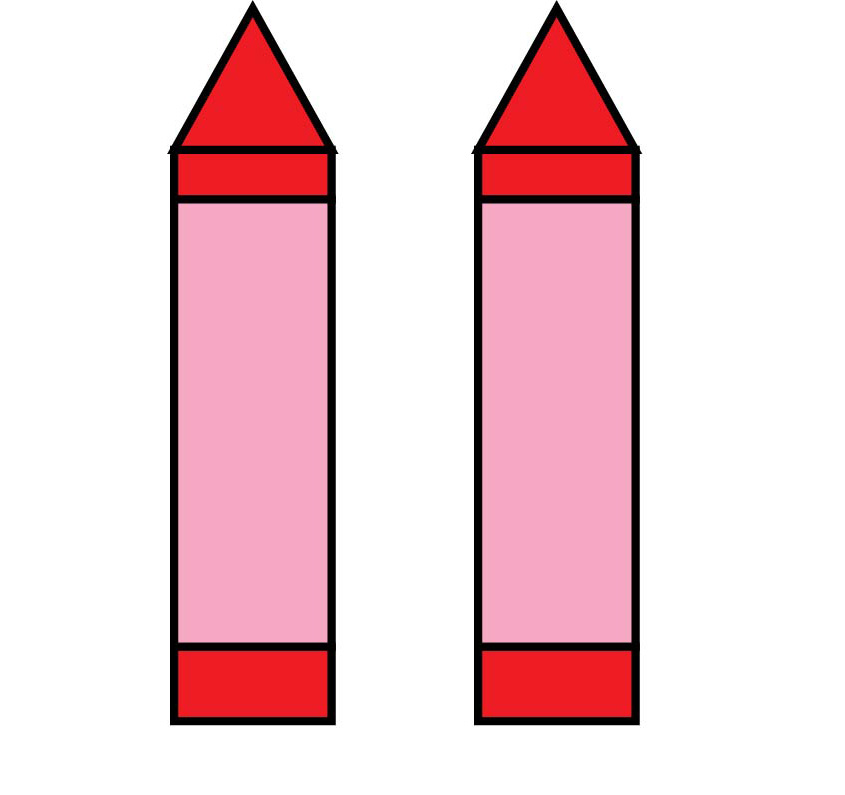
Here is the crew so far. I say "so far" because my kids have requested more colors and I have a crayon sewing problem.

Red is the original, while orange still has attitude about being the color of the sun.

Glow in the Dark Crayon actually glows in the dark! Seriously! I bought some green glow in the dark fabric paint and painted his whole wrapper with it. He's a little stiffer than the other guys but he is pretty fun to sleep with at night! And Esteban the Magnificent is a favorite for any super-hero-loving boy like mine.

Um, please don't look. Peach crayon lost his wrapper and is super embarrassed. How would you like to be on the internet naked?!?

And little stubby blue can't even see over the railing of the crayon box any more.
Do you want to make some of your own crayons?
Crayons Pattern and Tutorial
1. First open the template file below to get the pattern pieces.

2. Cut out your fabric pieces according to the template. You will use the main color of the crayon for all the pieces except the lighter wrapper color for the two long rectangle pieces. Shorten the wrapper rectangle pieces if you'd like to get a stubby crayon like Blue Crayon.
3. Next you will sew together the front and back of your crayon like in the diagram below. Use a 1/2 inch seam allowance. When you sew the curved crayon top piece to the next rectangle piece, it helps to sew slowly and align your pieces as you go.
4. Press open the seams. Now is a good time to paint on the face and triangle border. I used a black soft fabric paint for this. I also used fabric markers to write the names of the crayons on the wrappers. Read the directions of your paint, but you usually need to apply some heat to set in the design after it dries.
5. Now is a good time to get the most painful part of the project out of the way. The arms and legs are so skinny and cute, but they sure are a pain to turn and stuff. Put two arm pieces together and sew around three sides leaving the tiny opening. Turn the arm right side out using a skinny dowel then stuff with stuffing also using the dowel. Repeat with the other arm and legs. When finished with this step your pieces should look like the diagram below. (Except paint the triangle border on the back piece as well.)

6. Next, sew the arms and legs to the front of your crayon.

7. Now you will sew your front to the back by putting the right sides together and keeping those arms and legs out of the way of your stitches and stuffed inside. Sew along the sides and top of the crayon, leaving the bottom open.

8. Now you will sew your bottom circle about halfway around the bottom opening of your crayon. Make sure you attach it to the front of the crayon where the legs are already sewed on, sewing slowly and aligning the edges around the circle as you go. Leave the opening in the back of the crayon to turn and stuff it.

9. Turn your crayon right side out and stuff it really full. It will probably get used as a weapon like mine do and will need lots of stuffing to keep its shape.
10. Sew the hole closed using a ladder stitch (here is a nice tutorial for a ladder stitch). Since you are attaching it to a circular bottom piece, you will get some gathers in the straight piece as you attach. It makes a cute crayon bottom.

You're Done!!!
Now try to stop yourself from making every darn color in the 64-count crayon box.
These are sooo sooo cute!
ReplyDeleteThis is one of the coolest projects I've seen in a really long time!! Love this so much!!!!
ReplyDeleteOh stop, these are amazing!!! Gotta show this to my kids...they'll want me to make all the colors. Great idea, Chelise!
ReplyDeleteGlows in the dark! Wohoo!! My daughter laughs her head off every time we read the Day crayons quit :) Yet to find the second book. Are there a few crayon books out now? Gee, this project is amazing!
ReplyDeleteThis is so So SOOOO amazing!! You seriously rock! My kids love those books too!
ReplyDeleteThese are just so amazing! You did such a fantastic job! This is one of our favorite books! I can't believe how many you've made! Fantastic!!
ReplyDeletePlease start an etsy site for those of us who don't sew!
ReplyDeletePlease start an etsy site for those of us who don't sew!
ReplyDeleteI love these! They will be fun to sew for my kids. Not sure how I'll ever choose which colors to do, though...
ReplyDeleteThis is the coolest thing I have ever seen. There are crayons in my sewing future!
ReplyDeleteThis is the coolest thing I have ever seen. There are crayons in my sewing future!
ReplyDeleteThose books are a favorite in our house too! I second the idea that you should start an etsy site to sell these! They are amazing!!
ReplyDeleteI can't even with these. They are so incredibly awesome!
ReplyDeleteSeriously!!! These are the cutest!!! My kids love this book. The peach crayon gets me every time! :D
ReplyDeleteI can't wait to make some! It's late but I kinda want to bust out my machine right now!
ReplyDeleteThey are amazing!!
ReplyDelete