Tuesday, December 24, 2013

Merry Christmas!


Hope you all have a Merry Christmas!

Tuesday, December 10, 2013

The Norah Dress Pattern Tour


I am so excited to get to participate in Hayley's of Mouse House Creation's pattern tour for her Norah Dress and Tunic pattern!

When I first started sewing children's clothing about six years ago, I went to Hobby Lobby and picked out a bunch of commercial patterns. I knew nothing about sewing clothing and with each of those patterns I got about as far as cutting out the pattern (that, at least, I could do!) and soon thereafter would get stuck, frustrated, and either sew up something sloppy or give up. The directions and terminology did not make sense no matter how many times I read it.

But even the few ugly things I made got me hooked on sewing and I was determined to learn how to make my own patterns. With the help of books (specifically this one) and practice, I created my own patterns and basically made up my own directions and way of putting things together that made sense to me. And since then I have rarely bought a pattern and just opt to draw things out on my own.

But.

The children's sewing community has come so far in the past six years. Sewing blogs, free tutorials, and some really awesome independent pattern designers have revolutionized sewing for children. Is it too dramatic to say that? I feel it's true.

For example, if I could have had Hayley's Norah Dress pattern six years ago with its step-by-step directions including pictures and easy to understand wording, I know I would have been successful even as a newbie. Not to mention her design is adorable and allows for so much creativity and options. It was such a pleasure to sew up her pattern that I plan on buying her newest pattern, an adorable women's cardigan. No one can have too many cardigans.


Back to my Norah Dress. There are so many options with this dress... collar, no collar, no sleeves, short sleeves, long sleeves, dress length, tunic length. And bonus there is a cute little slit in the back which means you don't have to sew in a zipper or anything! I knew I had to make a dress using the perfectly sized peter pan collar but wanted to embellish the collar in some way. Which lead to me sewing a total of 68 buttonholes in this dress! And only one button. I should have called this "The 68 Buttonhole Dress" because I can almost guarantee that it won't be happening again.


Using some fuzzy soft red velveteen, some fusible interfacing, and an iron I made long velveteen ribbon tapes that I weaved in and out of those 68 buttonholes around the collar, sleeves, and across the back. I've never sewn with velveteen before and was a bit nervous how it would wash, iron, etc., but the care for it was super easy. It washed and dried up nicely and I even ironed right on top of it because I just don't have time for press cloths. It looks good as new. I used more red velveteen to color block the pieces on the bottom.

The only thing I did differently with the pattern was cut the sleeves mid-length, right about in the middle of the short sleeve and long sleeve length. It's just not very practical to have many long sleeves in Phoenix, even in the winter, because come afternoon you will still probably be turning the A/C on in your car. But I thought the mid-length sleeves would still give it a fall/winter look.


Here is a close up of those buttonholes. Luckily my machine makes automatic buttonholes with a fancy foot that does all the work for me. I just place it, push down on the pedal, and watch the magic happen. A perfect hole every time.


I loved this pattern and the fit was perfect! Thanks for including me Hayley!


Stay tuned with the pattern tour and see what all these other talented ladies did with the pattern...

Thursday, October 31, 2013

A Lalaloopsy Halloween


Happy Halloween from Jewel Sparkle and Peter Pan!

I am inclined to put a theme to my kid's costumes and have them go together. Like when they were Snow White and Dopey or last year they were Princess Peach and Mario. This year when Drew wanted to be a Lalaloopsy doll, I just couldn't give Nash a lame costume just so that he coordinated. So no theme this year, which is cute in it's own way to have two random characters.


There was no wavering in her mind about which Lalaloopsy doll she wanted to be. It had to be Jewel Sparkle because she is the prettiest and wears a crown. The dress was so much fun to make. I would never sew anything so frilly, ruffly, and pink for normal wear, but maybe I should because she was thrilled with all those things.

I made the wig too. I am not a wig maker. Nor do I ever want to be again. I tried several things to get it to work but what I ended up doing is attaching all the yarn pieces to an old wig after I cut all the hair off of it. It stays on her head pretty well but she doesn't like wearing it because it is too heavy. (It's not that heavy.) She complained about not wanting to wear it for our church's Trunk or Treat party last Saturday to which I told her, "If you don't wear the wig then you don't get to wear the dress." I'm mean that way. But number one, I put too many hours into that darn wig. And two, the wig is what makes the costume in my opinion. So she wore it and was the talk and envy of all the little girls at the party!


And my little Peter Pan. It's his favorite movie and Peter Pan is pretty much his hero so this costume was a no brainer. I sort of used this tutorial for his hat and shoes (both made out of felt) and the tee and leggings are just quick sews out of green knit.

They will be thrilled to dress up again tonight! Happy Halloween!

Sunday, October 27, 2013

10th Annual Patterson Pumpkin Carving Contest

That's right. This is the tenth year we have held our annual Patterson Pumpkin Carving Contest (PPCC). We look forward to it every year and each year we stay up into the wee hours of the morning, carving our hopes and dreams into the fleshy orange gourds. It always turns out to be one of the best nights of the year!

To see a review of the pumpkins we've created in the past, go here.

To see last year's pumpkins, go here. 


This year we have two fine contestants for your vote.
 
 
Introducing...
 

Hailing from the rolling patches of West Virginia, Peter Peter is proud to participate in this historic 10th annual contest. Although Mr. Eater does enjoy his occasional squash and gourd (who doesn't?), he is using his new found stardom to set straight all the bad publicity that he has received since the early 1800's wildly popular nursery rhyme. He wants to ensure the public and his fans that he has not had any trouble keeping his wife and that she has never been put inside a pumpkin shell. She lives comfortably in a 4 bedroom on Maple Ave in West Virginia. His attorneys claim that it was Miss Goose who started that ridiculous rumor after unsuccessfully trying to seduce Mr. Eater with her voluptuous and silky feathers. When asked to comment, Mr. Eater was recorded as saying, "They were a bit saggy and disappointing. She is just an angry vindictive hen." As for why he goes by Peter twice, nobody really knows but it is rumored that Peter was the name of his first two pumpkin victims.


And his worthy opponent...


Cavity Sam, aka "that operation guy",  is simply lucky, or unlucky, to be alive. Ronald Mitchel, his birth name, was sold by his parents at the tender age of 8 to Dr. Milton Bradley for $2.50 during the great depression. Dr. Bradley soon discovered that Ronald had a gift of being able to remove his organs and replace them without dying. On Christmas eve during one of his experiments, Baxter the dog ate Ronald's nose and devoured it while it was lying on the operation table requiring Dr. Bradley to replace it with a red christmas bulb. Ronald learned of Dr. Bradley's plan to create a children's game using him. Demoralized and depressed at the thought of having thousands of children laughing as they removed his body parts, Ronald attempted suicide by electric shock. Unfortunately this only added to his lure by causing him to light up and buzz any time his skin was touched with the forceps. Ronald just hopes that winning this contest can bring him some peace.


Please take this short survey and VOTE for your favorite!


Create your free online surveys with SurveyMonkey , the world's leading questionnaire tool.

Friday, October 4, 2013

Skirted Pea Coat Sweater


This look I sewed for Project Run & Play's Signature Style challenge. I talked a lot about my signature style in this post and how I like to make mini fashion. I think the only thing that has changed since then is that I now put an even greater emphasis on comfort. My six-year-old is so quirky about her clothing and how it must feel. I have made too many things that go unworn because something or the other doesn't feel exactly right.

In my book, style is still number one, but comfort is the very close runner up. Practically tied. Sometimes style even takes a back seat if it is going to threaten the comfort.


So this Skirted Pea Coat Sweater mixes style and comfort perfectly! I wanted the look of the structured pea coat, but something soft and could be comfortably worn during a Phoenix winter (which is absolutely beautiful, by the way). It is made using the softest organic cotton sweatshirt fleece, got it here. It is heavy enough that it still holds structure, but it sure is stretchy, soft, and breathable like your favorite old sweatshirt is.


One way I gave this sweatshirt fleece a structured look is through all the lines and the double stitching. Because of all the different pieces to this coat I had to switch from my double needle to single needle over and over again to get just the look I wanted. Painful but oh so worth it.


The metal zippers in the pockets and on the sleeves also add more structure and interest. Not to mention they are gold and amazing. This was my first time sewing zippered pockets and it was so easy! This tutorial was great. To make the zipped up sleeves I basically did the exact same thing as the tutorial shows for the pockets, but just modified it a bit. Don't ask me how. It was one of my last steps to finish on this beast of a coat and I was basically just trying. to. finish.


Look at all that double stitching, oh yeah.


Looks cute worn buttoned up or open.


I also made the feather pants which didn't end up quite as I envisioned, but I still really like. I got the fabric from here but didn't read the specs very closely. There is only a 30% stretch to this knit (feels like even less to me), which means the knit is definitely not suitable for the leggings I wanted to make with it. But for someone like me who believes in miracles, I felt the un-stretchiness of the fabric, cut out my usual leggings pattern, sewed them up, and prayed that by some power she would come home from school and they would slide on her like a glove. Of course her foot only made it about halfway through the leg hole until it got stuck in place.


But my unanswered prayer meant that I got to make these trouser-like pants with cuffs at the bottom. Drew said they looked like pajama pants, but hey, she was going to wear the feathers one way or another and it sure wasn't going to be in leggings! The pants are not my pattern, they are these from Figgy's patterns. I don't usually buy patterns because I'm cheap, but oh man was it nice to have all the work done for me.


And my Nash doesn't make it on the blog much because I don't usually (or ever) sew for him, but he is very, very loved around here and is the light of my life.


How did I get so darn lucky?

Wednesday, September 25, 2013

Plaid Refashion


I do not do much refashioning. This Eco-Princess look was my first real try at it from the Earth Day challenge. For Project Run & Play this week the challenge is Mad for Plaid and I just couldn't bring myself to spend any more money on fabric. I've been a very reckless fabric shopper lately. (Someone please ban all online fabric stores from my computer. Girl Charlee I'm talking about you.)

So my plaid fabric source is from my own closet and was a dress/shirt thingy I bought about three years ago and have worn exactly zero times. I bought it because it was on clearance and because it was so super soft, but then like so many other things I've bought, I bring it home and have no idea how to wear it. Too short to wear as a dress. Too long to wear with jeans. Would be cute with leggings but I have not worn leggings since the 6th grade. (I'm hoping for a leggings-change-of-heart though.)

So it was an easy decision to take scissors and a seam ripper to the never worn dress/shirt thingy.


Refashioning has it's benefits and drawbacks. Besides being cheap or free, the main benefit is you can keep cool features from the original item. It is hard to see in the picture but there are two top pockets, two big bottom pockets and snap up sleeve tabs that I was able to just transfer to my new top with no extra work. Of course the drawback is it takes much more planning and there are way more limitations when you are trying to design and cut your pattern. I also spent a lot of time with the seam ripper and had a billion baby threads all over me at all times. Using the seam ripper, I took off the collar from the original, took apart all the pieces, then resized and re-sewed for a smaller version of the collar.

I love that the new top is going to get a lot more use and will definitely look adorable with leggings on my 6-year-old.

Time to return to the sewing table and put to good use all the fabric shipments I've been receiving lately.

Tuesday, September 10, 2013

Popover Jumpsuit


I'm sewing along with Project Run & Play again as they start a new season! The first challenge was to remix the Oliver + S Popover Sundress Pattern.

I knew I needed to remake the sundress into something that was wearable for fall, but I still wanted it to keep some of the sundress features. I think this knit Popover Jumpsuit does both things.


As my nod to the original pattern, I kept the contrasting yoke and ties, but needed to change up the ties a bit. I'm pretty sure my new kindergartener is the one constantly asking for help opening up items in her lunchbox and I didn't want her to also be the one constantly asking her teacher to re-tie her clothing after she goes to the bathroom. So the shoulder ties are not really ties, just stretchy straps with bows tacked on top. Easy on. Easy off.


The bodice has a lot of gather, unlike the original pattern, and the leggings also were made to be wide and gathered. I encased a piece of elastic between the bodice and legging pieces to bring in the waist and tacked on another bow there too. The waist of this jumpsuit is made the same as in my Hopscotch Romper look.


Instead of wide leg pants on the jumpsuit I opted for more of a legging look finished off with contrasting bands. I really like the way they look on her, although my husband thinks they look like pajamas. But I knew even when this look was only in my head that he wouldn't like or appreciate it anyway. Not much of a jumpsuit guy :).


And since I wouldn't send her to school in just the jumpsuit (need to cover those cute little bare shoulders), I would style it either with a cardigan like below or pair a shirt underneath.


Any time I make this girl something other than a dress I run the risk of her never. wearing. it. again. It is super soft and comfortable and sooner or later she will need to be wearing pants or leggings to school any way so we shall see. Either way she will have something super cute to wear for her school's pajama day :).


***If you haven't voted for your favorite look yet over at Project Run & Play, head over there and vote! The contestants made some really great things.***

(Every time I sew along, I am so pleased I am not begging people to head over there and vote for me! Phew.)

Tuesday, September 3, 2013

Sewing for Kindergarten

Today I am participating in Sewing for Kindergarten, hosted by Mie over at 
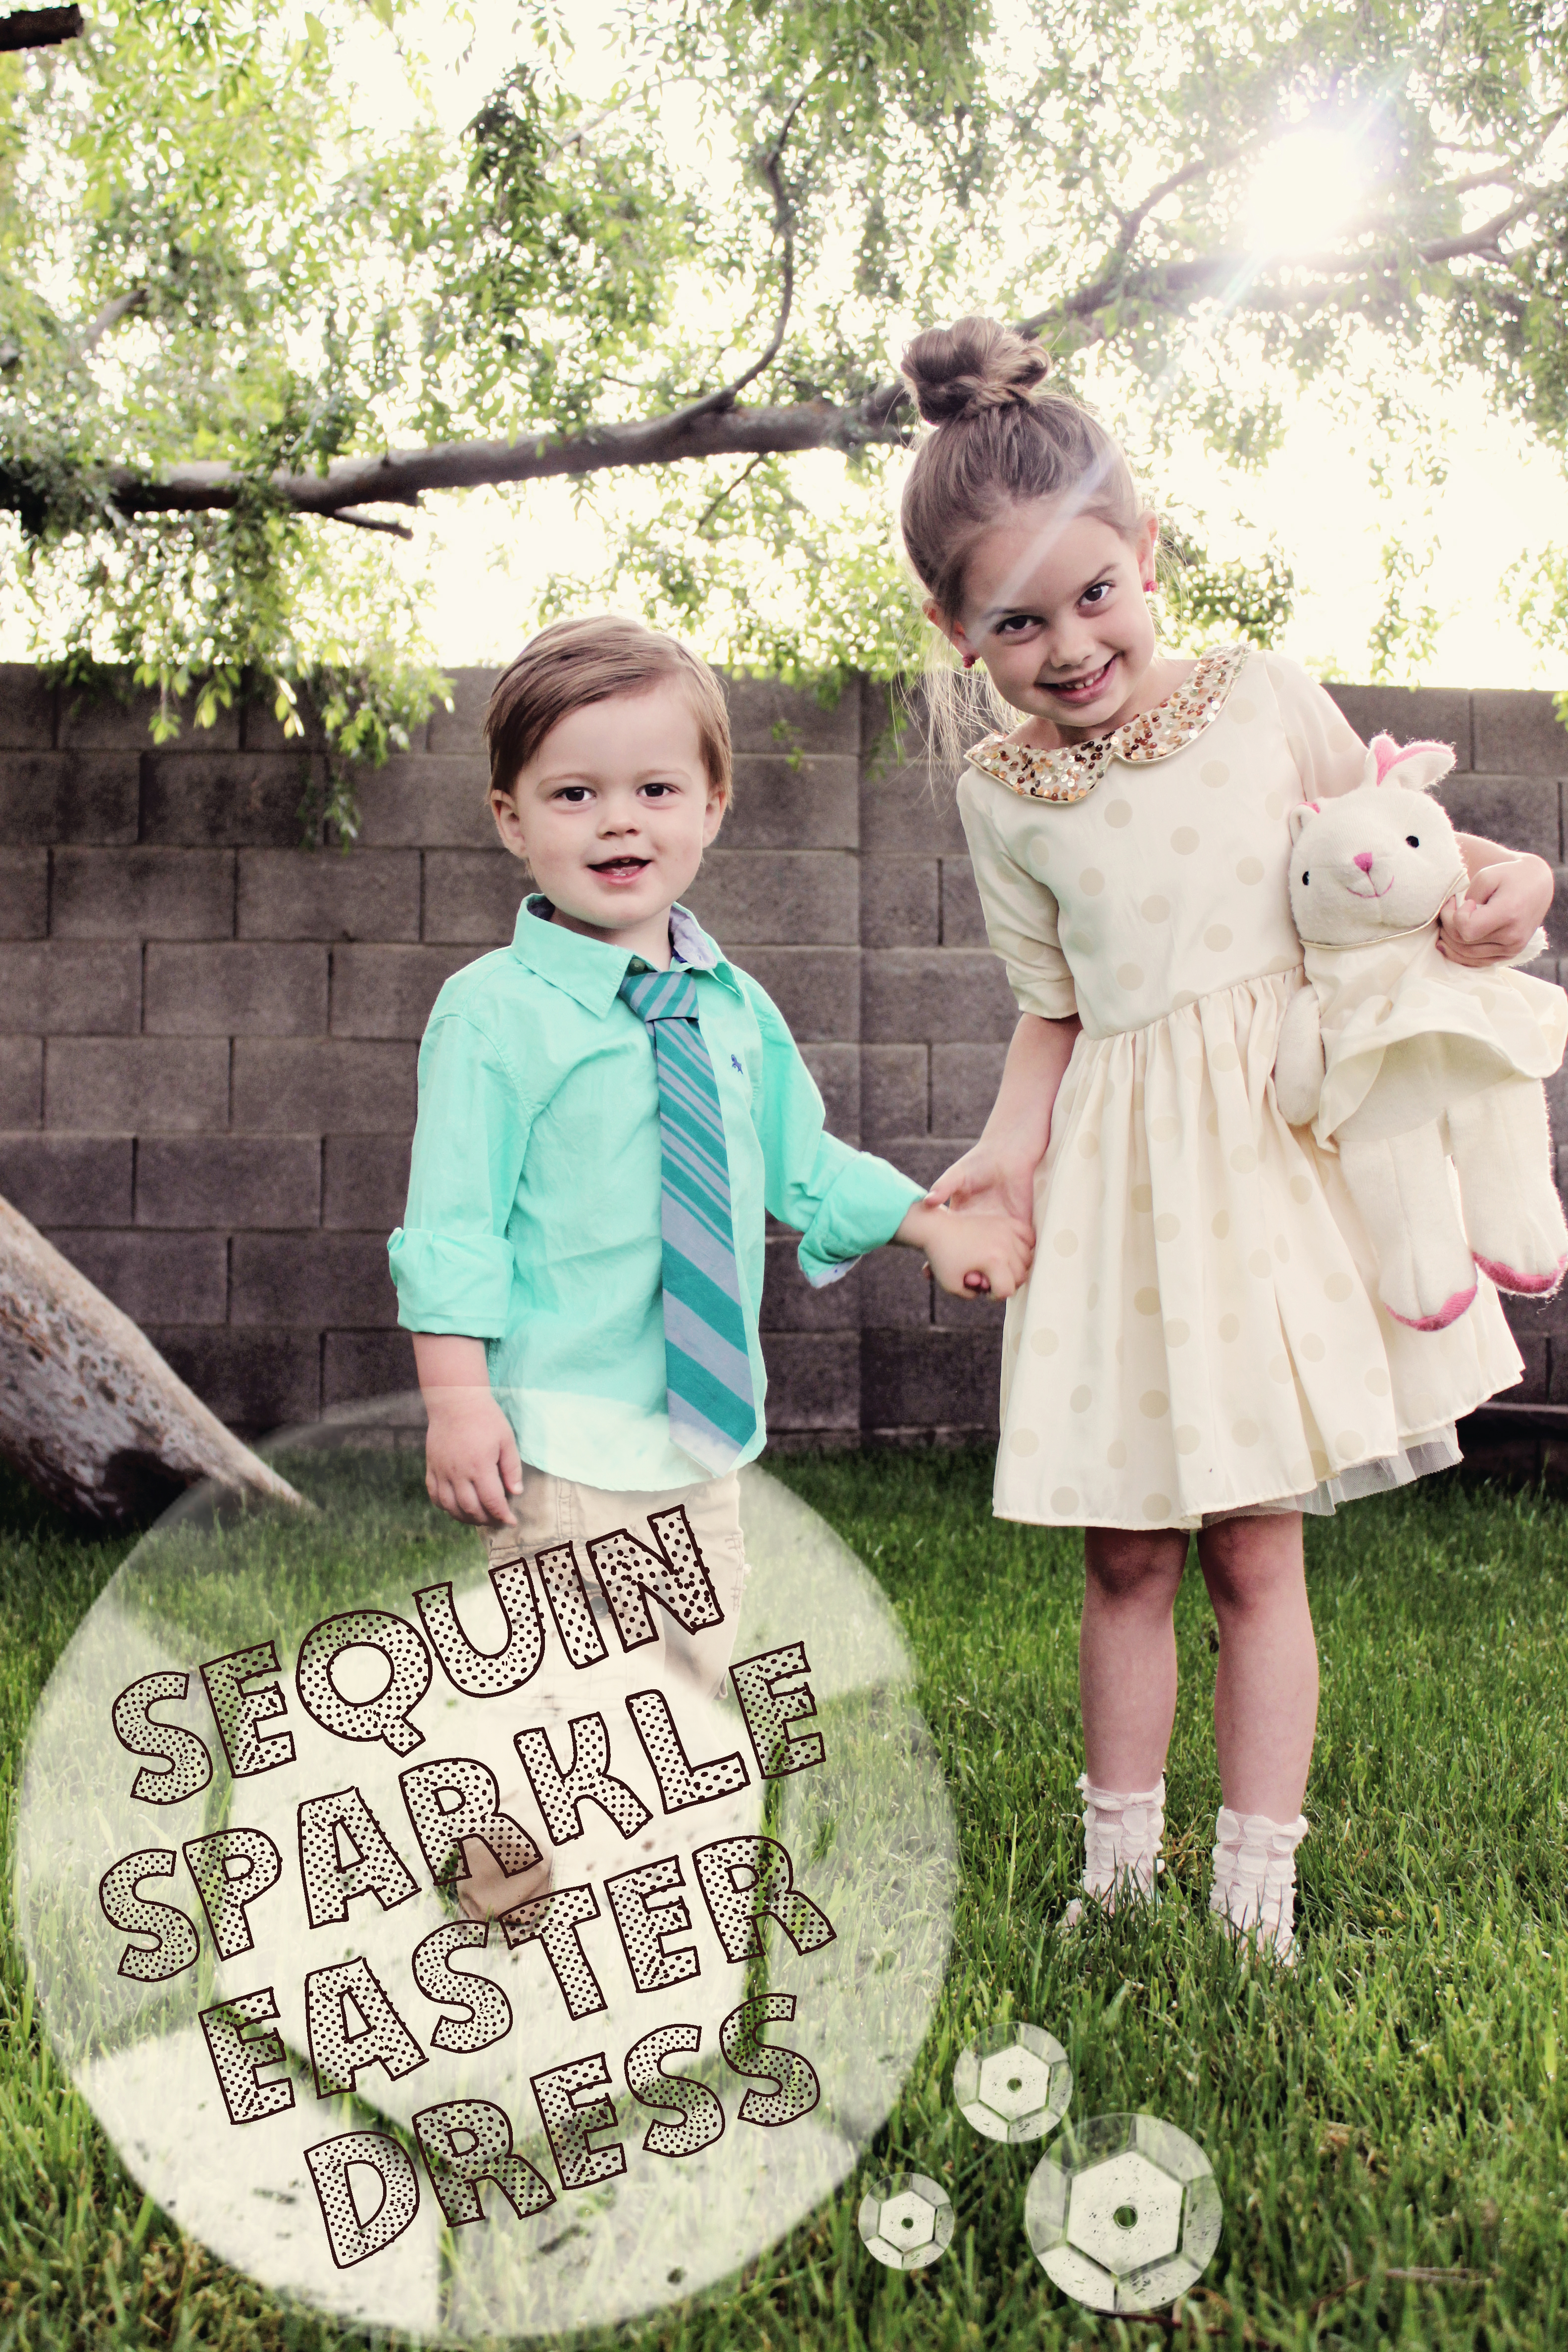
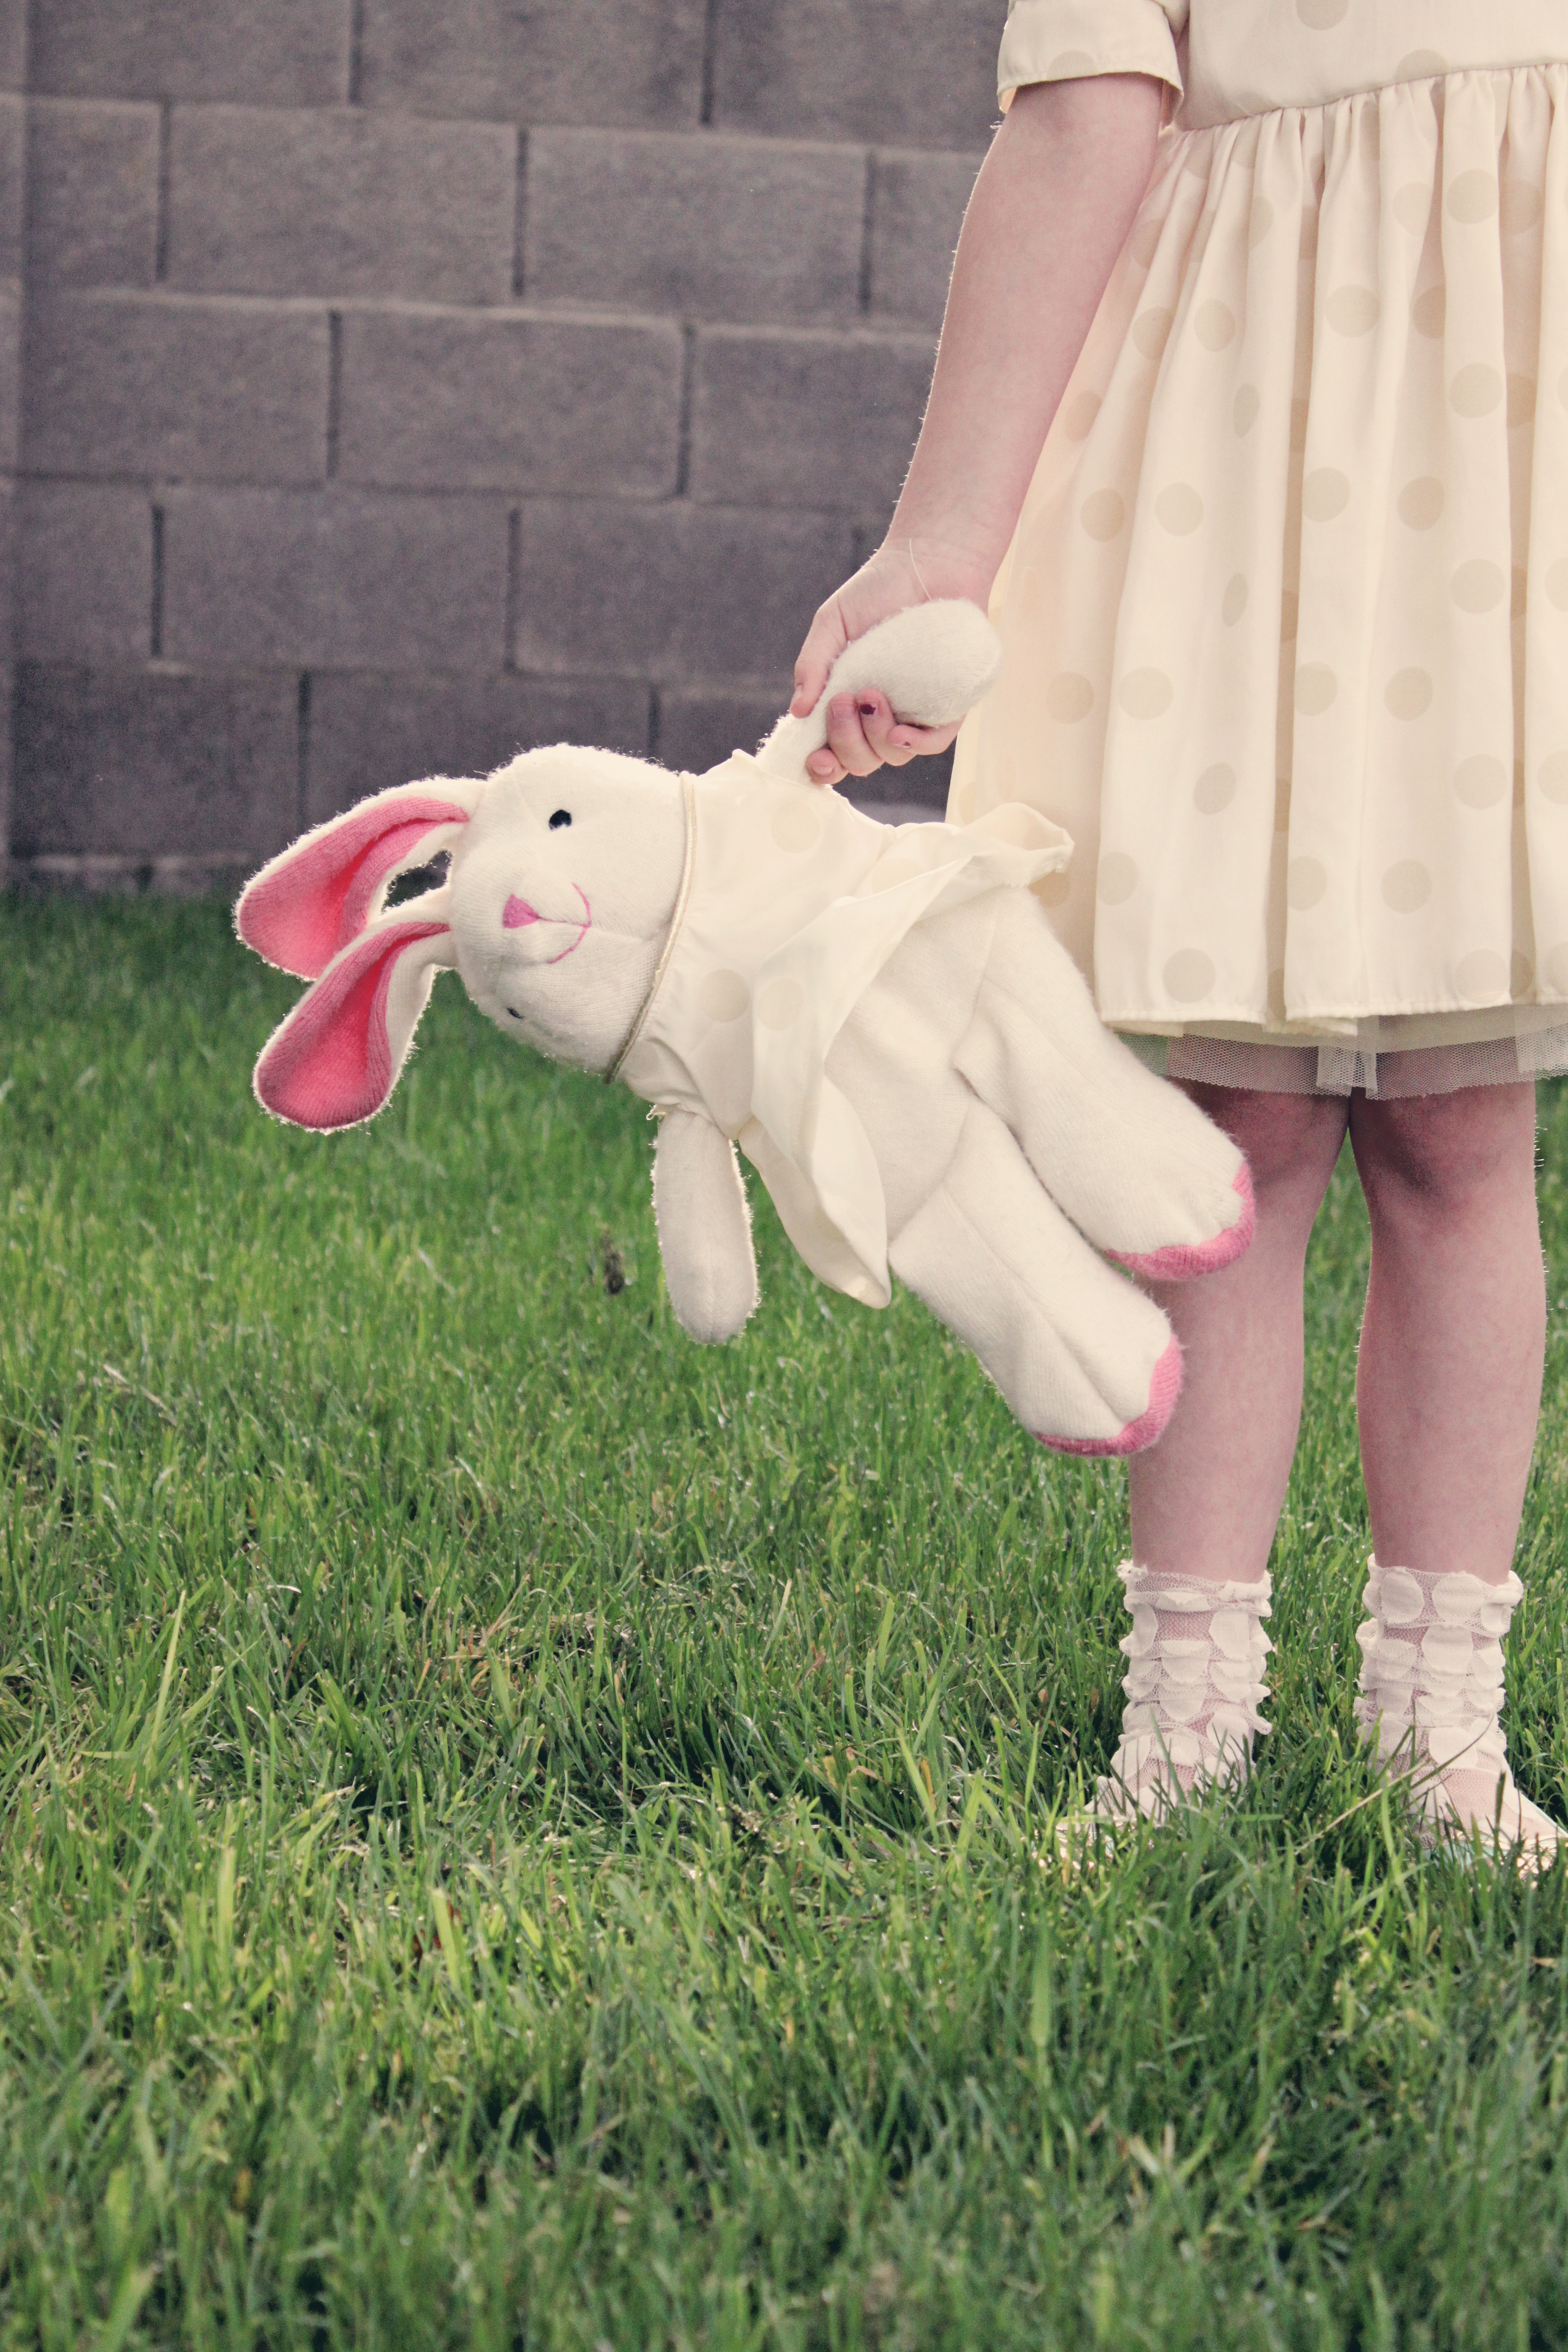
Sewing Like Mad. She has kindly agreed with me that I am an inconsistent blogger and so sweetly encouraged me to post something new on this rusty old blog. Thanks Mie! (Goodbye Easter dress post!)

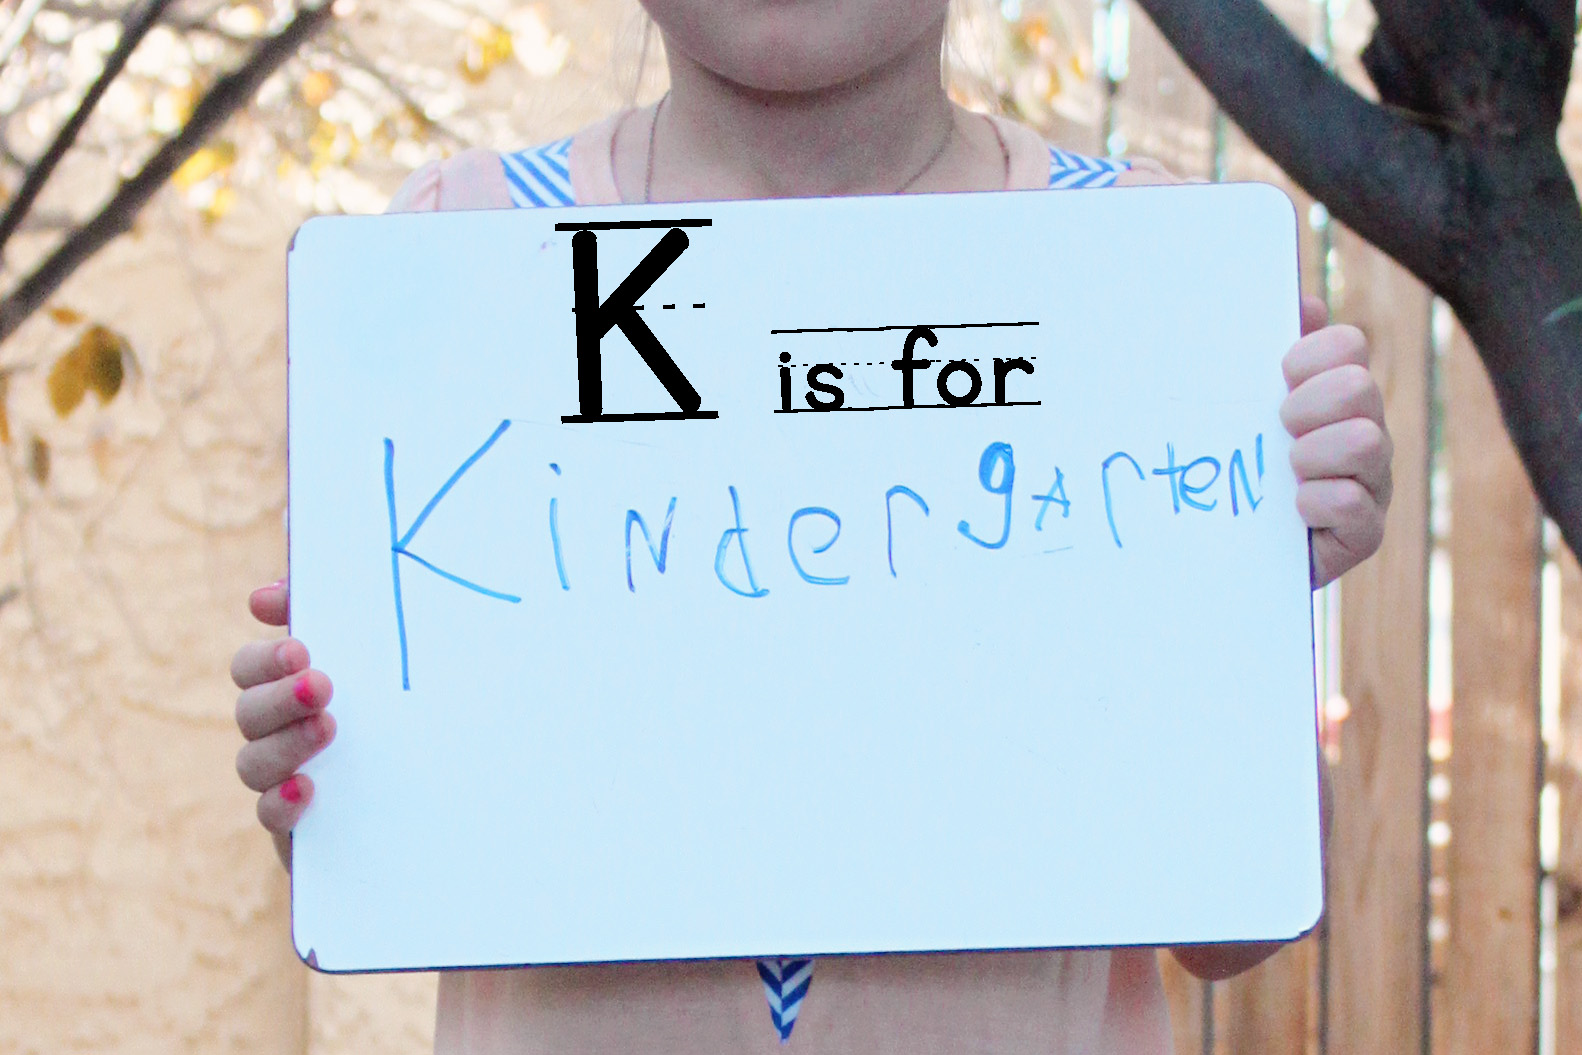
So why am I sewing for kindergarten? Because my oldest went off to kindergarten this year.

This can be a touchy subject for new kindergarten moms.

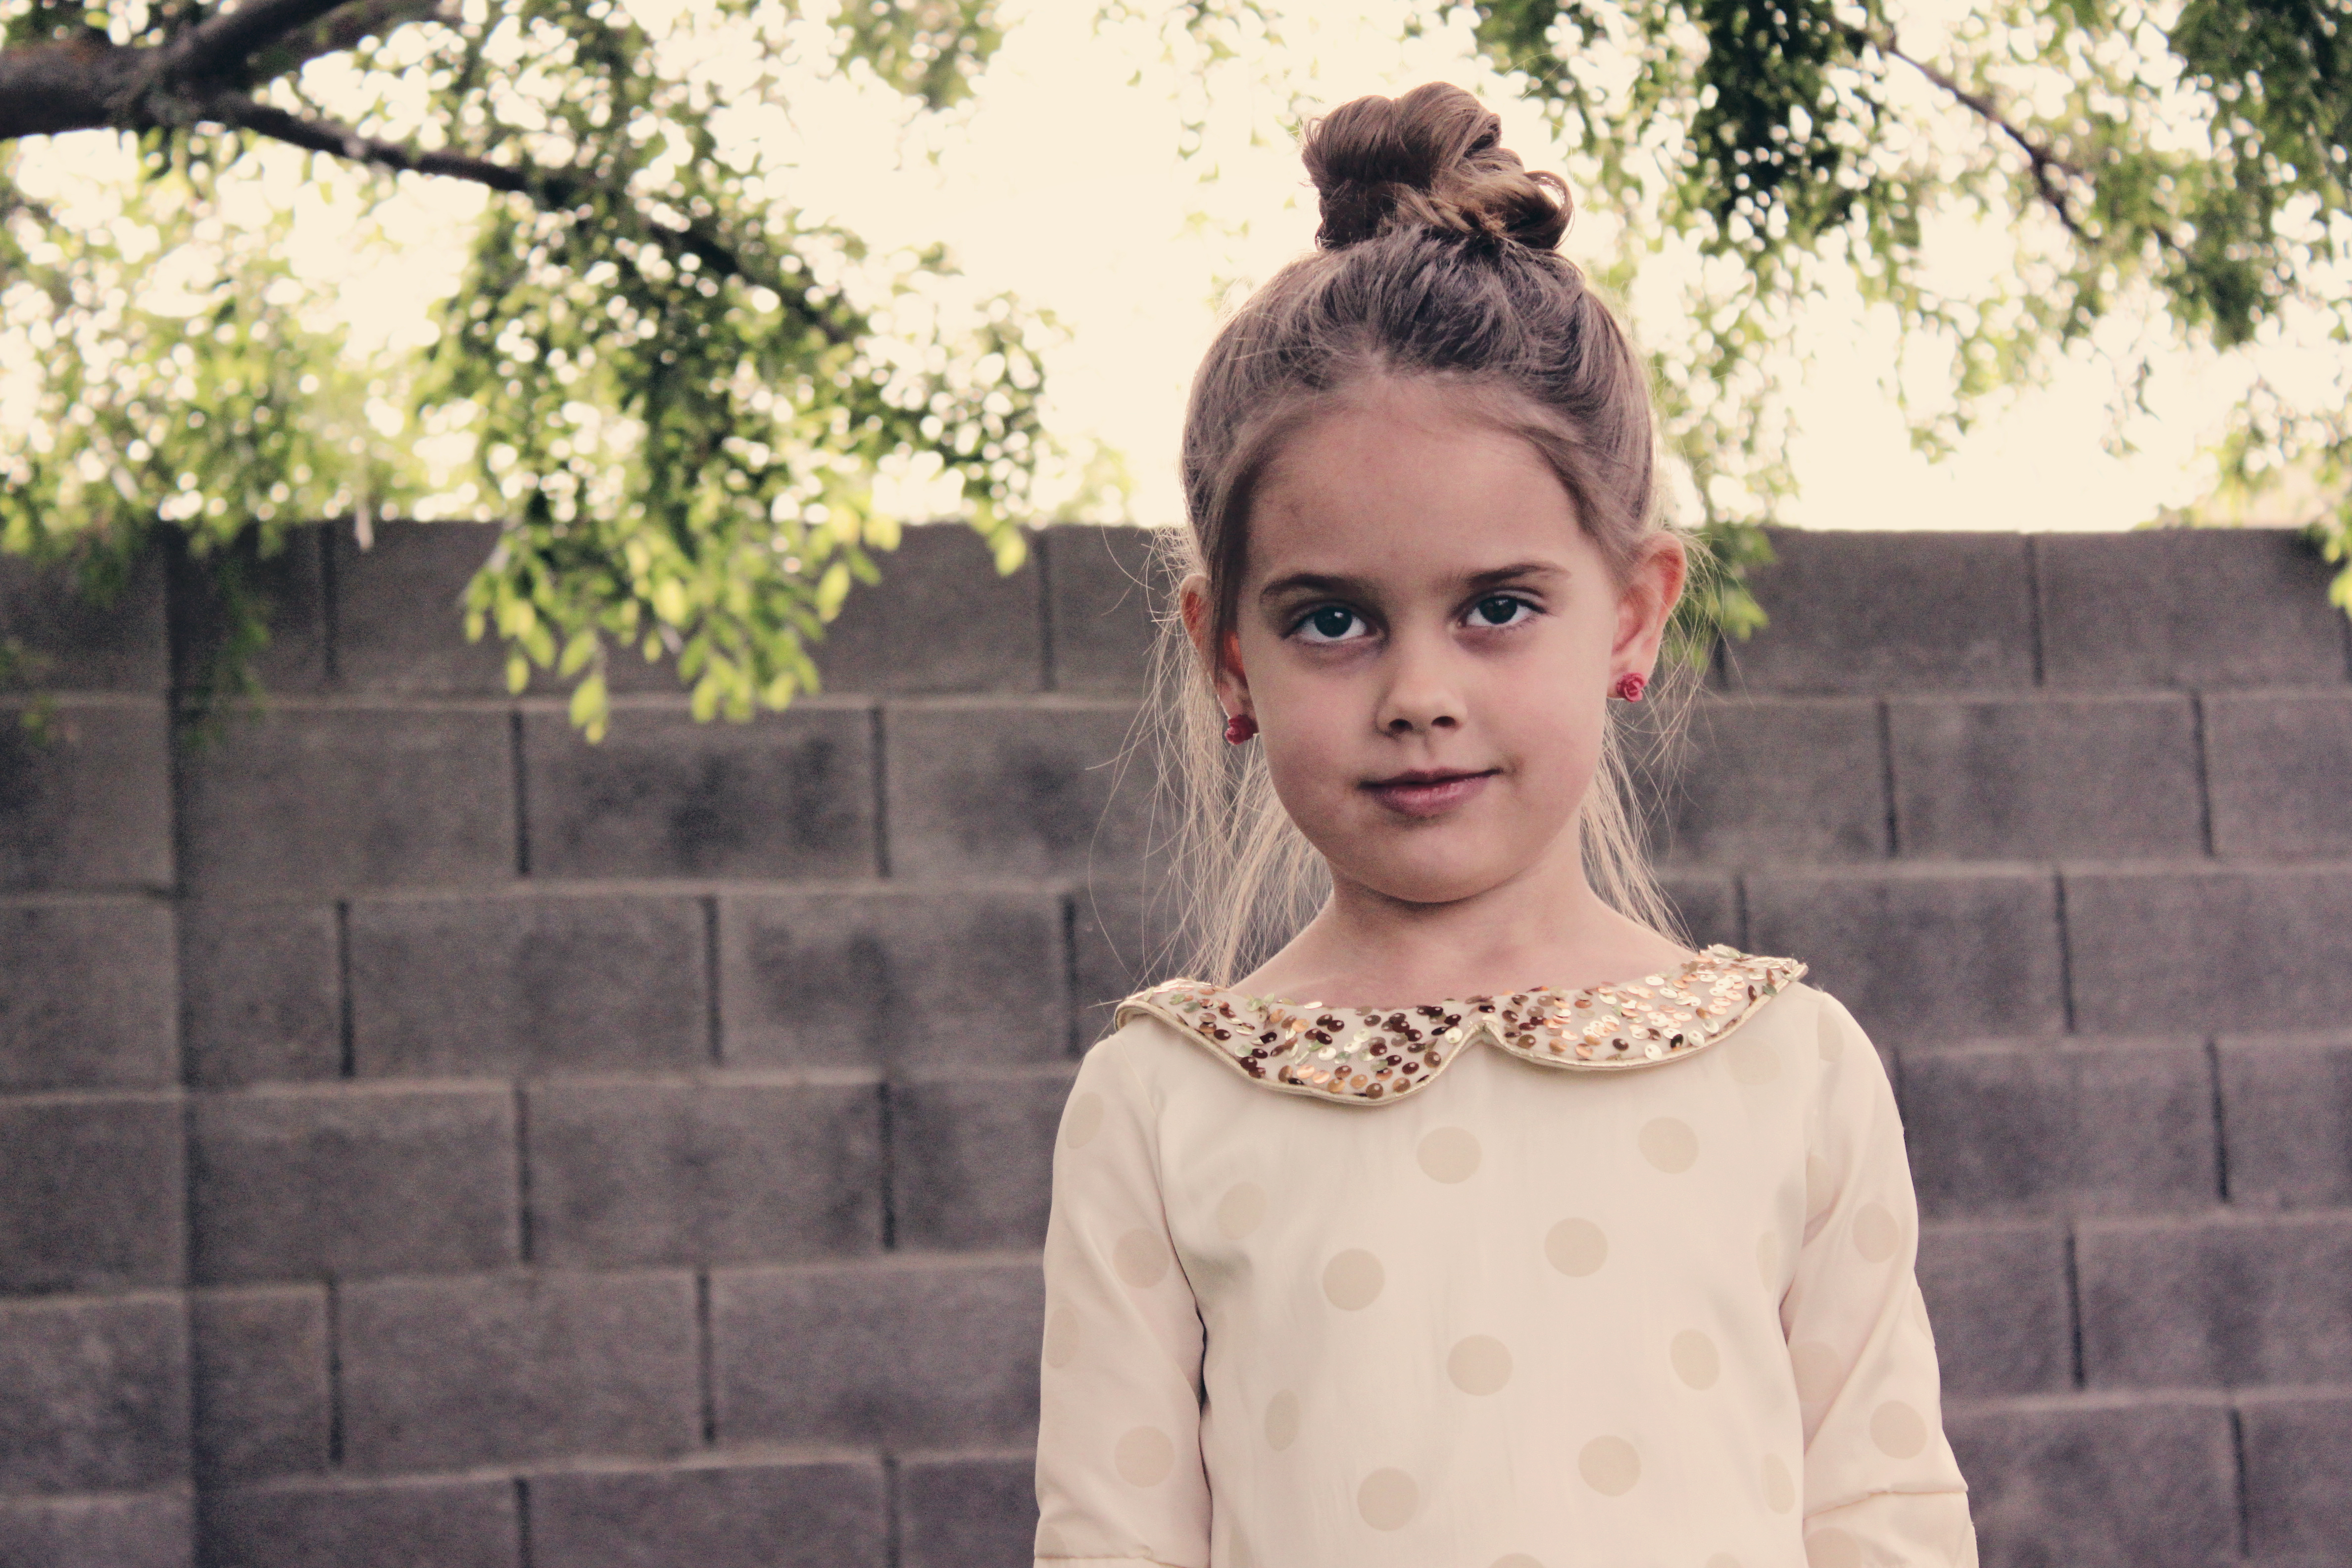
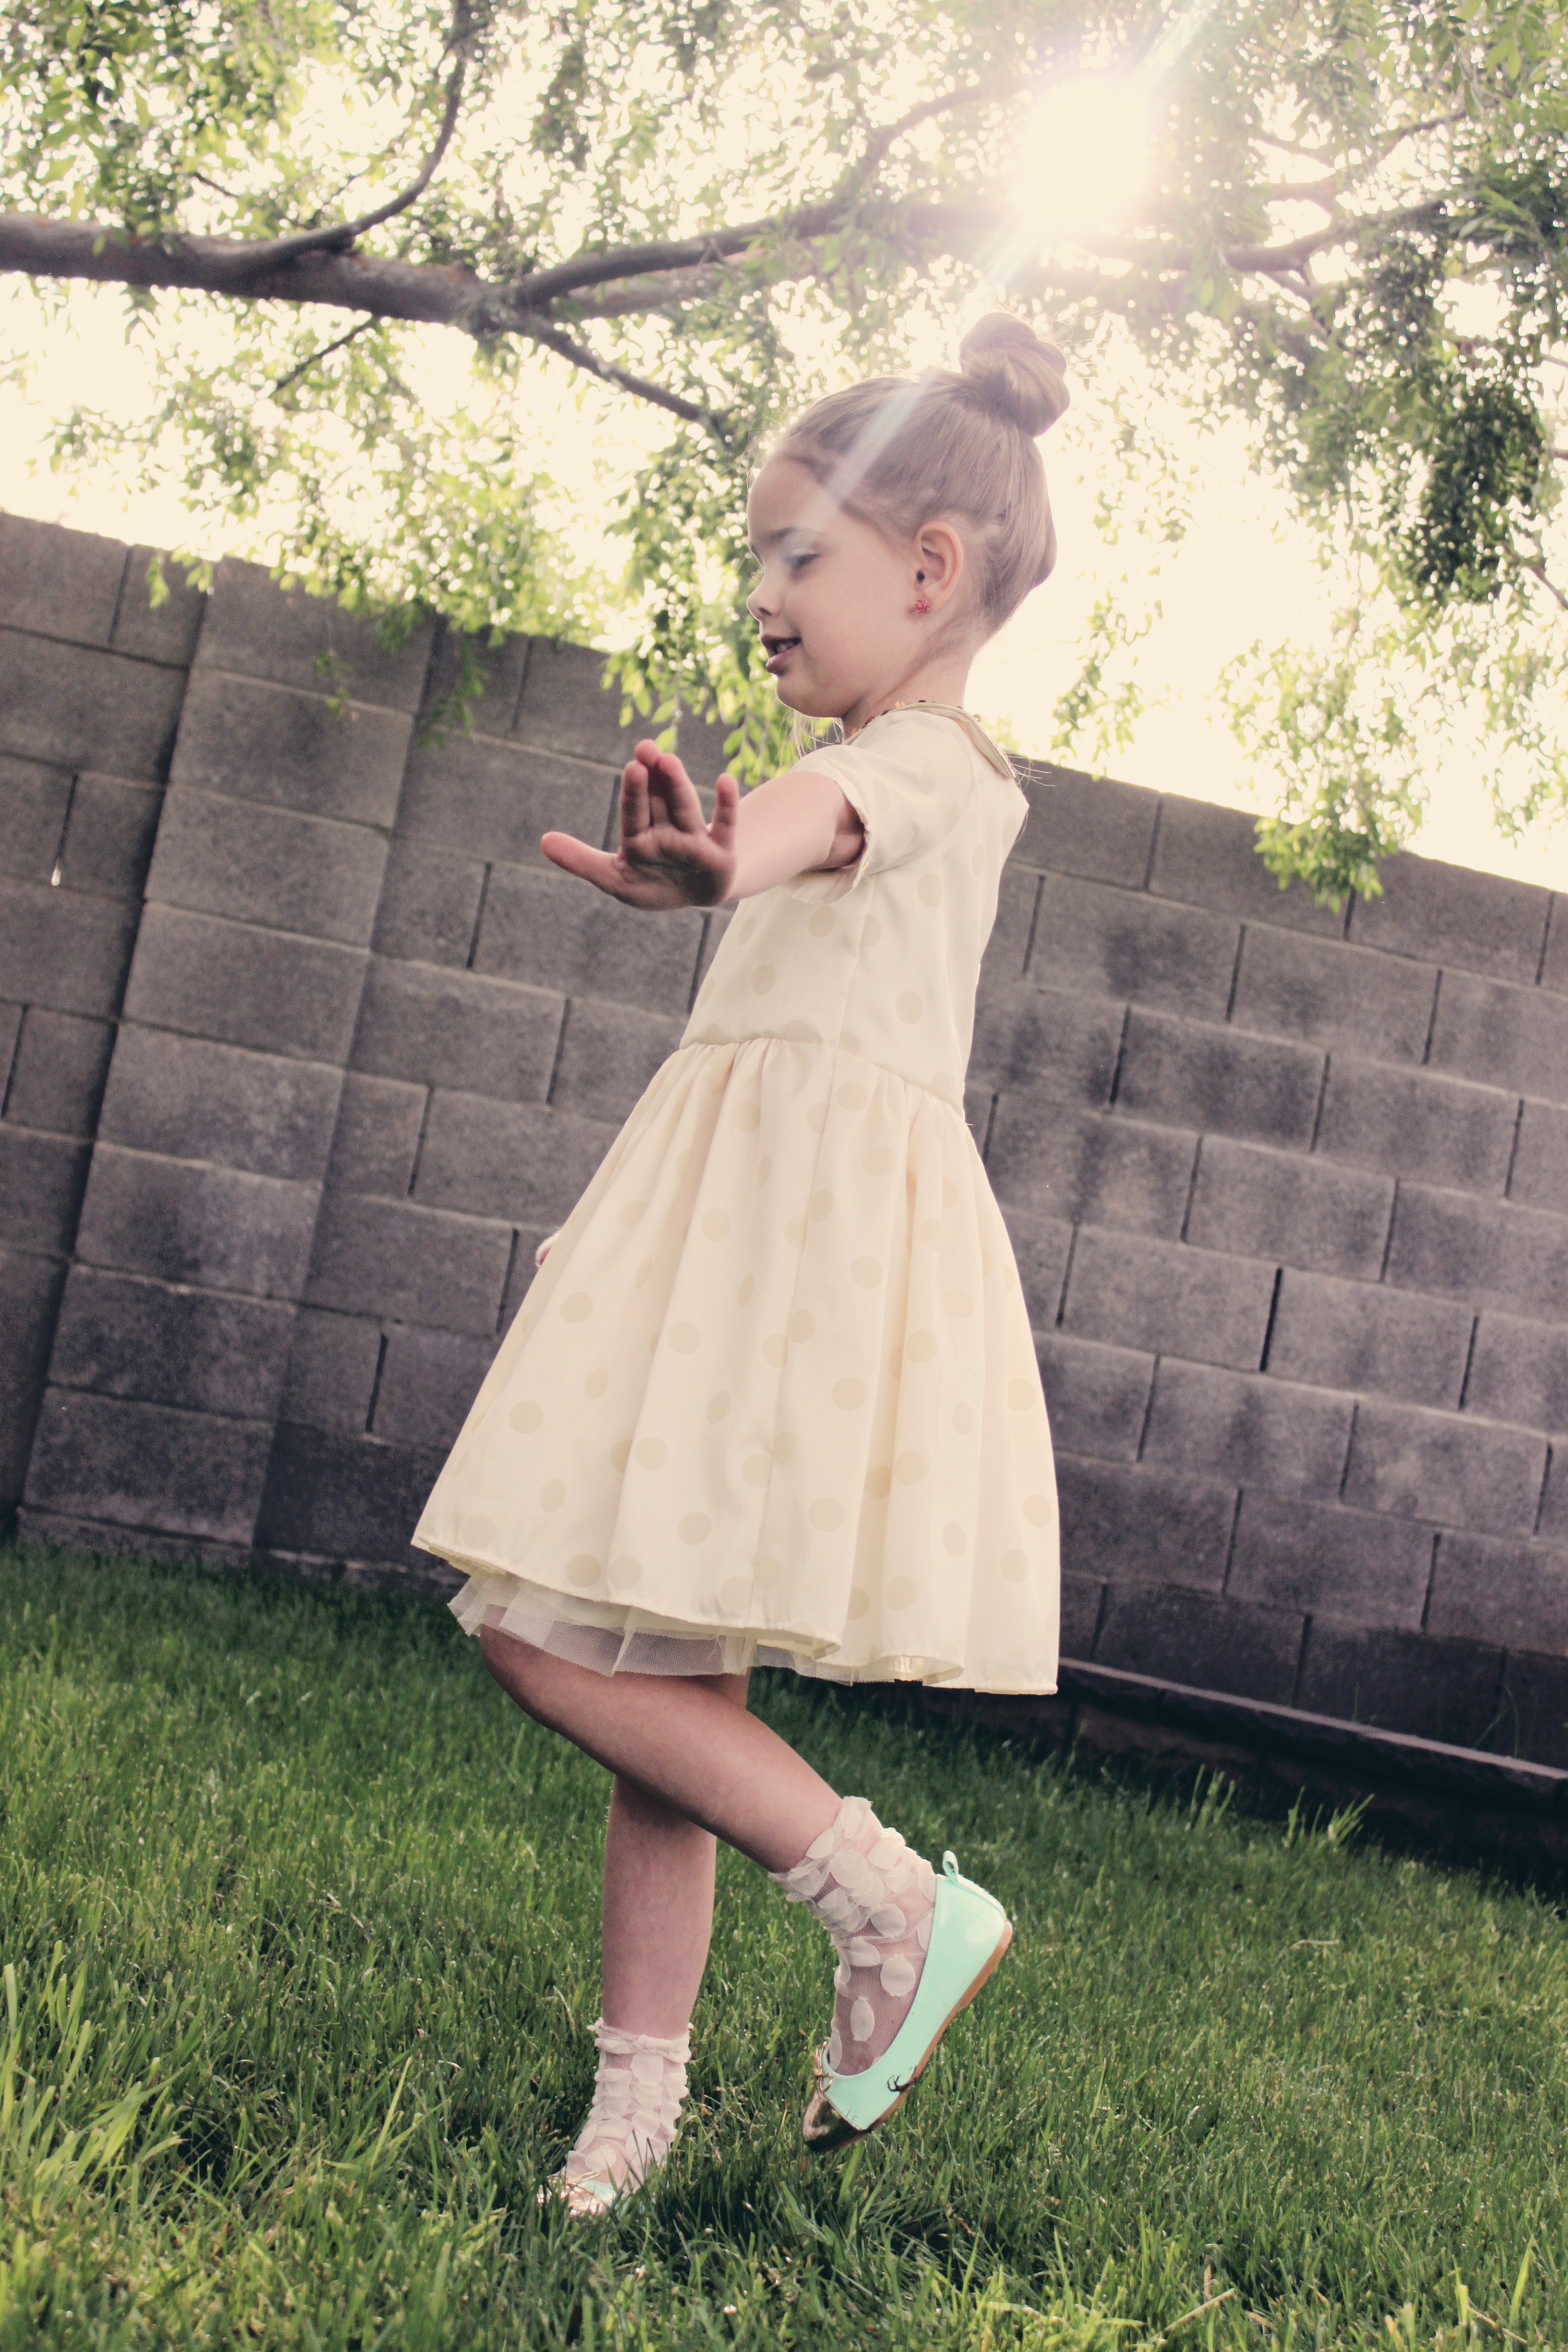
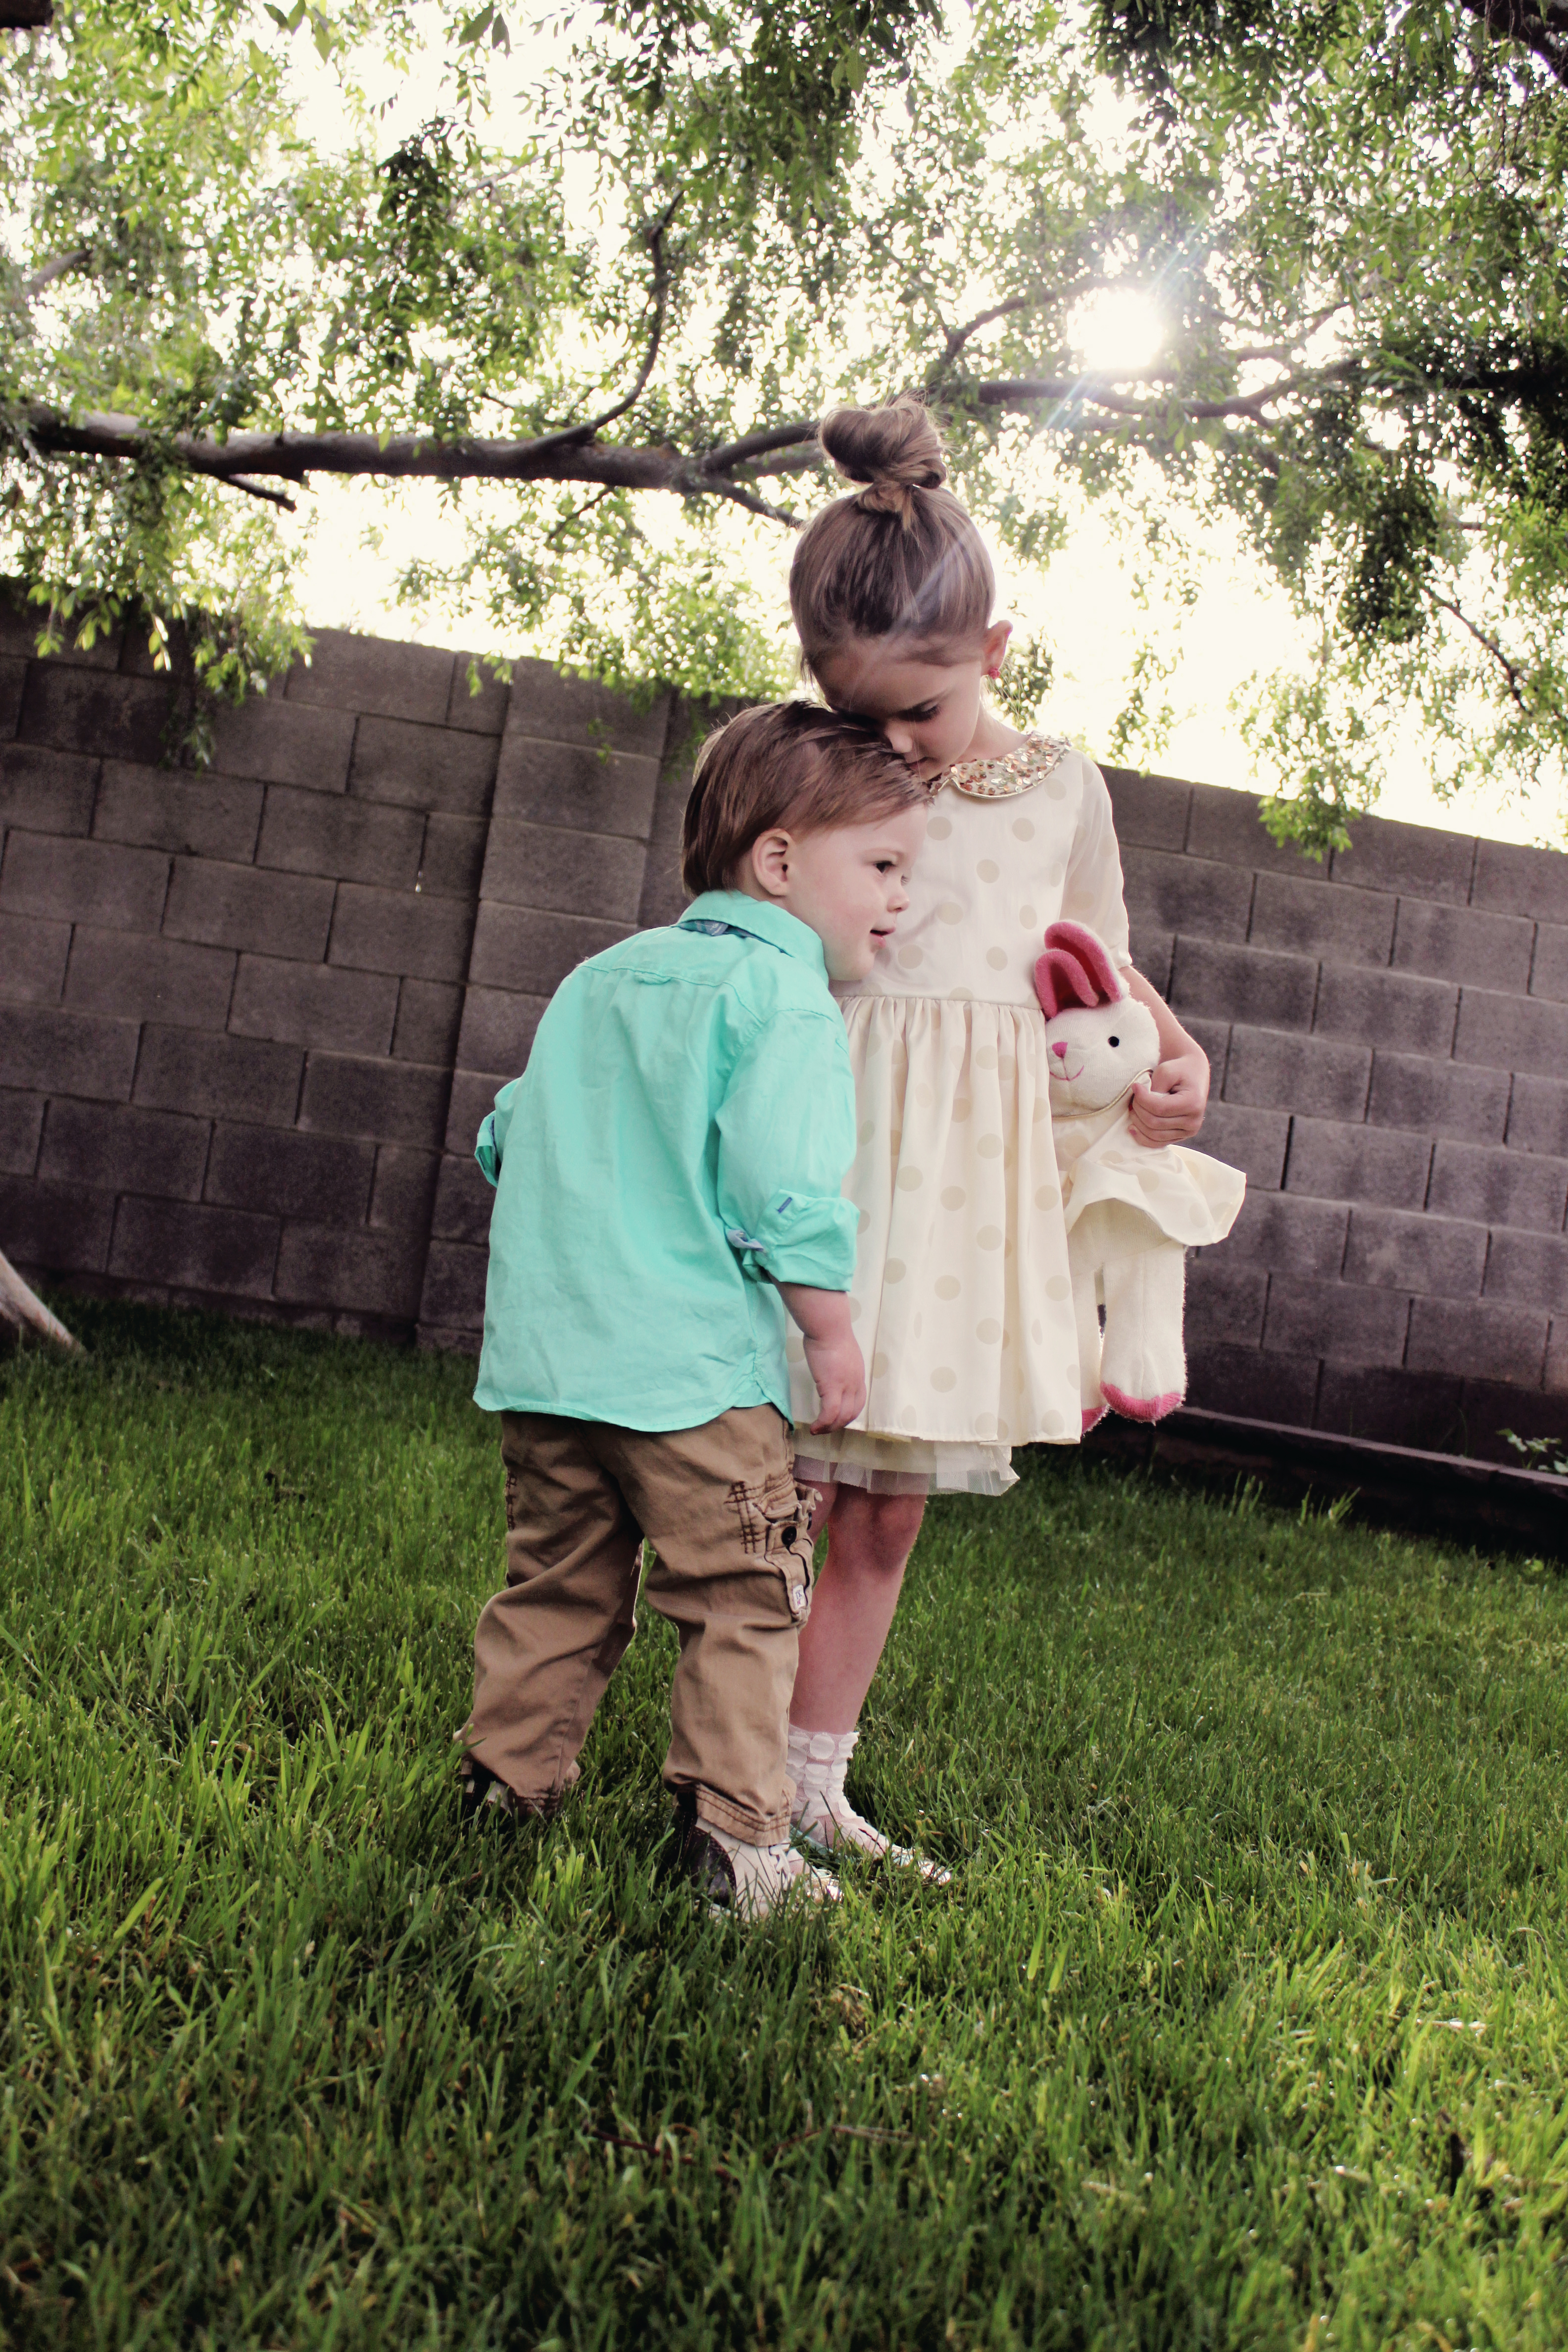
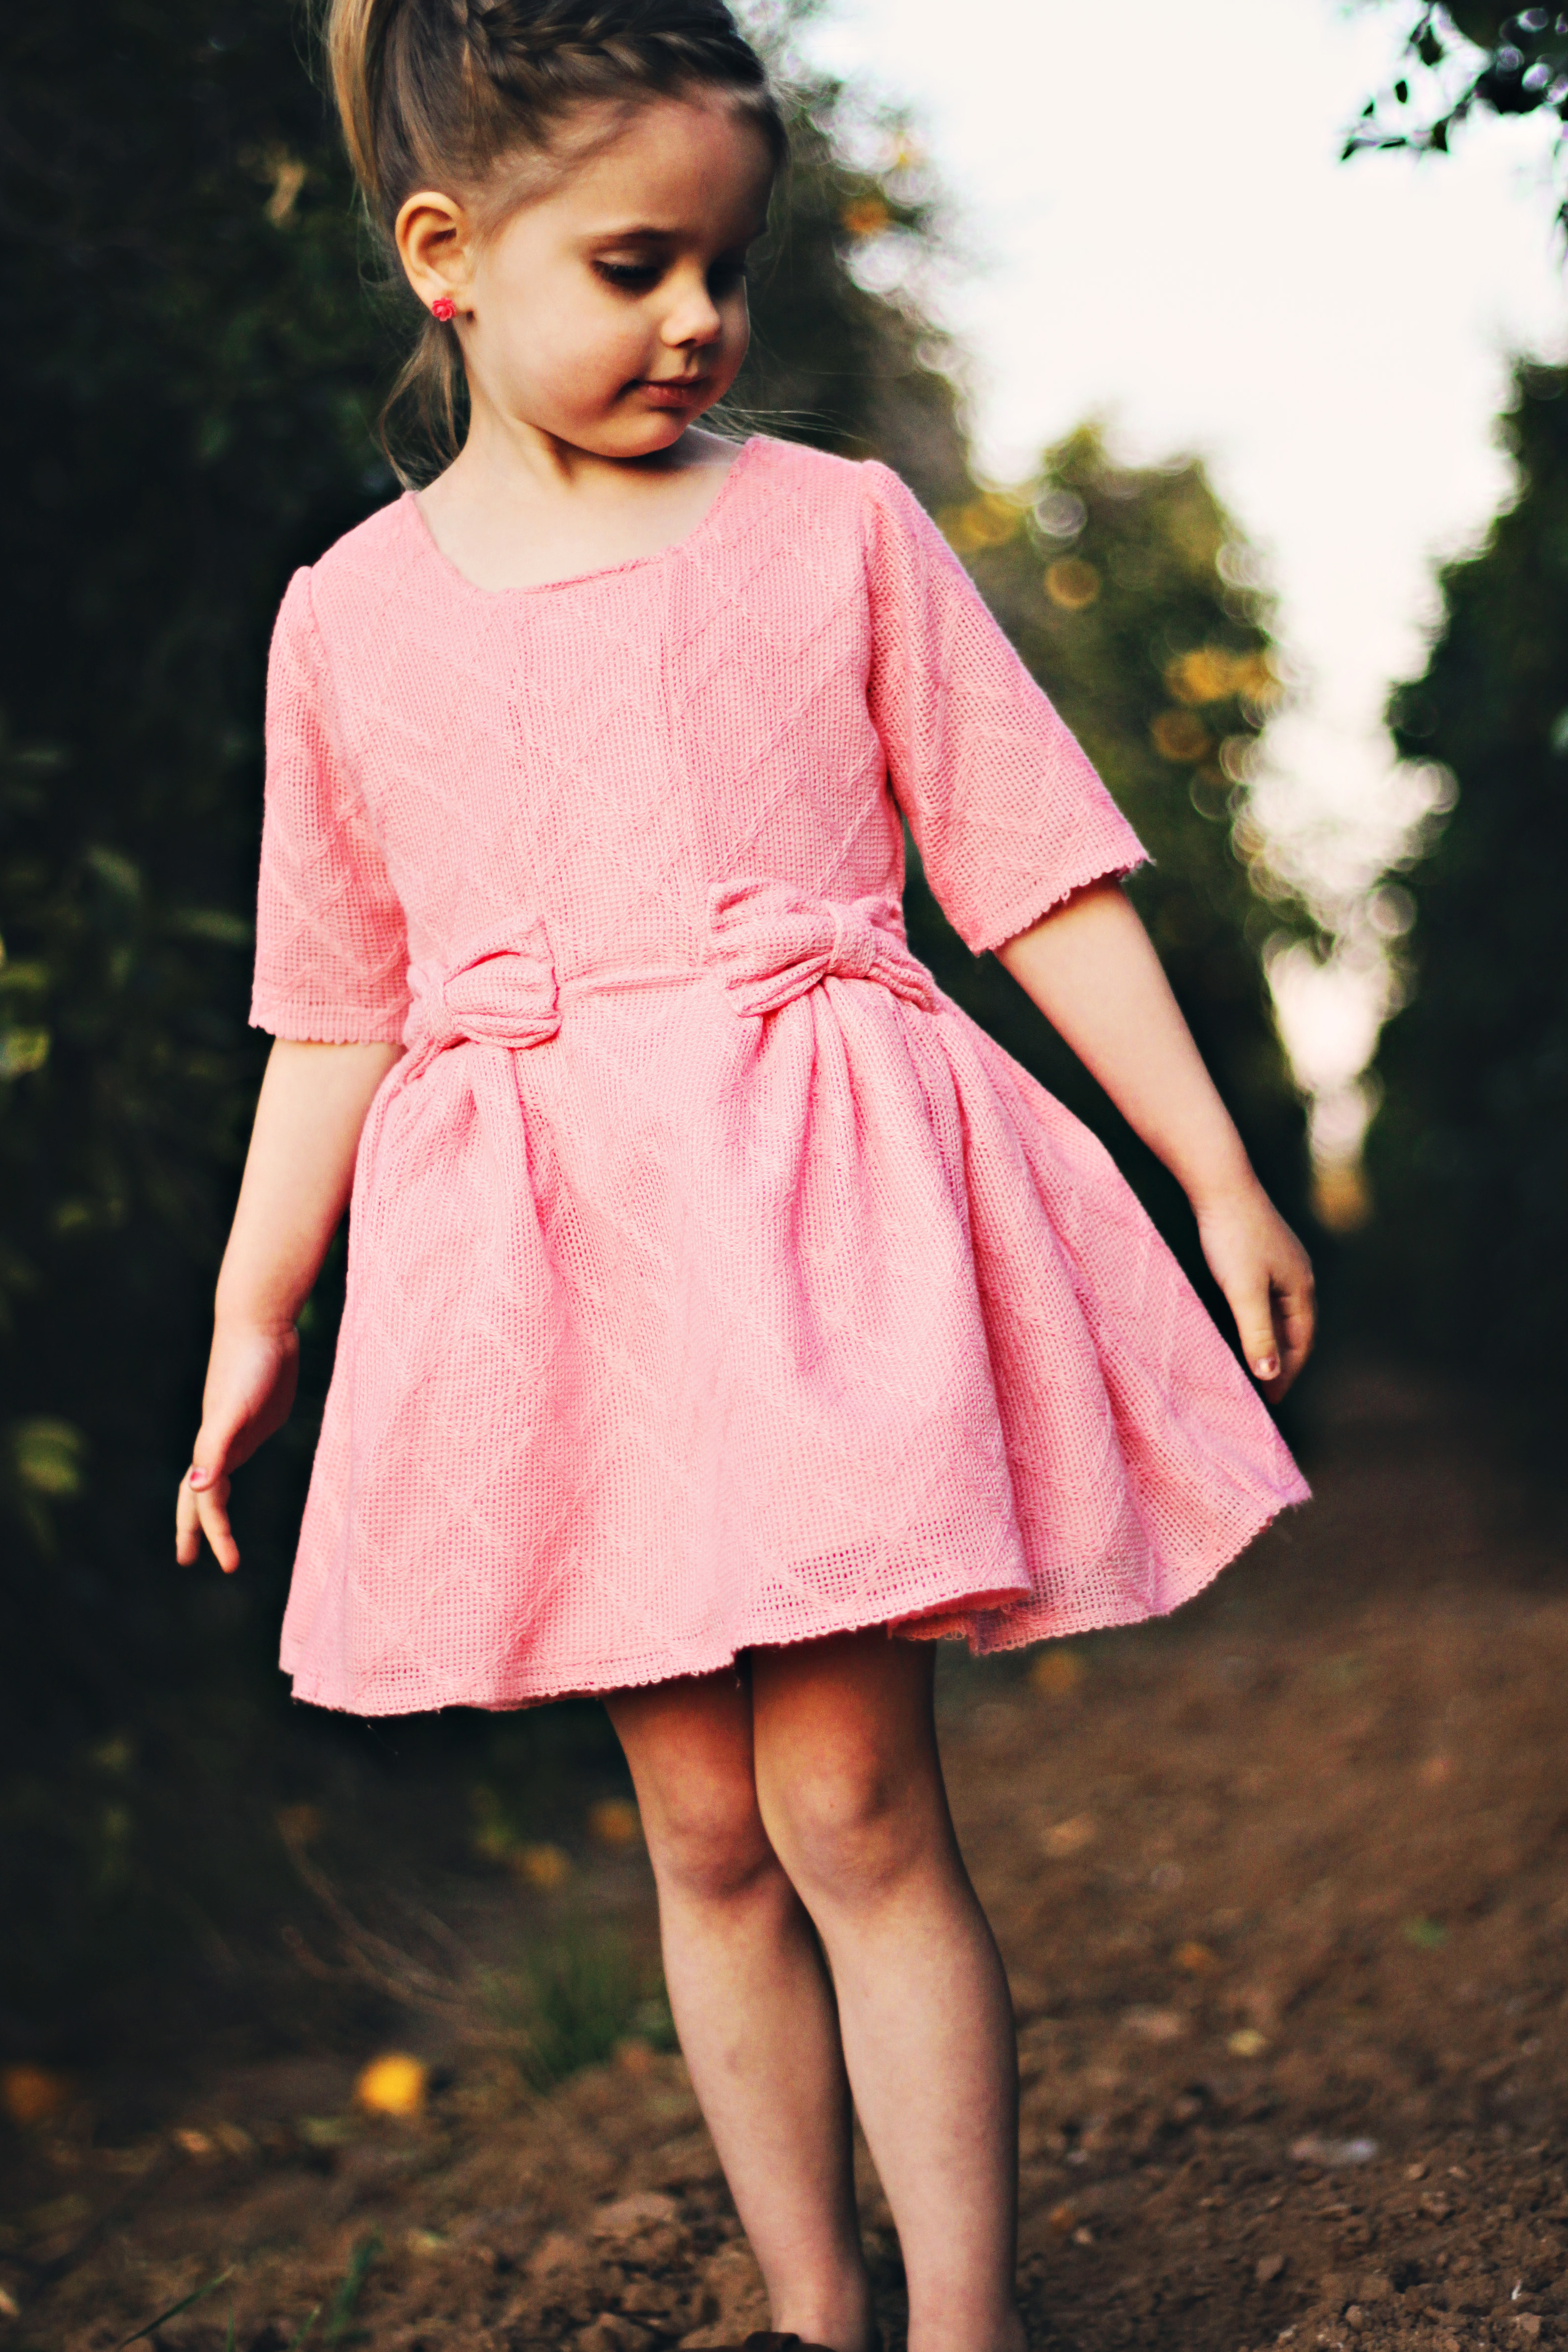
I mean, somehow our babies go from this to this at an unreasonable lightning speed:


One day I am a brand new mom, scared and elated by this new little person I am responsible for. And the next day I am walking that not-so-little person through giant school doors into the real world and turning around and leaving her there. How did this happen?

I felt my share of these sentiments, but no, I did not cry on the big day. It was all excitement for us. After my own childhood experiences and also being a teacher, I have an idealized and special place in my heart for elementary schools, especially the early grades. I will be the mom balling when I have to take my baby to junior high (shudder)!

Note to self: Do not think about how quickly junior high will come. Just focus on kindergarten.


For at least the last year I have been excited for Drew to go to kindergarten, and also to sew stuff for her to go to kindergarten in! For a while I was buying tons of fabric and making tons of sketches, all plans for a homemade kindergarten wardrobe.

Right about the time when I started to draw patterns and sew together those plans I got a bad case of "I-Can't-Even-Look-at-My-Sewing-Machine-itis". It was a bad one and it lasted for a couple months. Needless to say, those wardrobe plans turned into making just a few things and letting H&M and Target fill in the gaps.

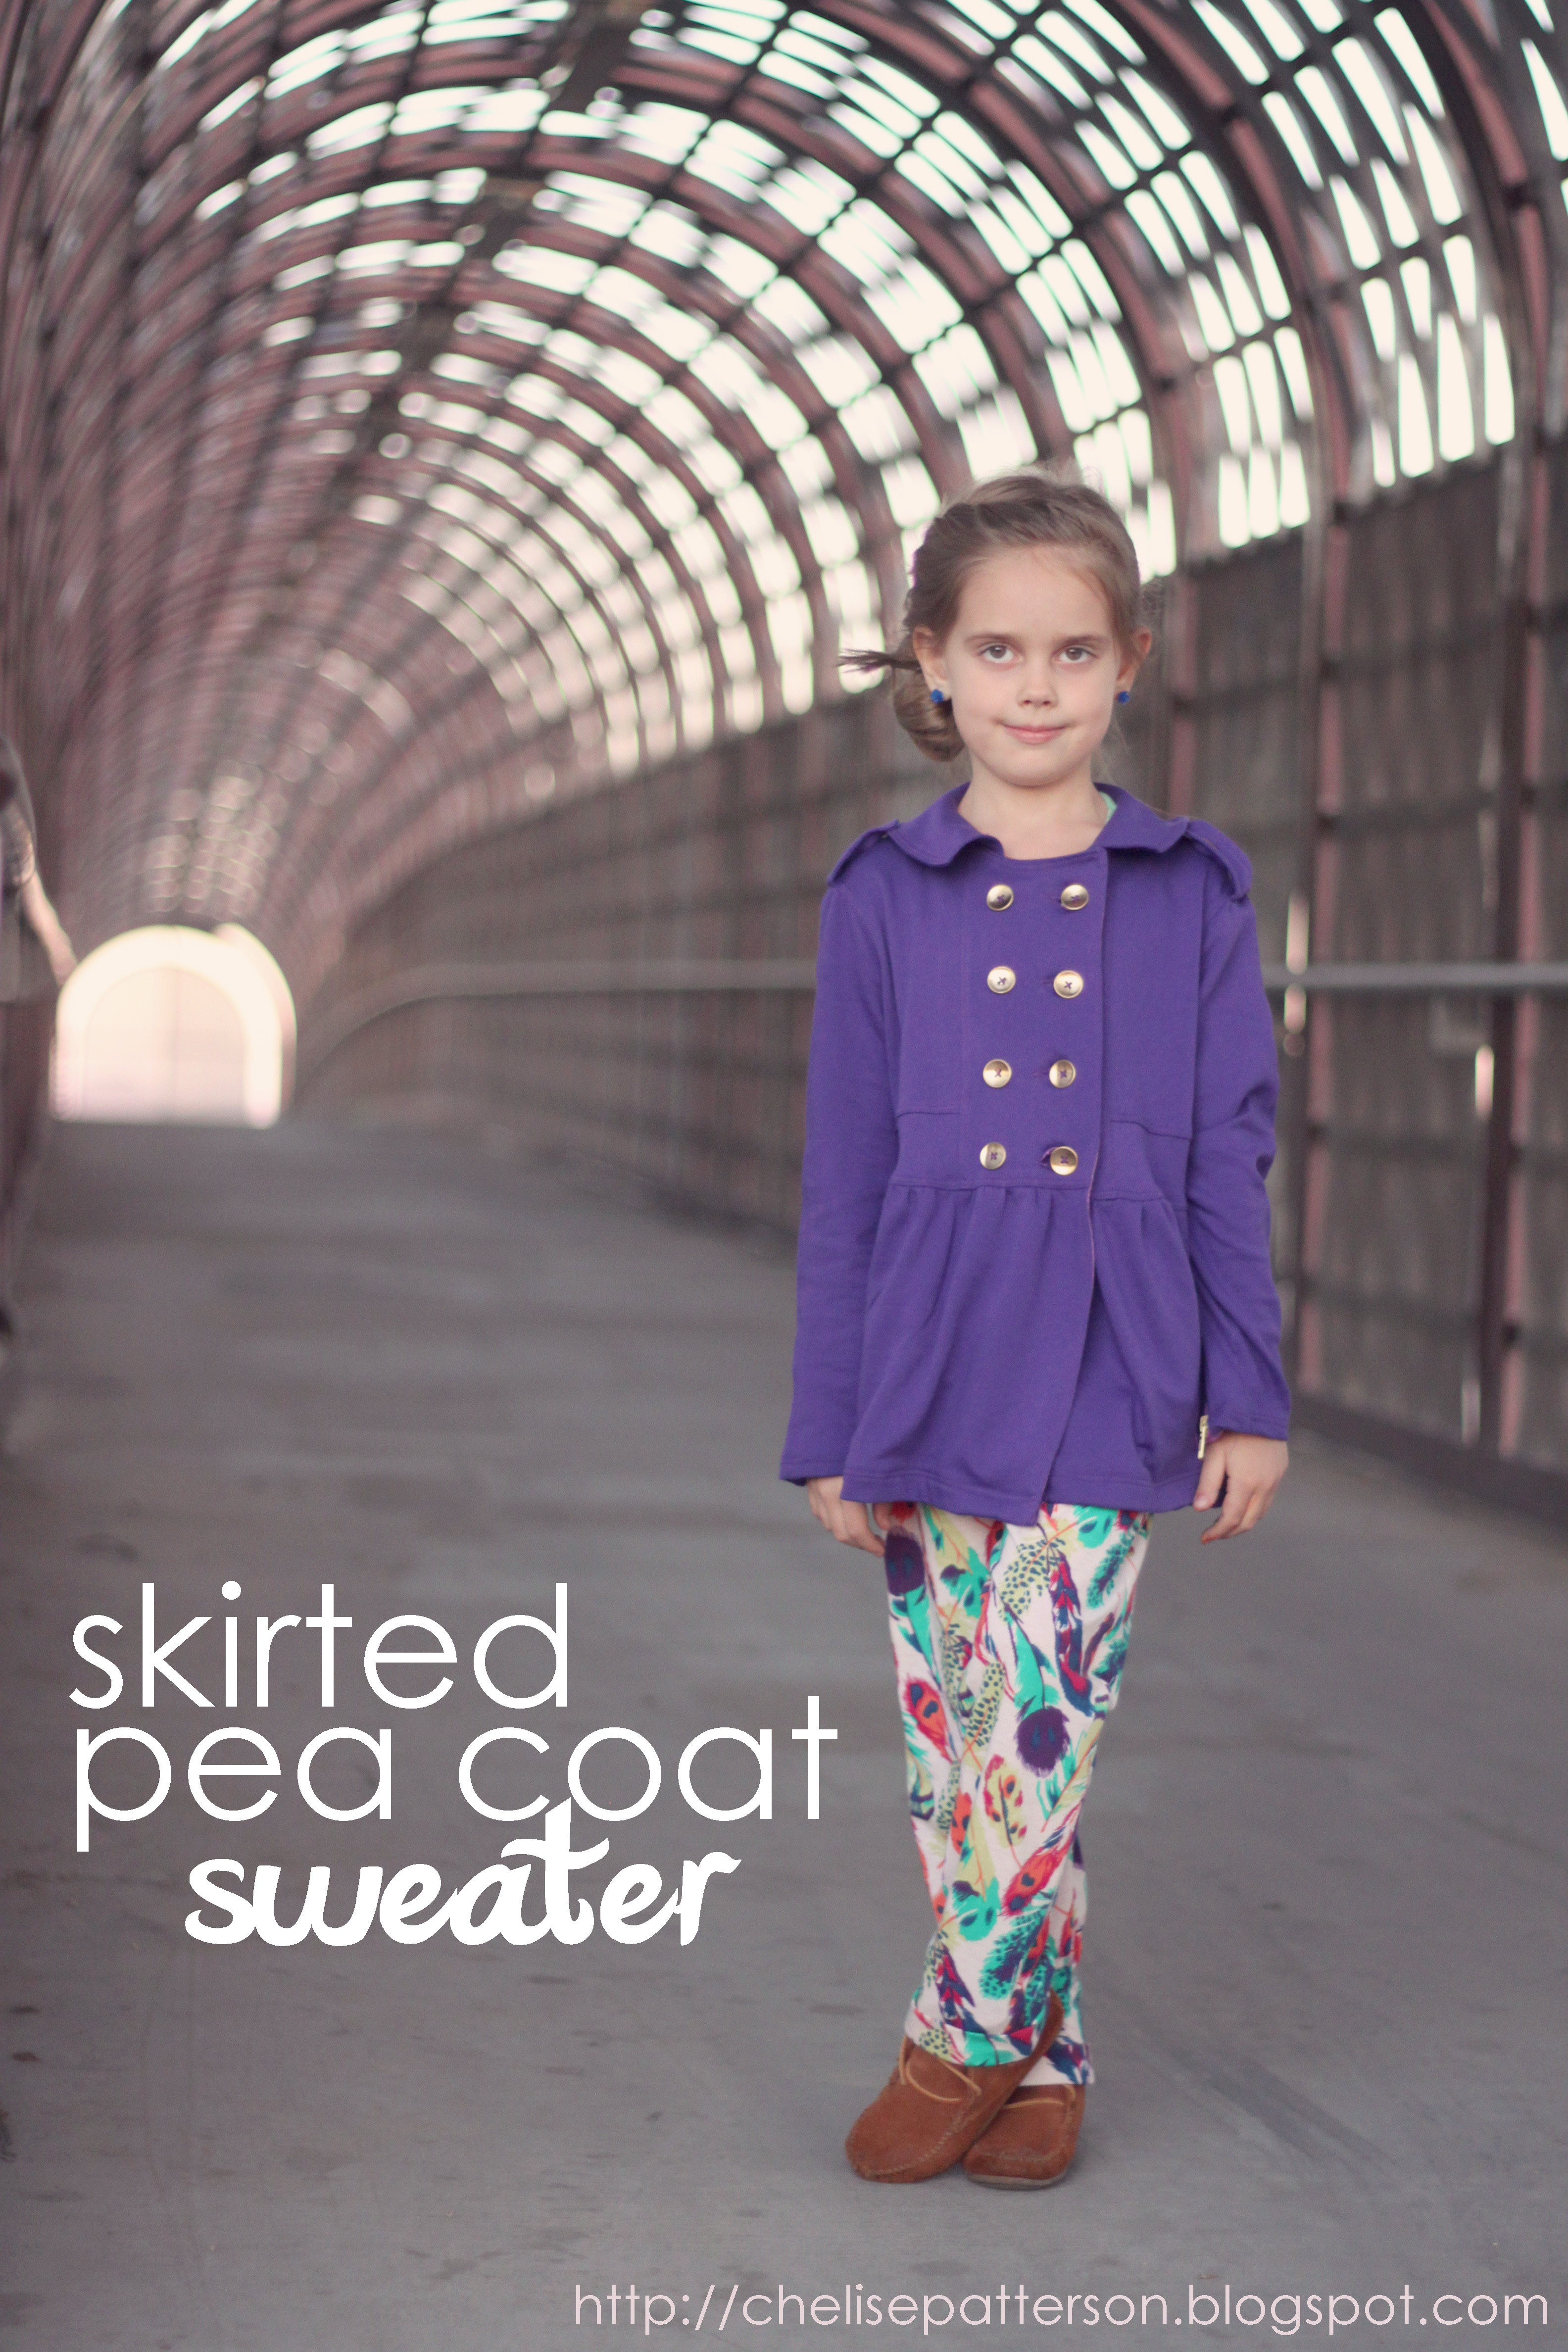
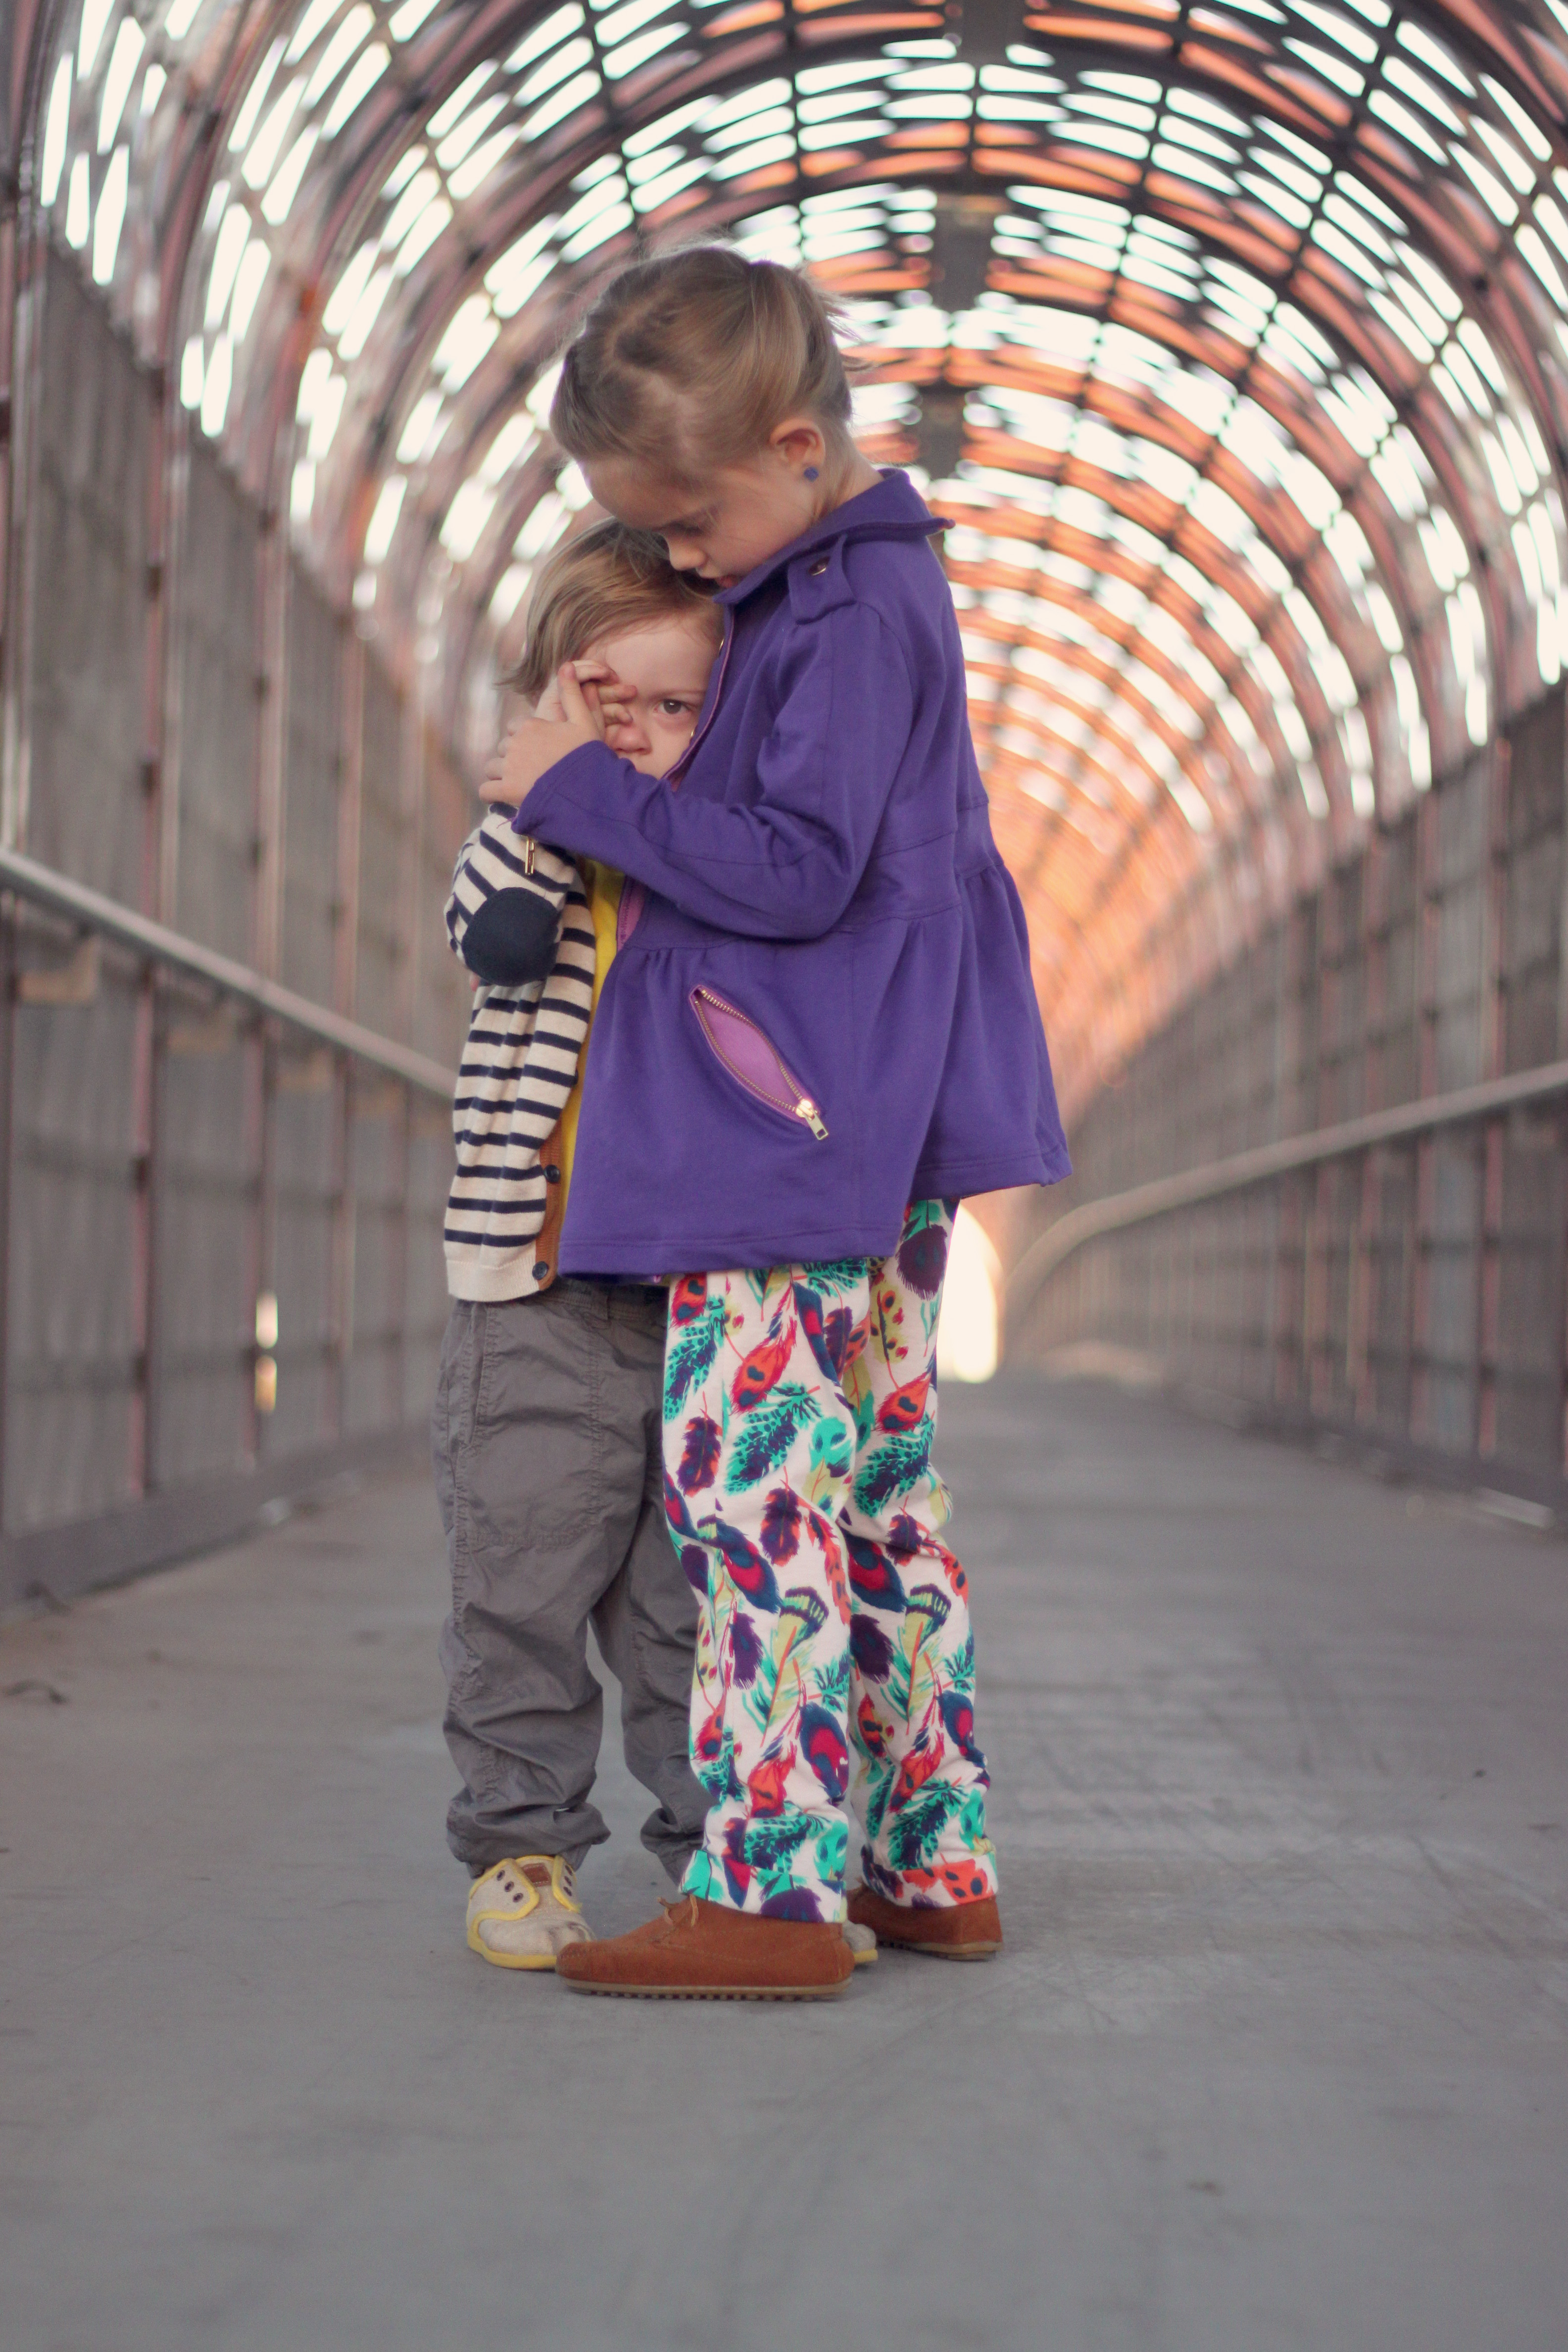
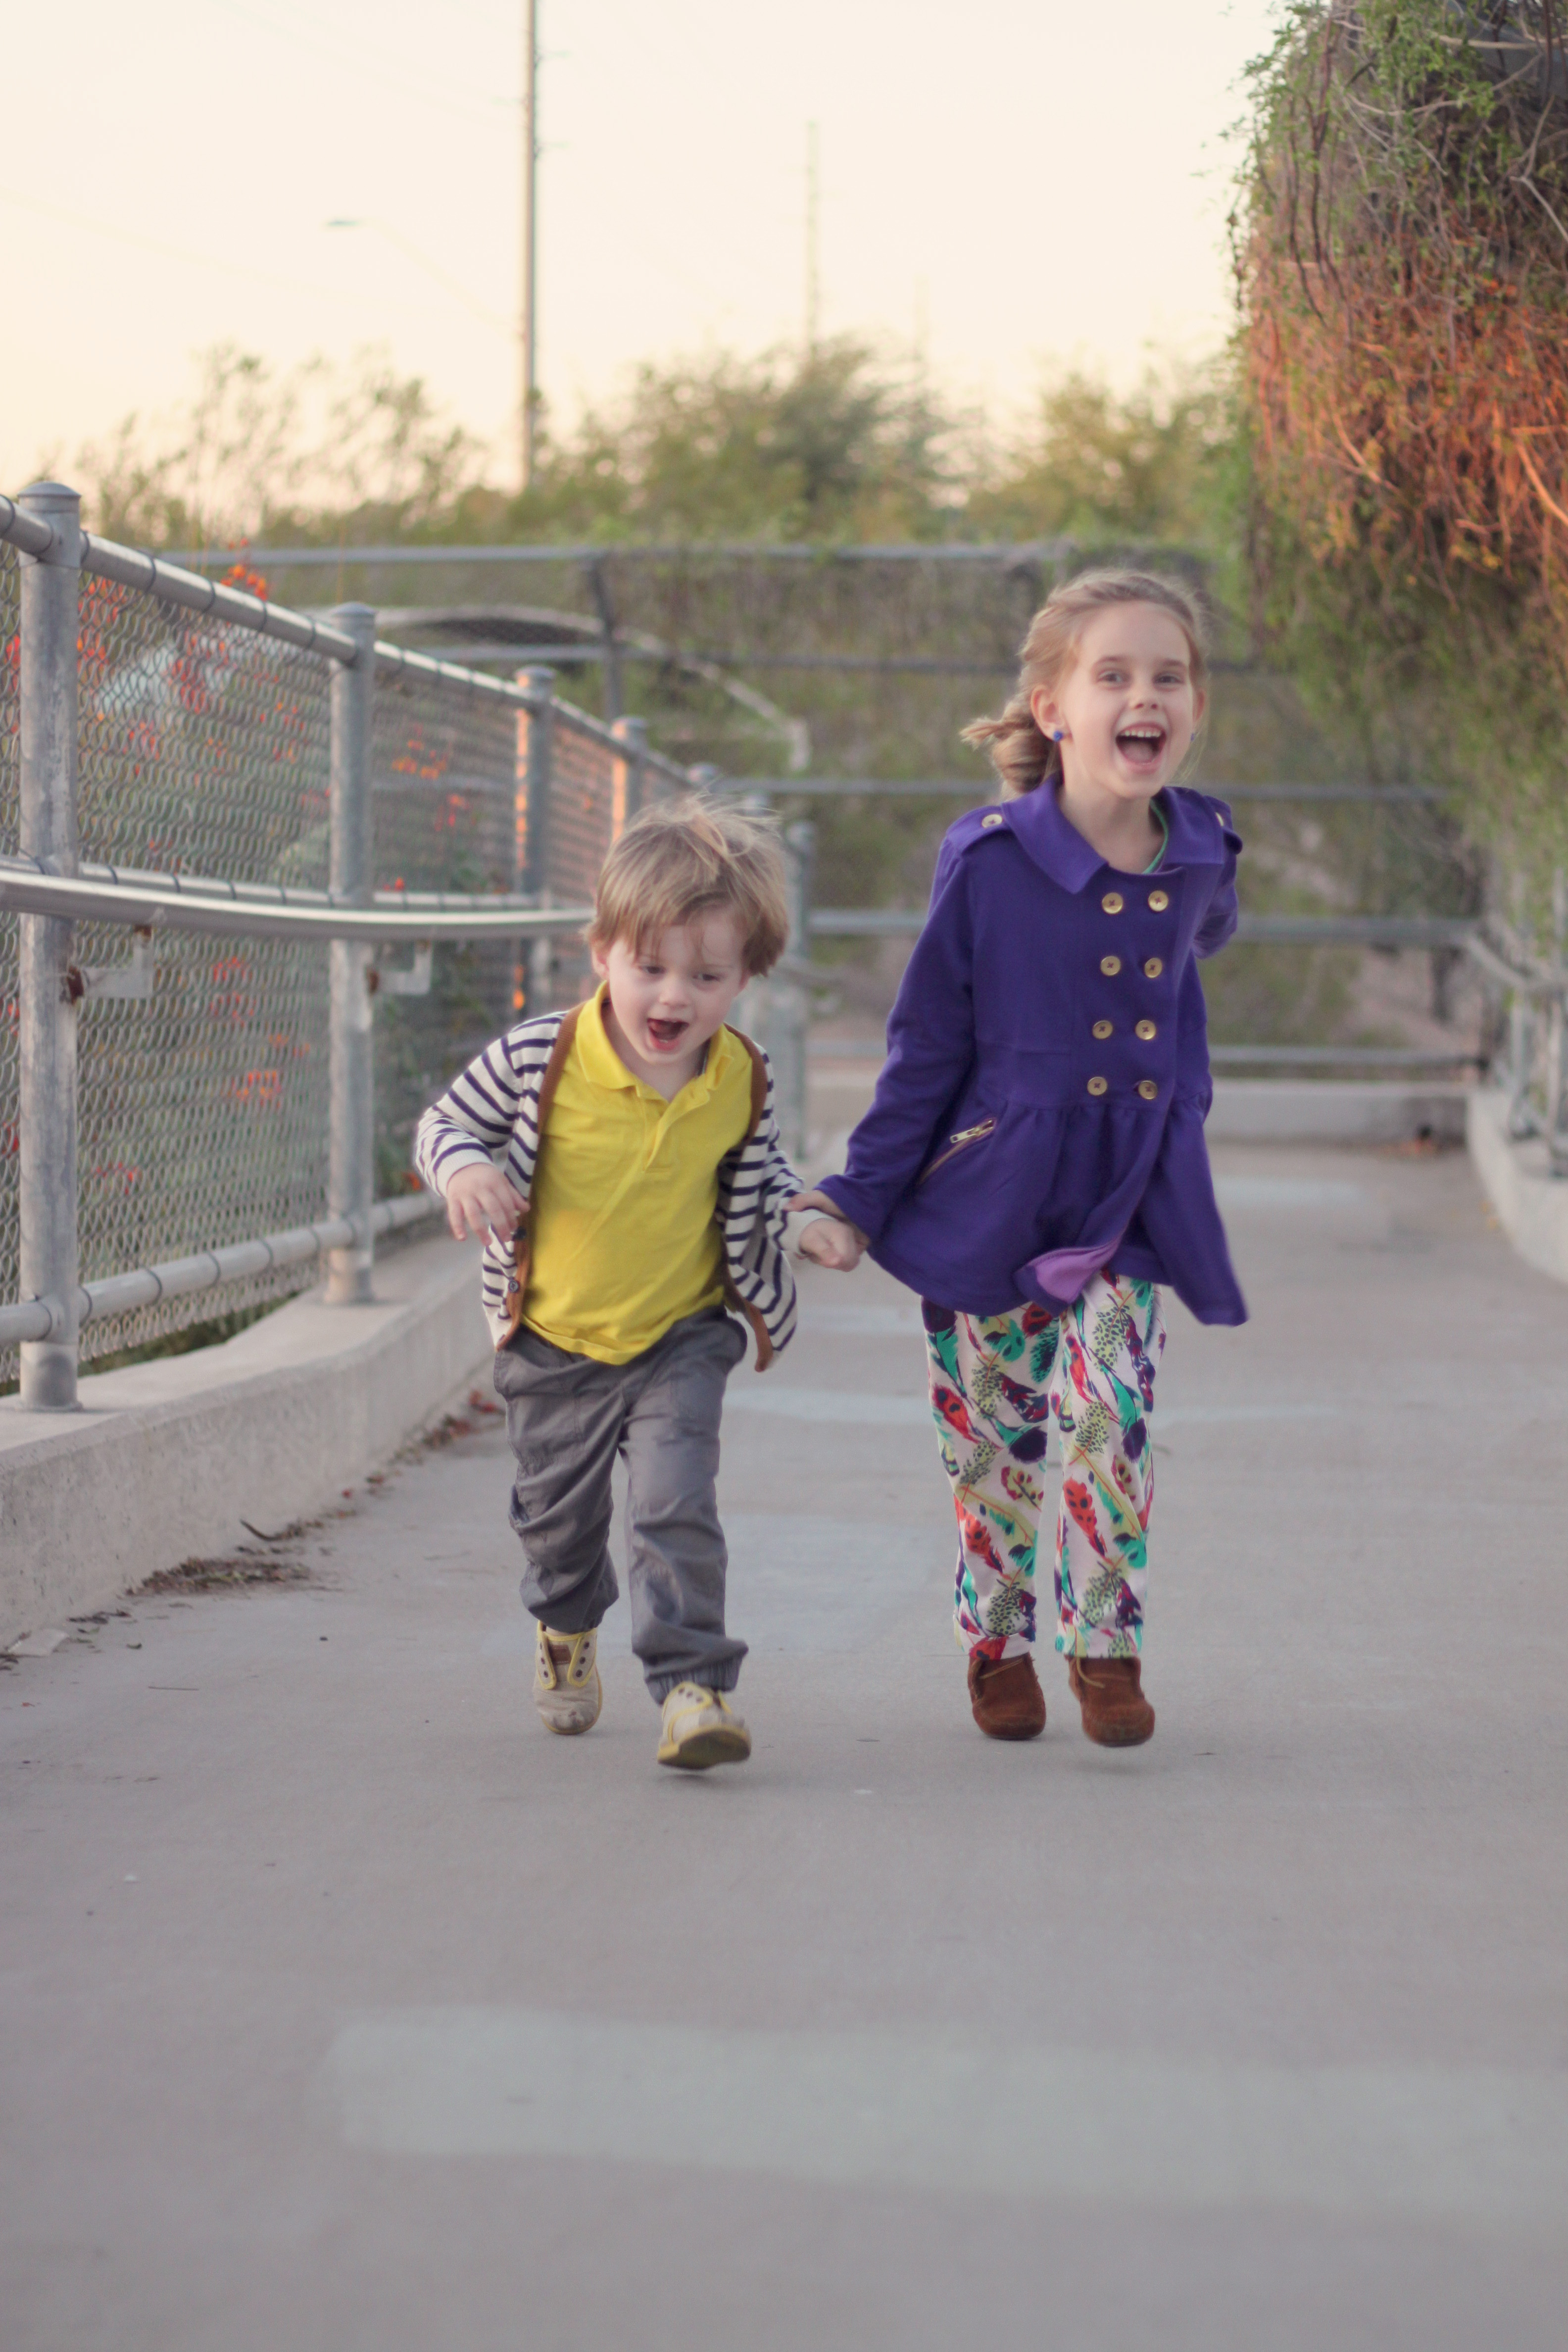
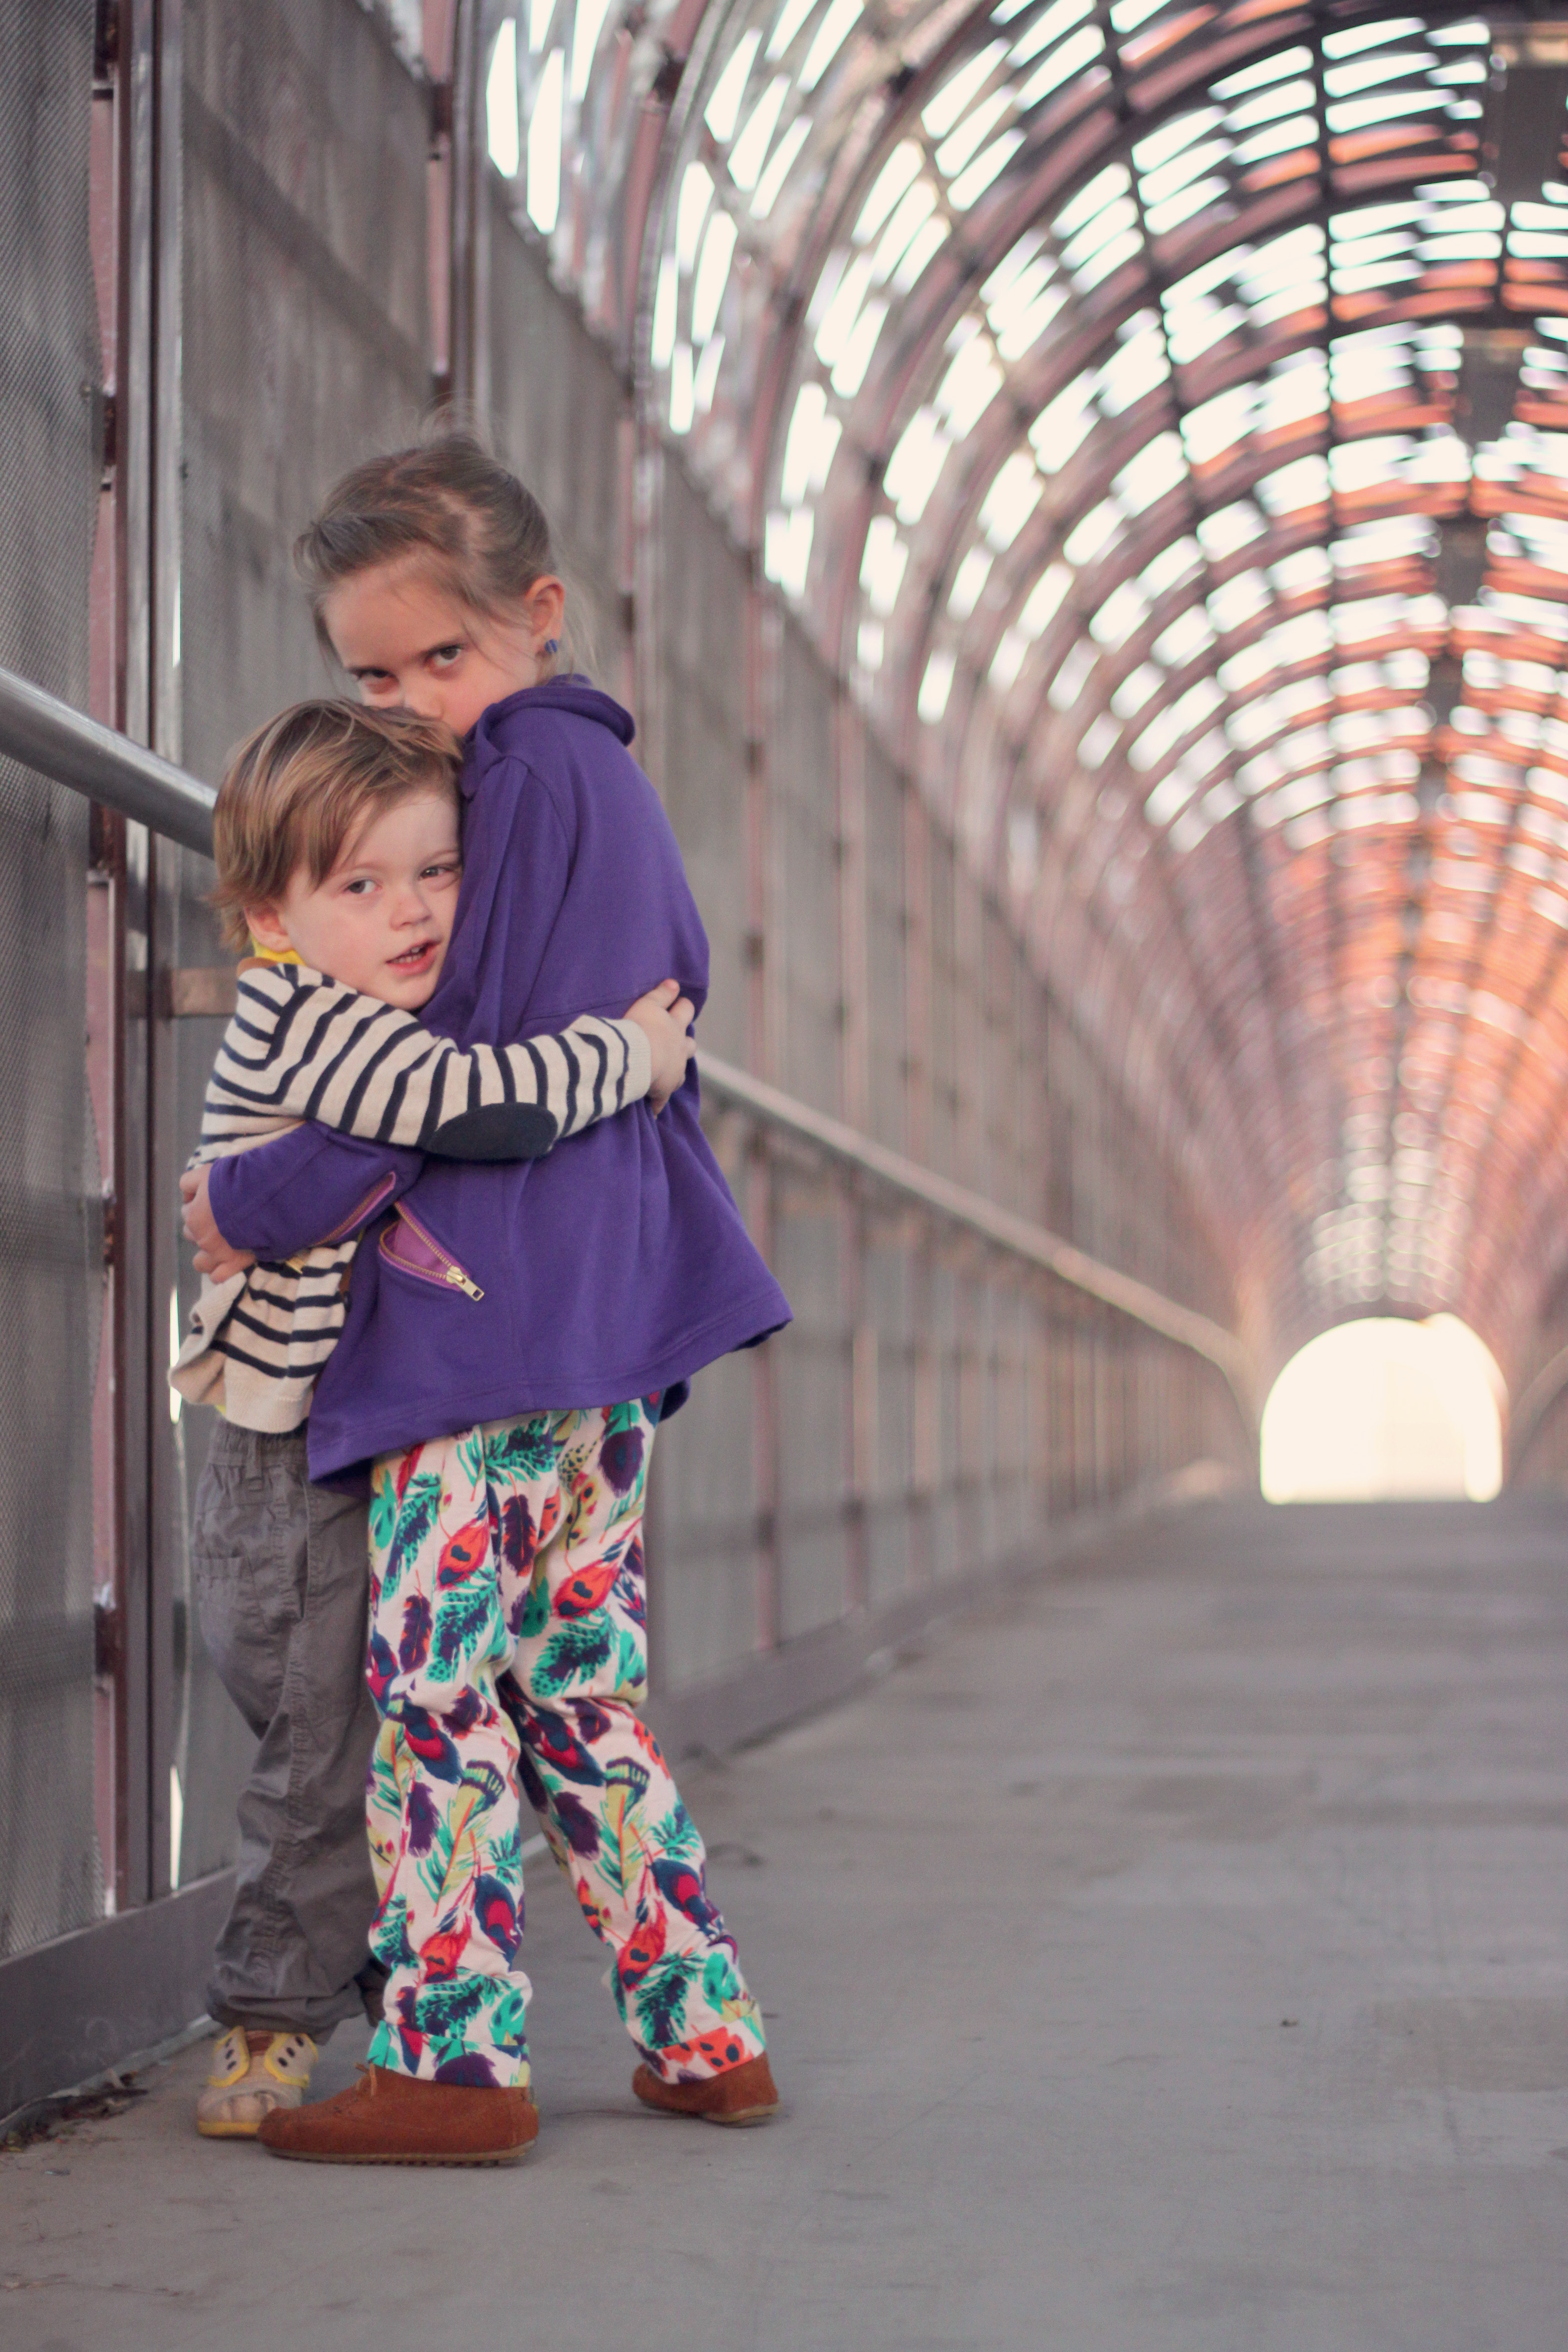
Here is what I did accomplish!


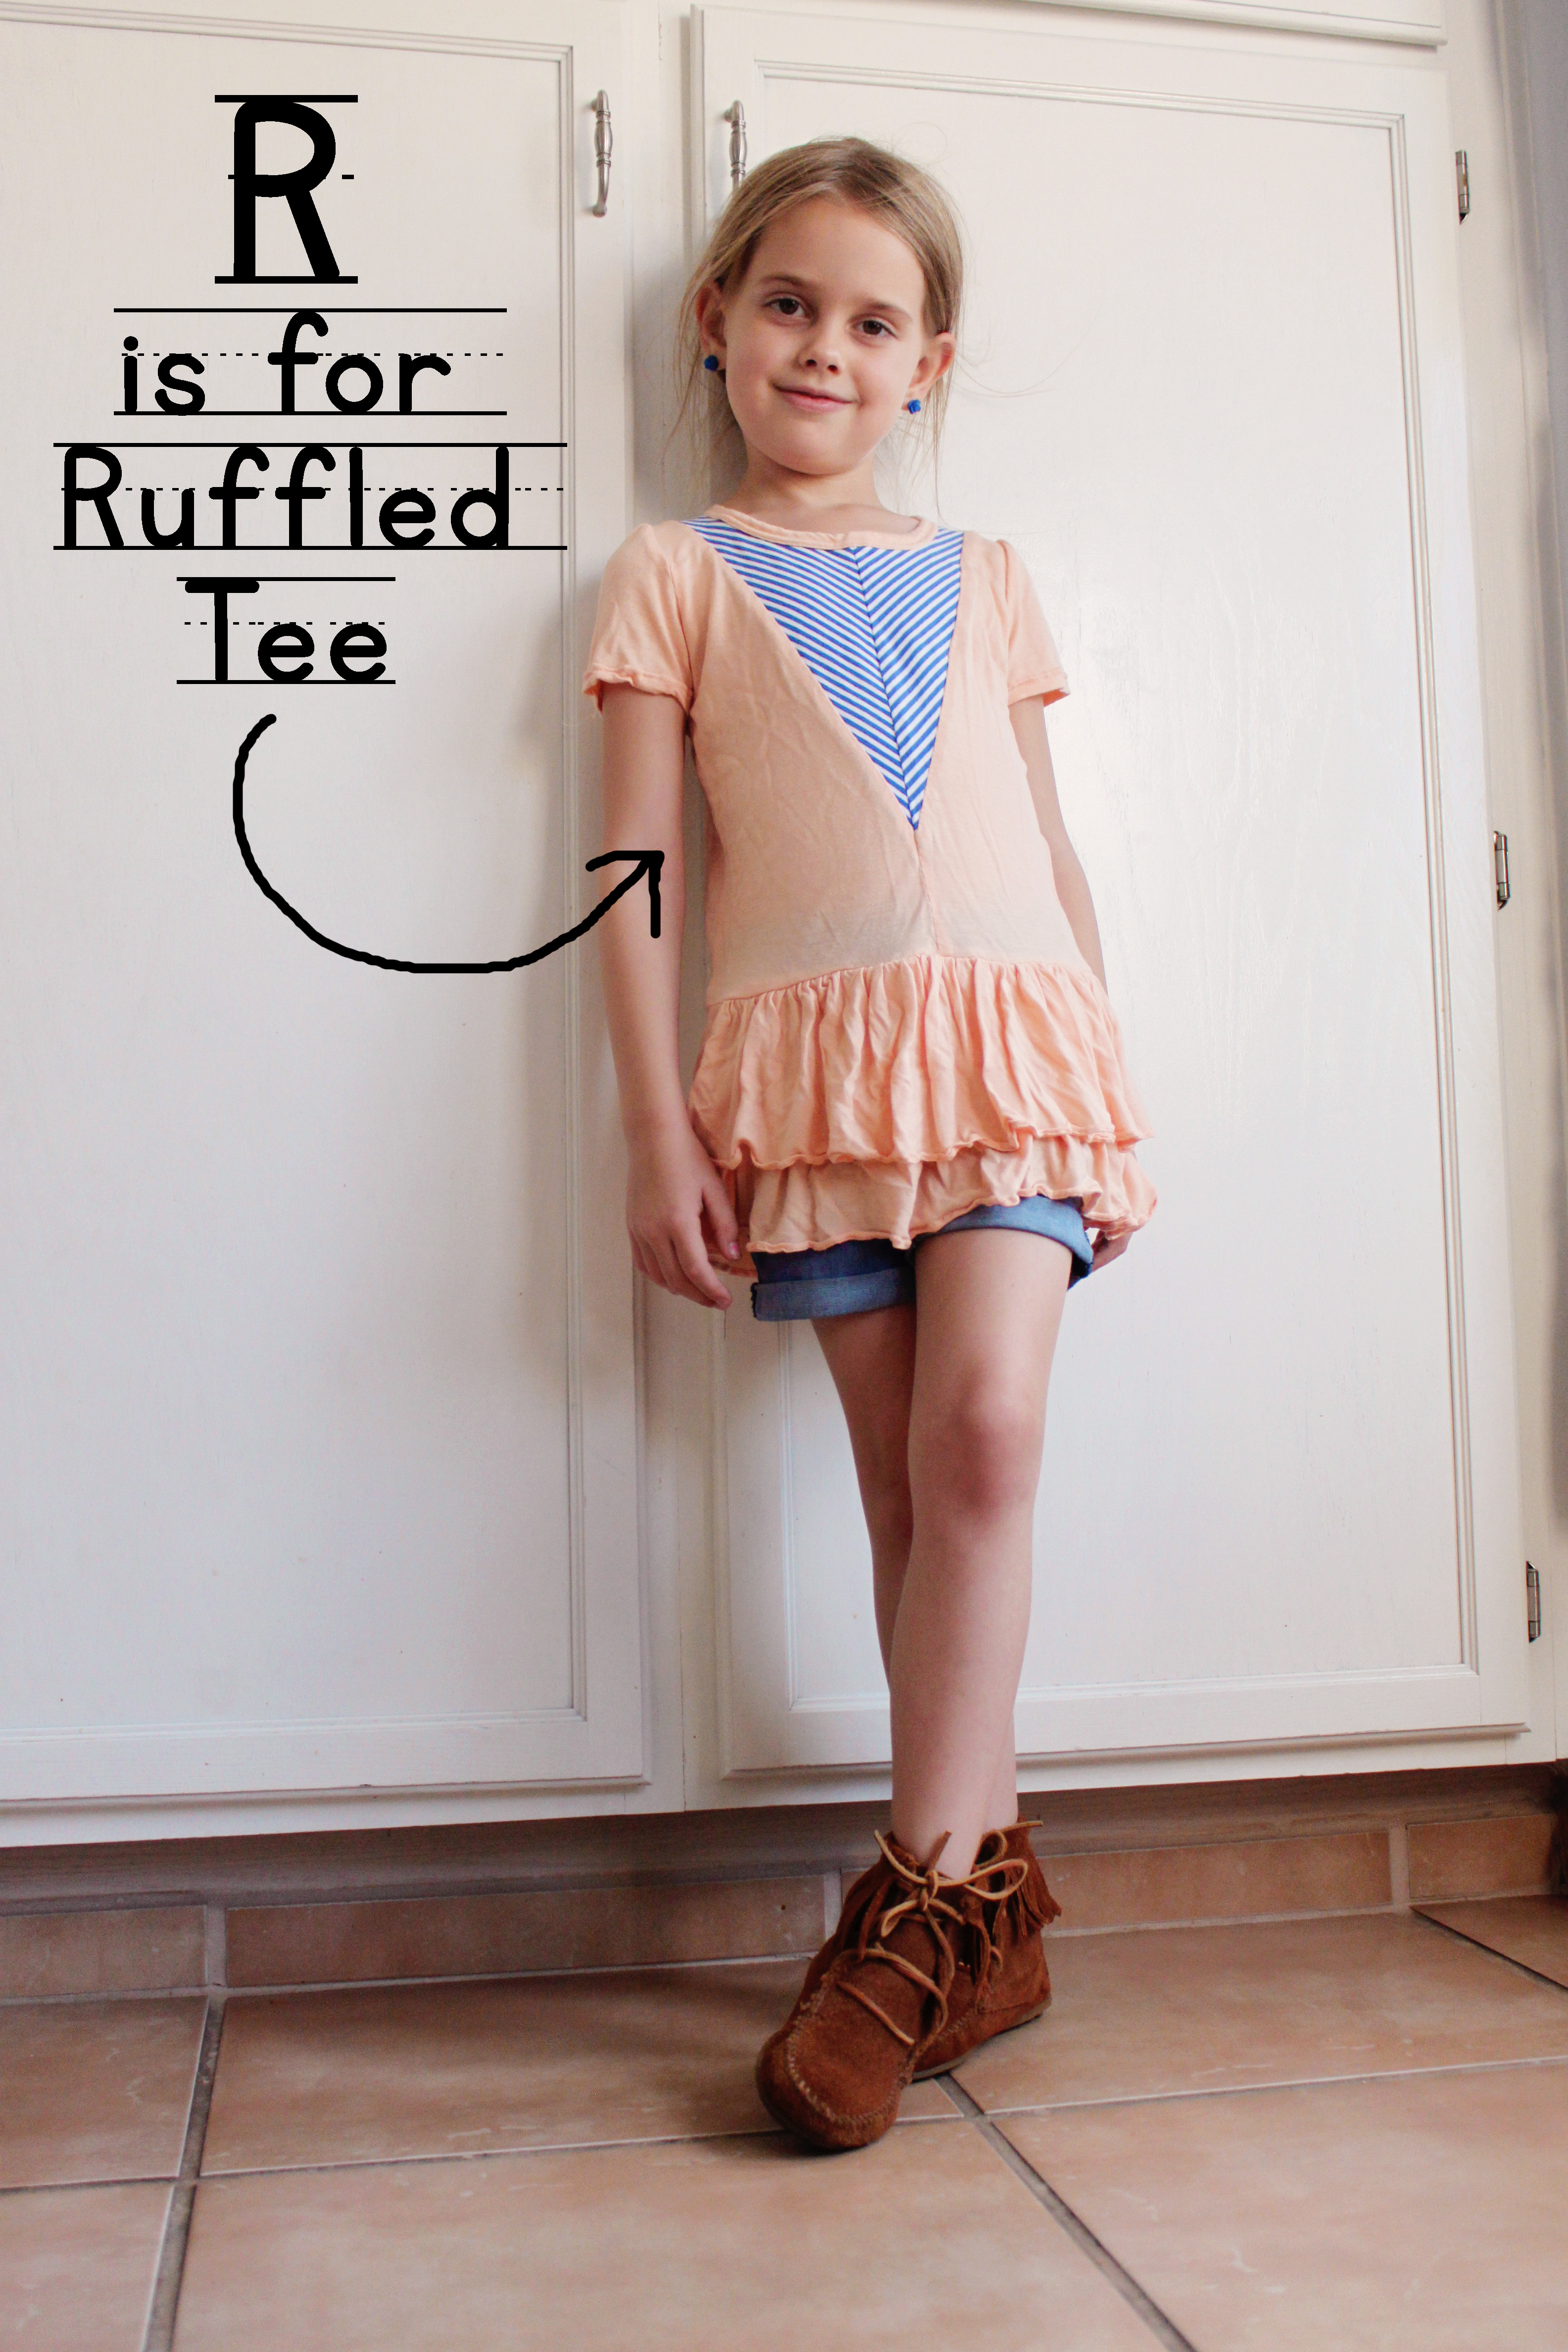
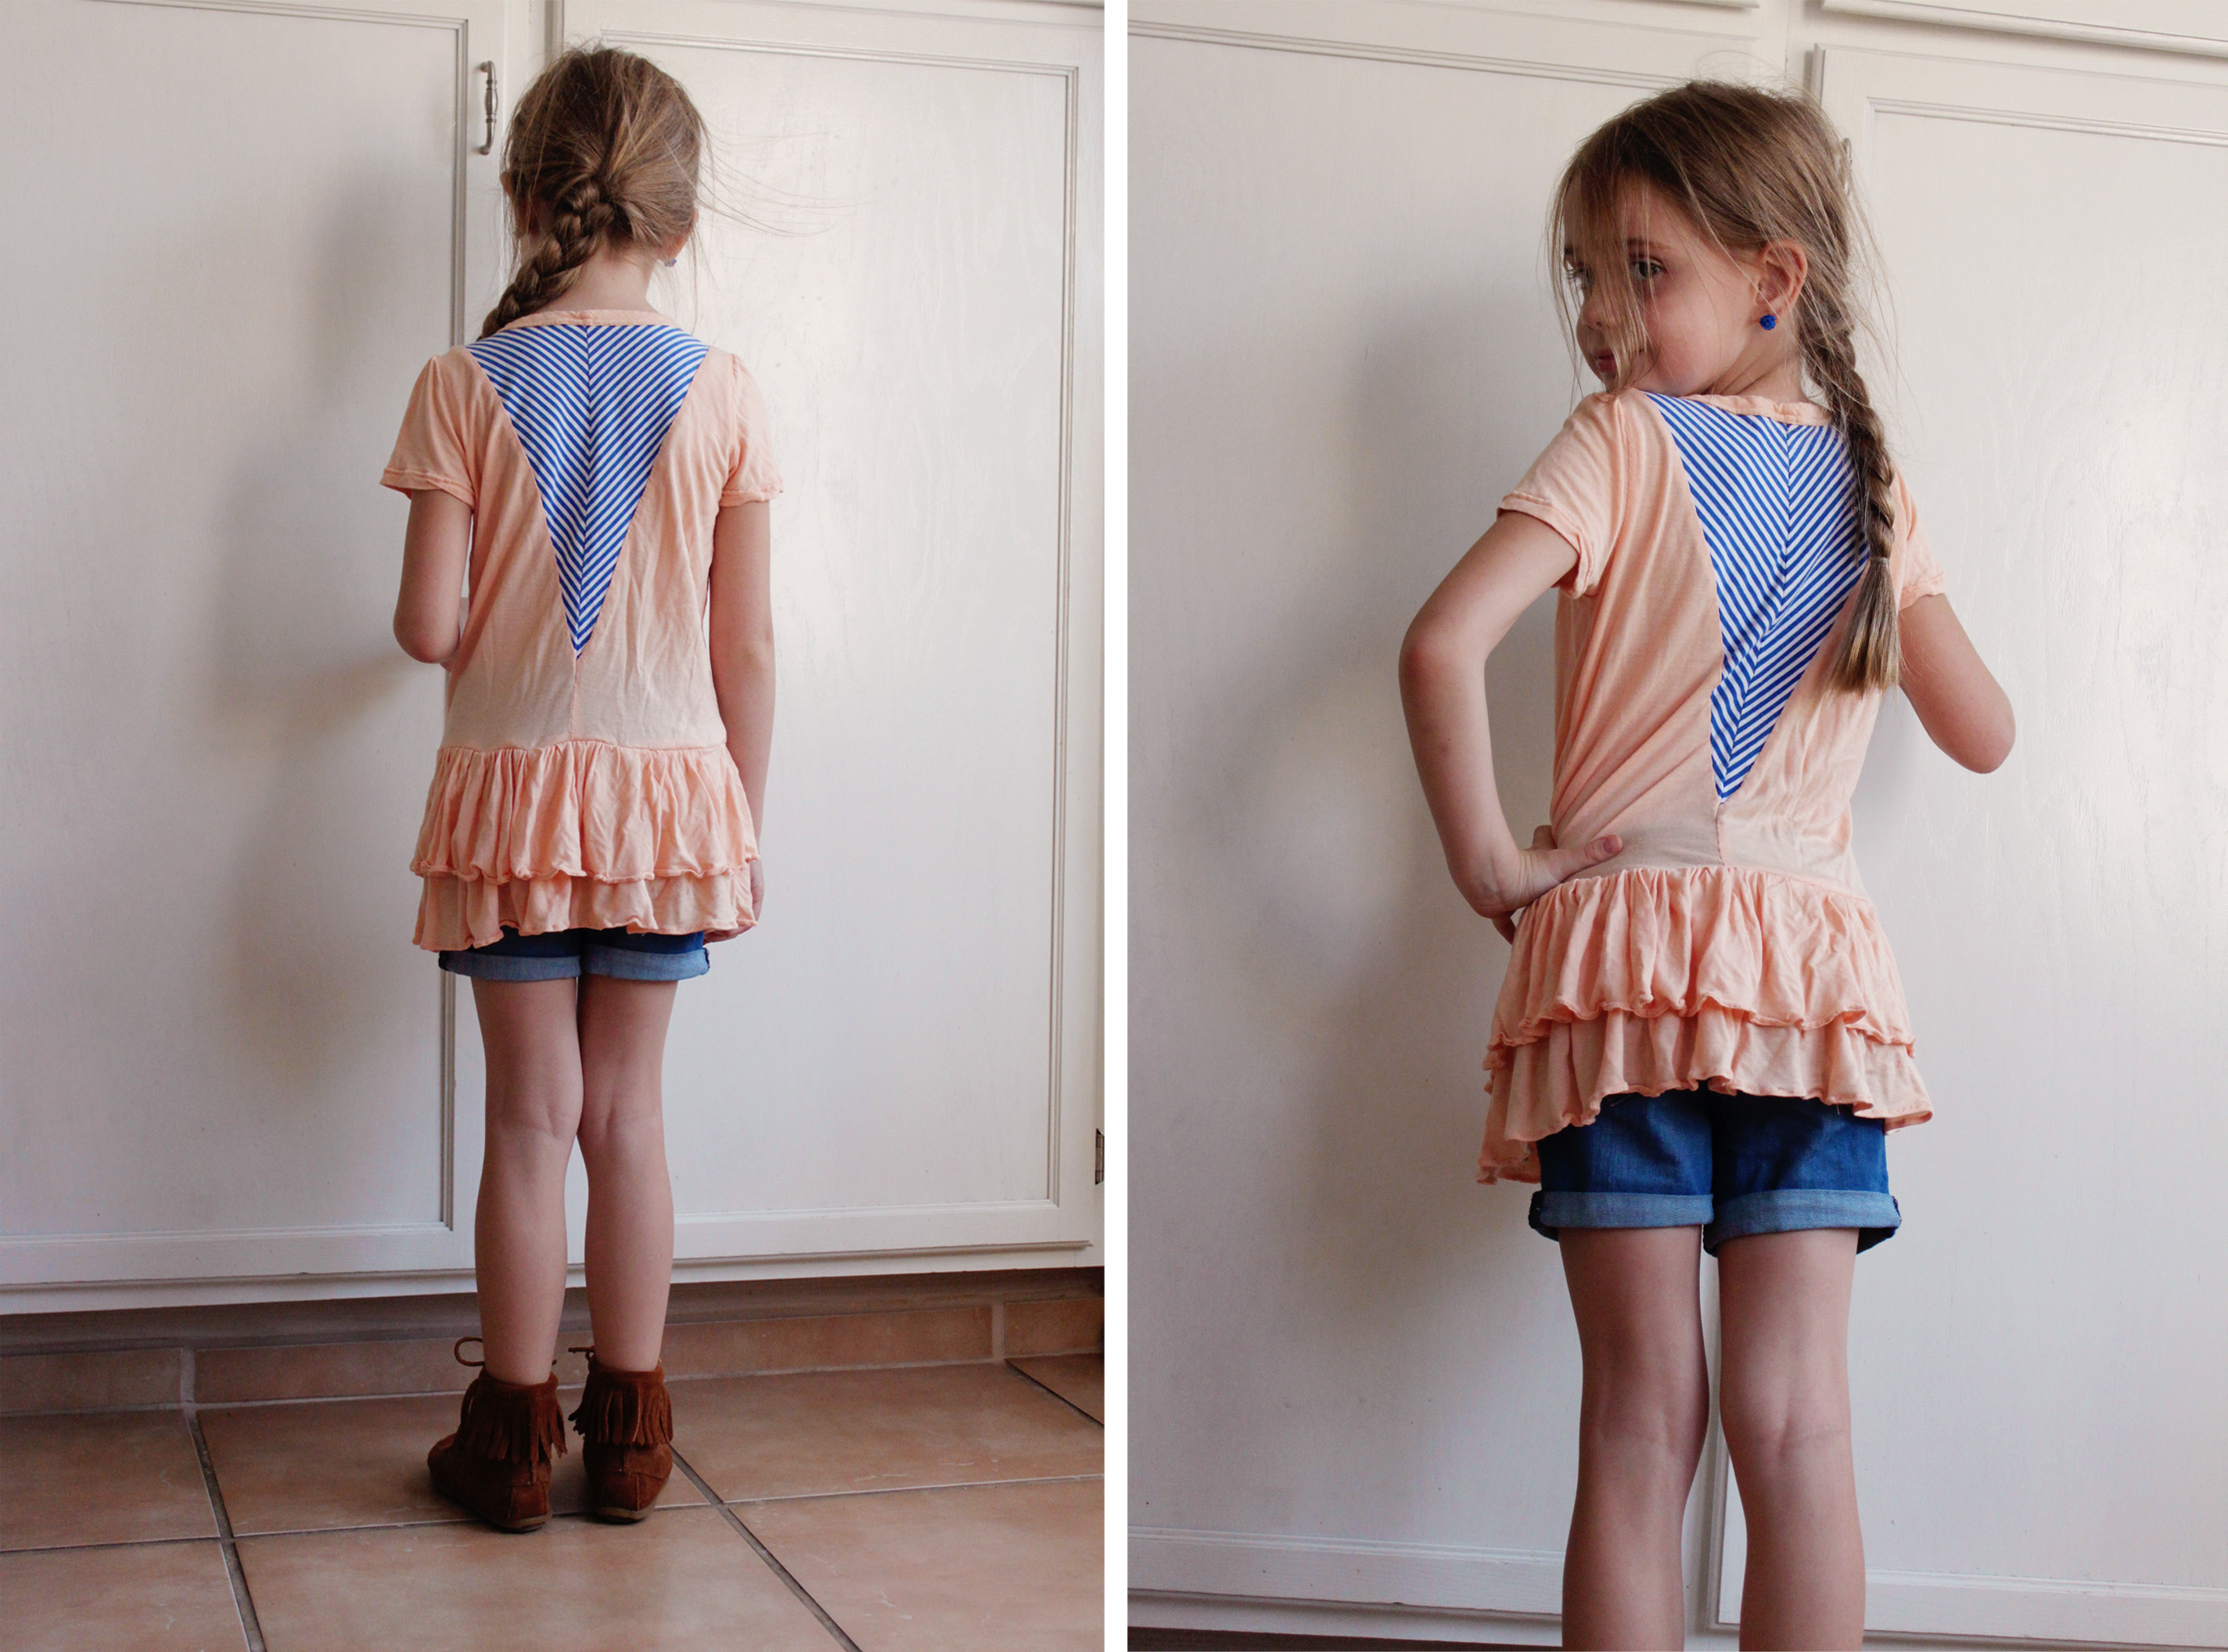
I love, love this ruffled tee. The peach knit is so soft and the blue stripes came from an old tee of mine, cut on the diagonal.

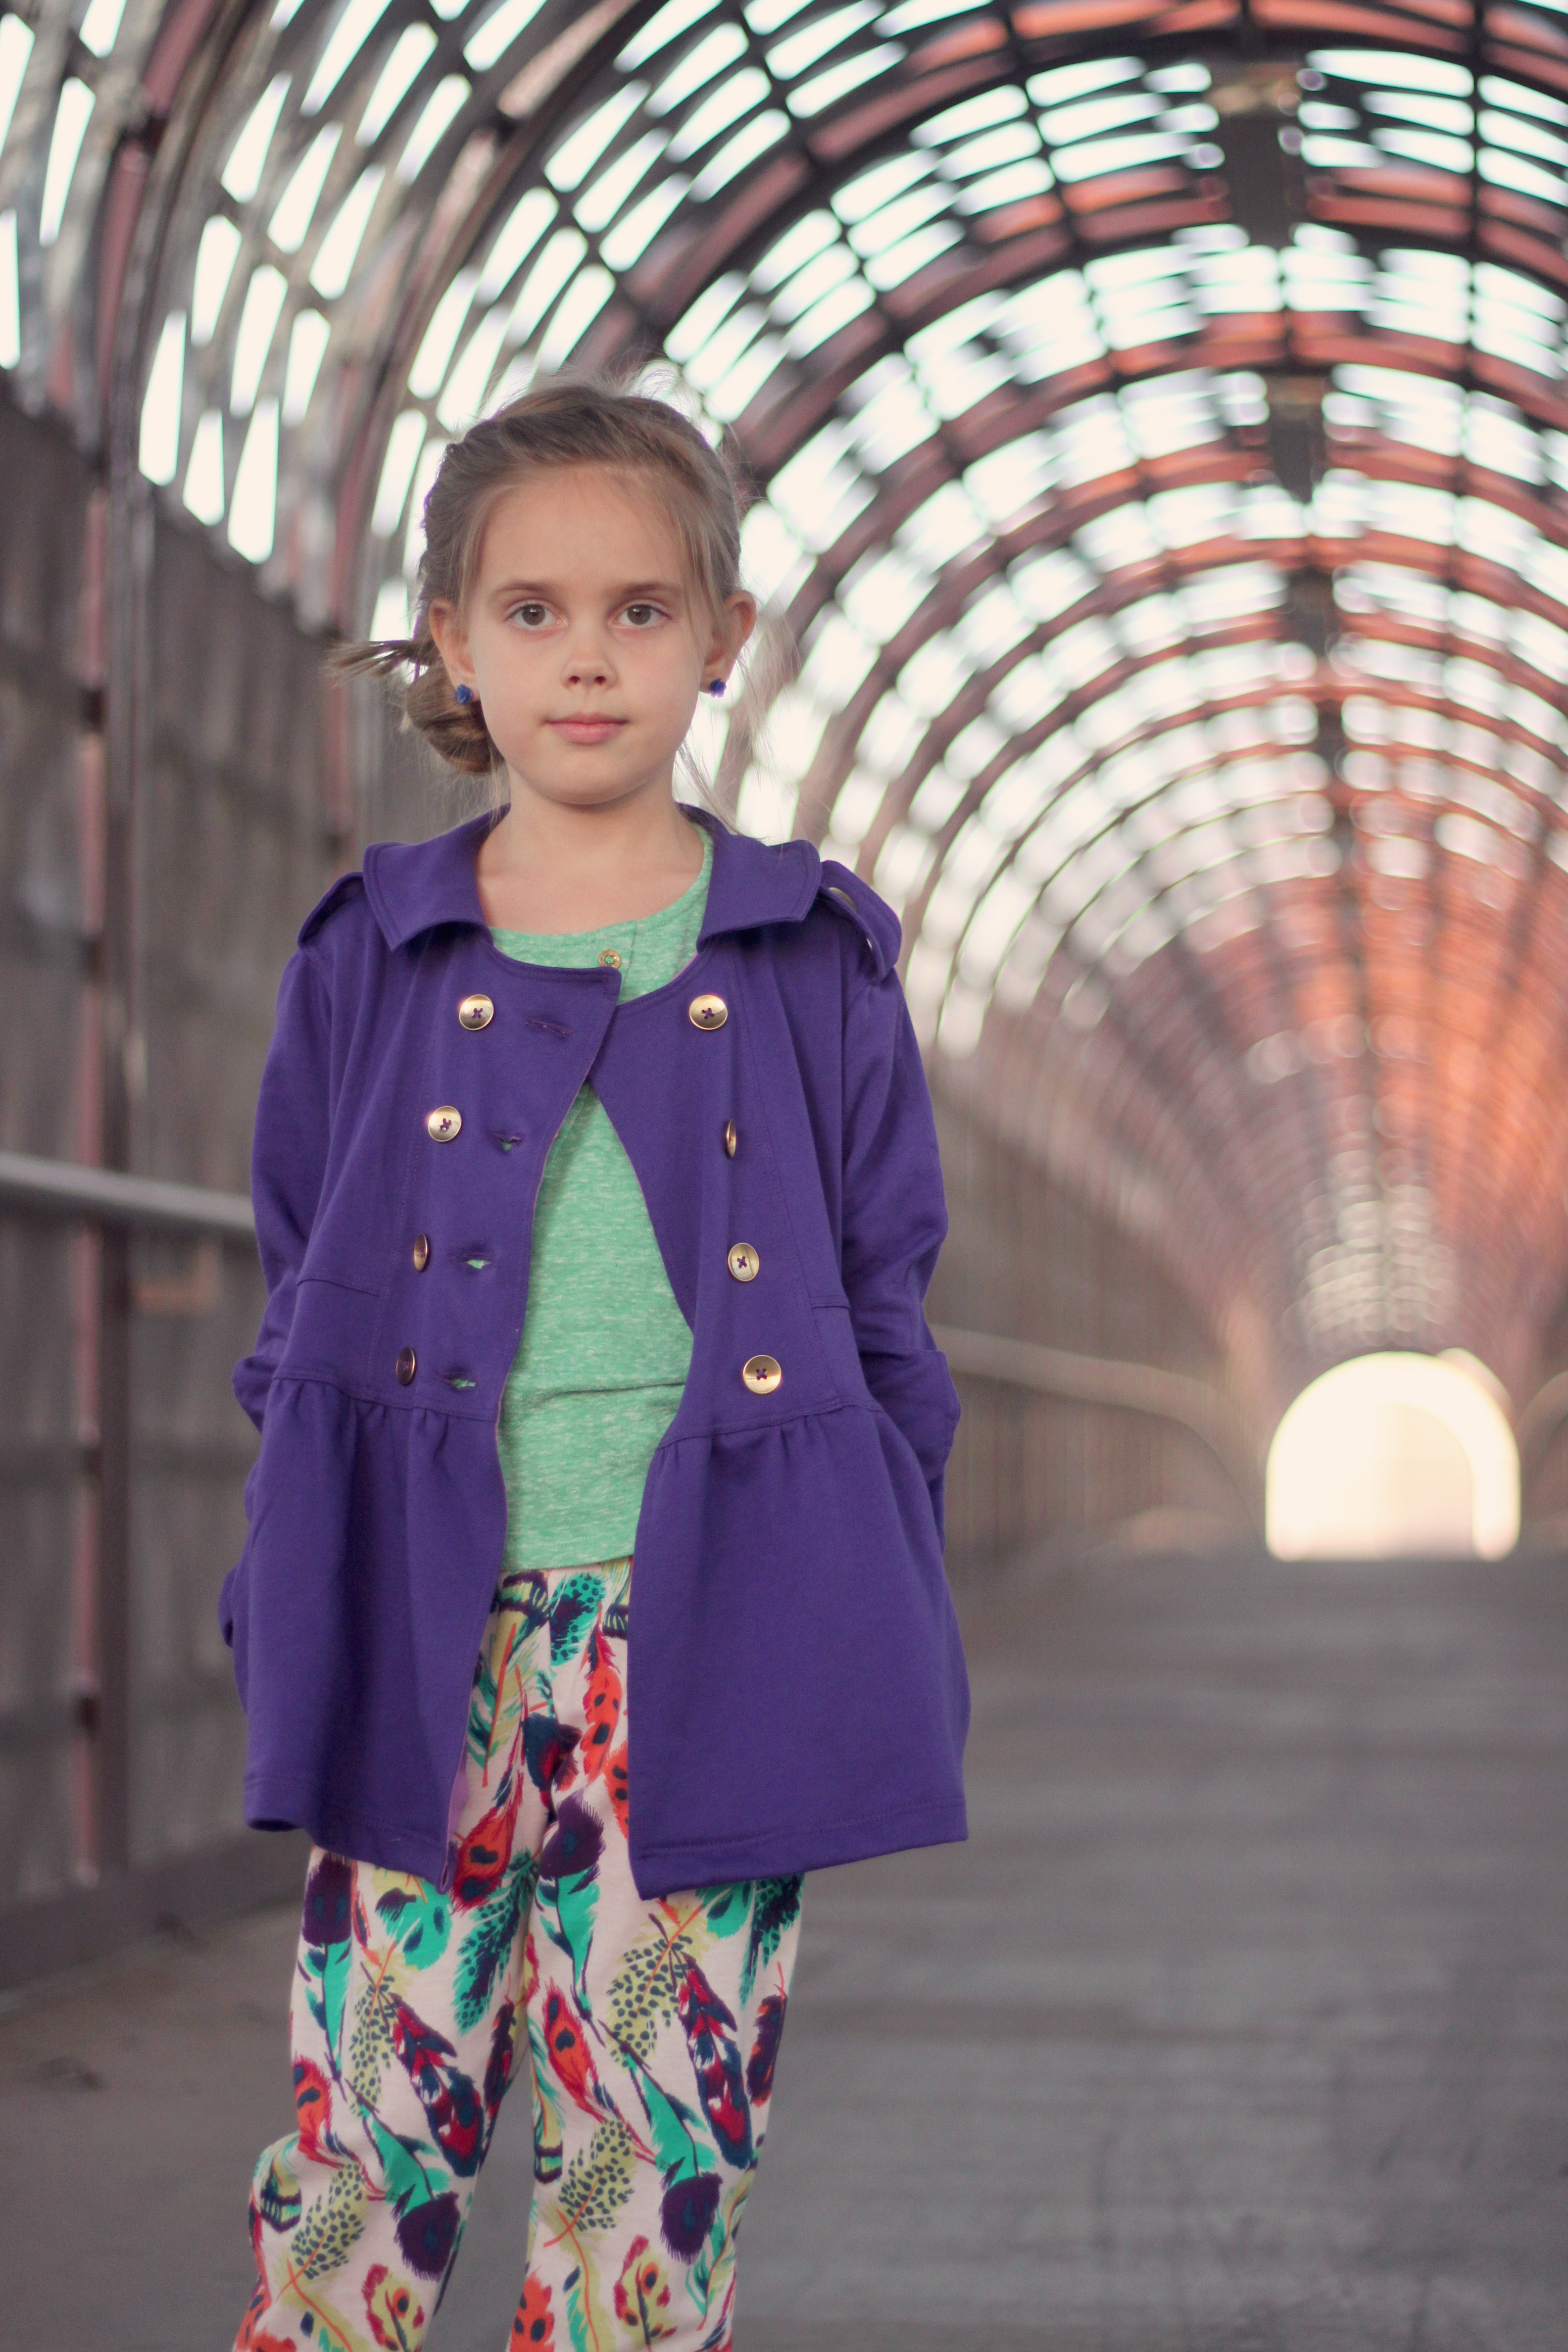
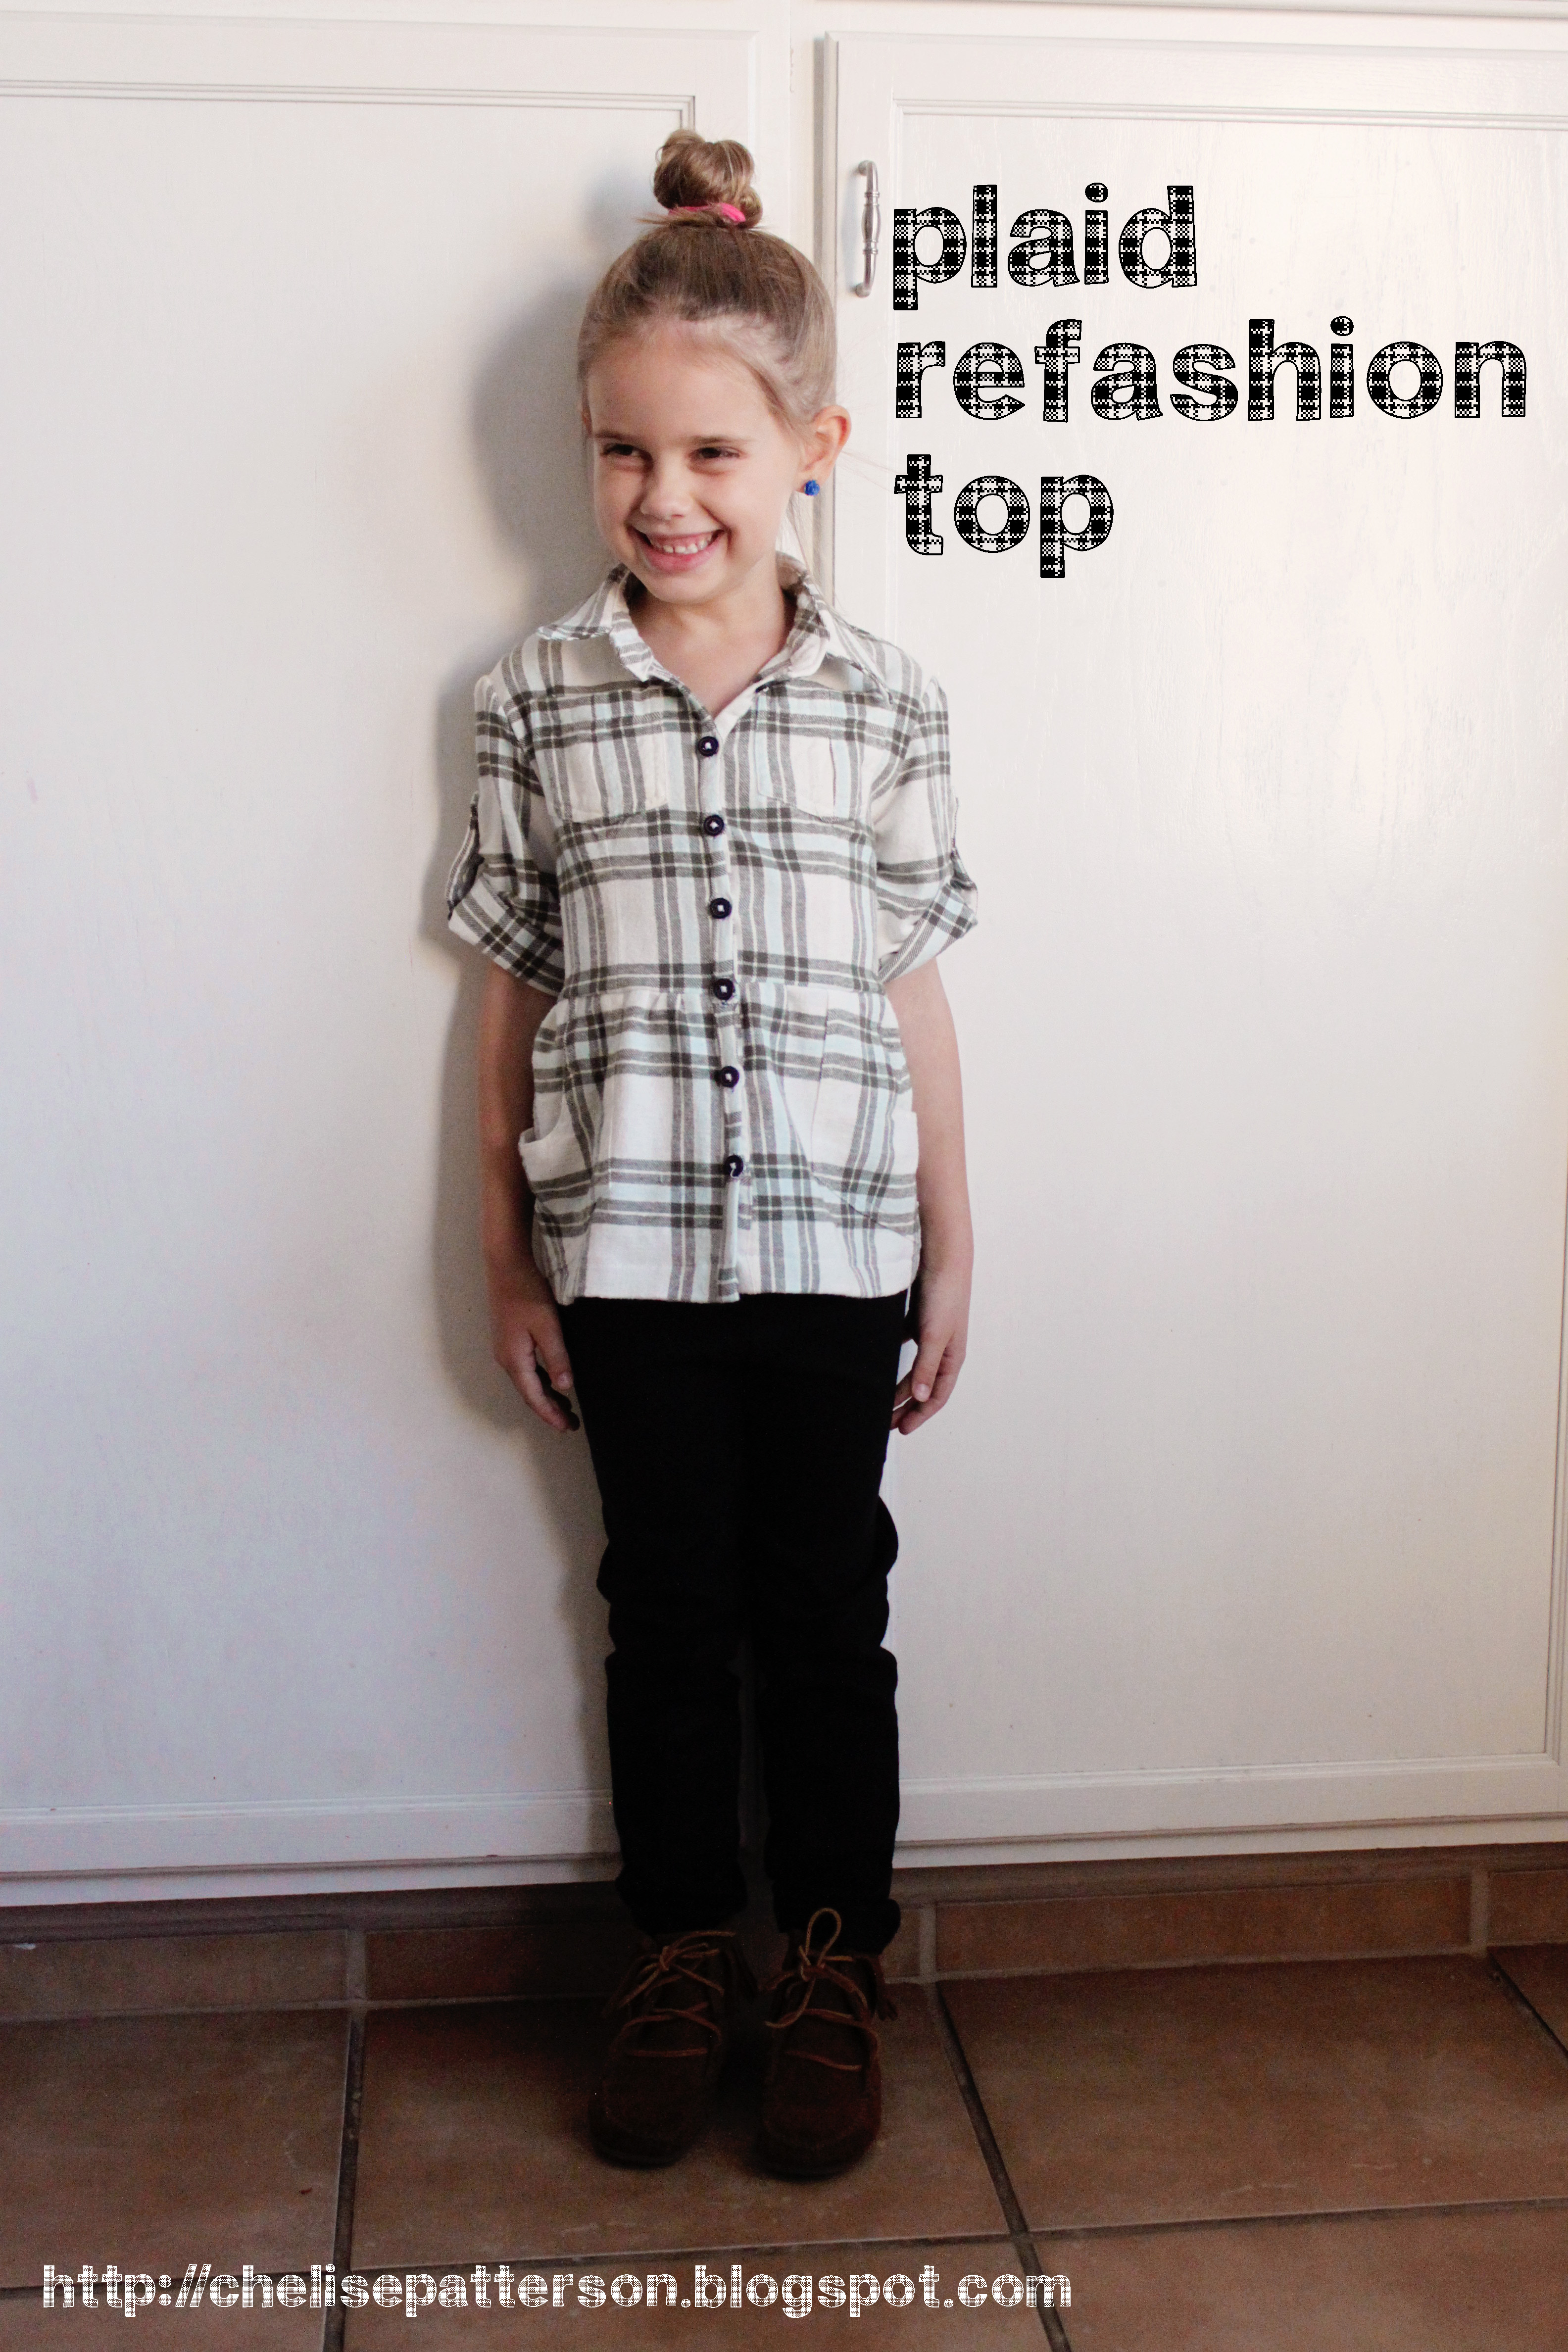
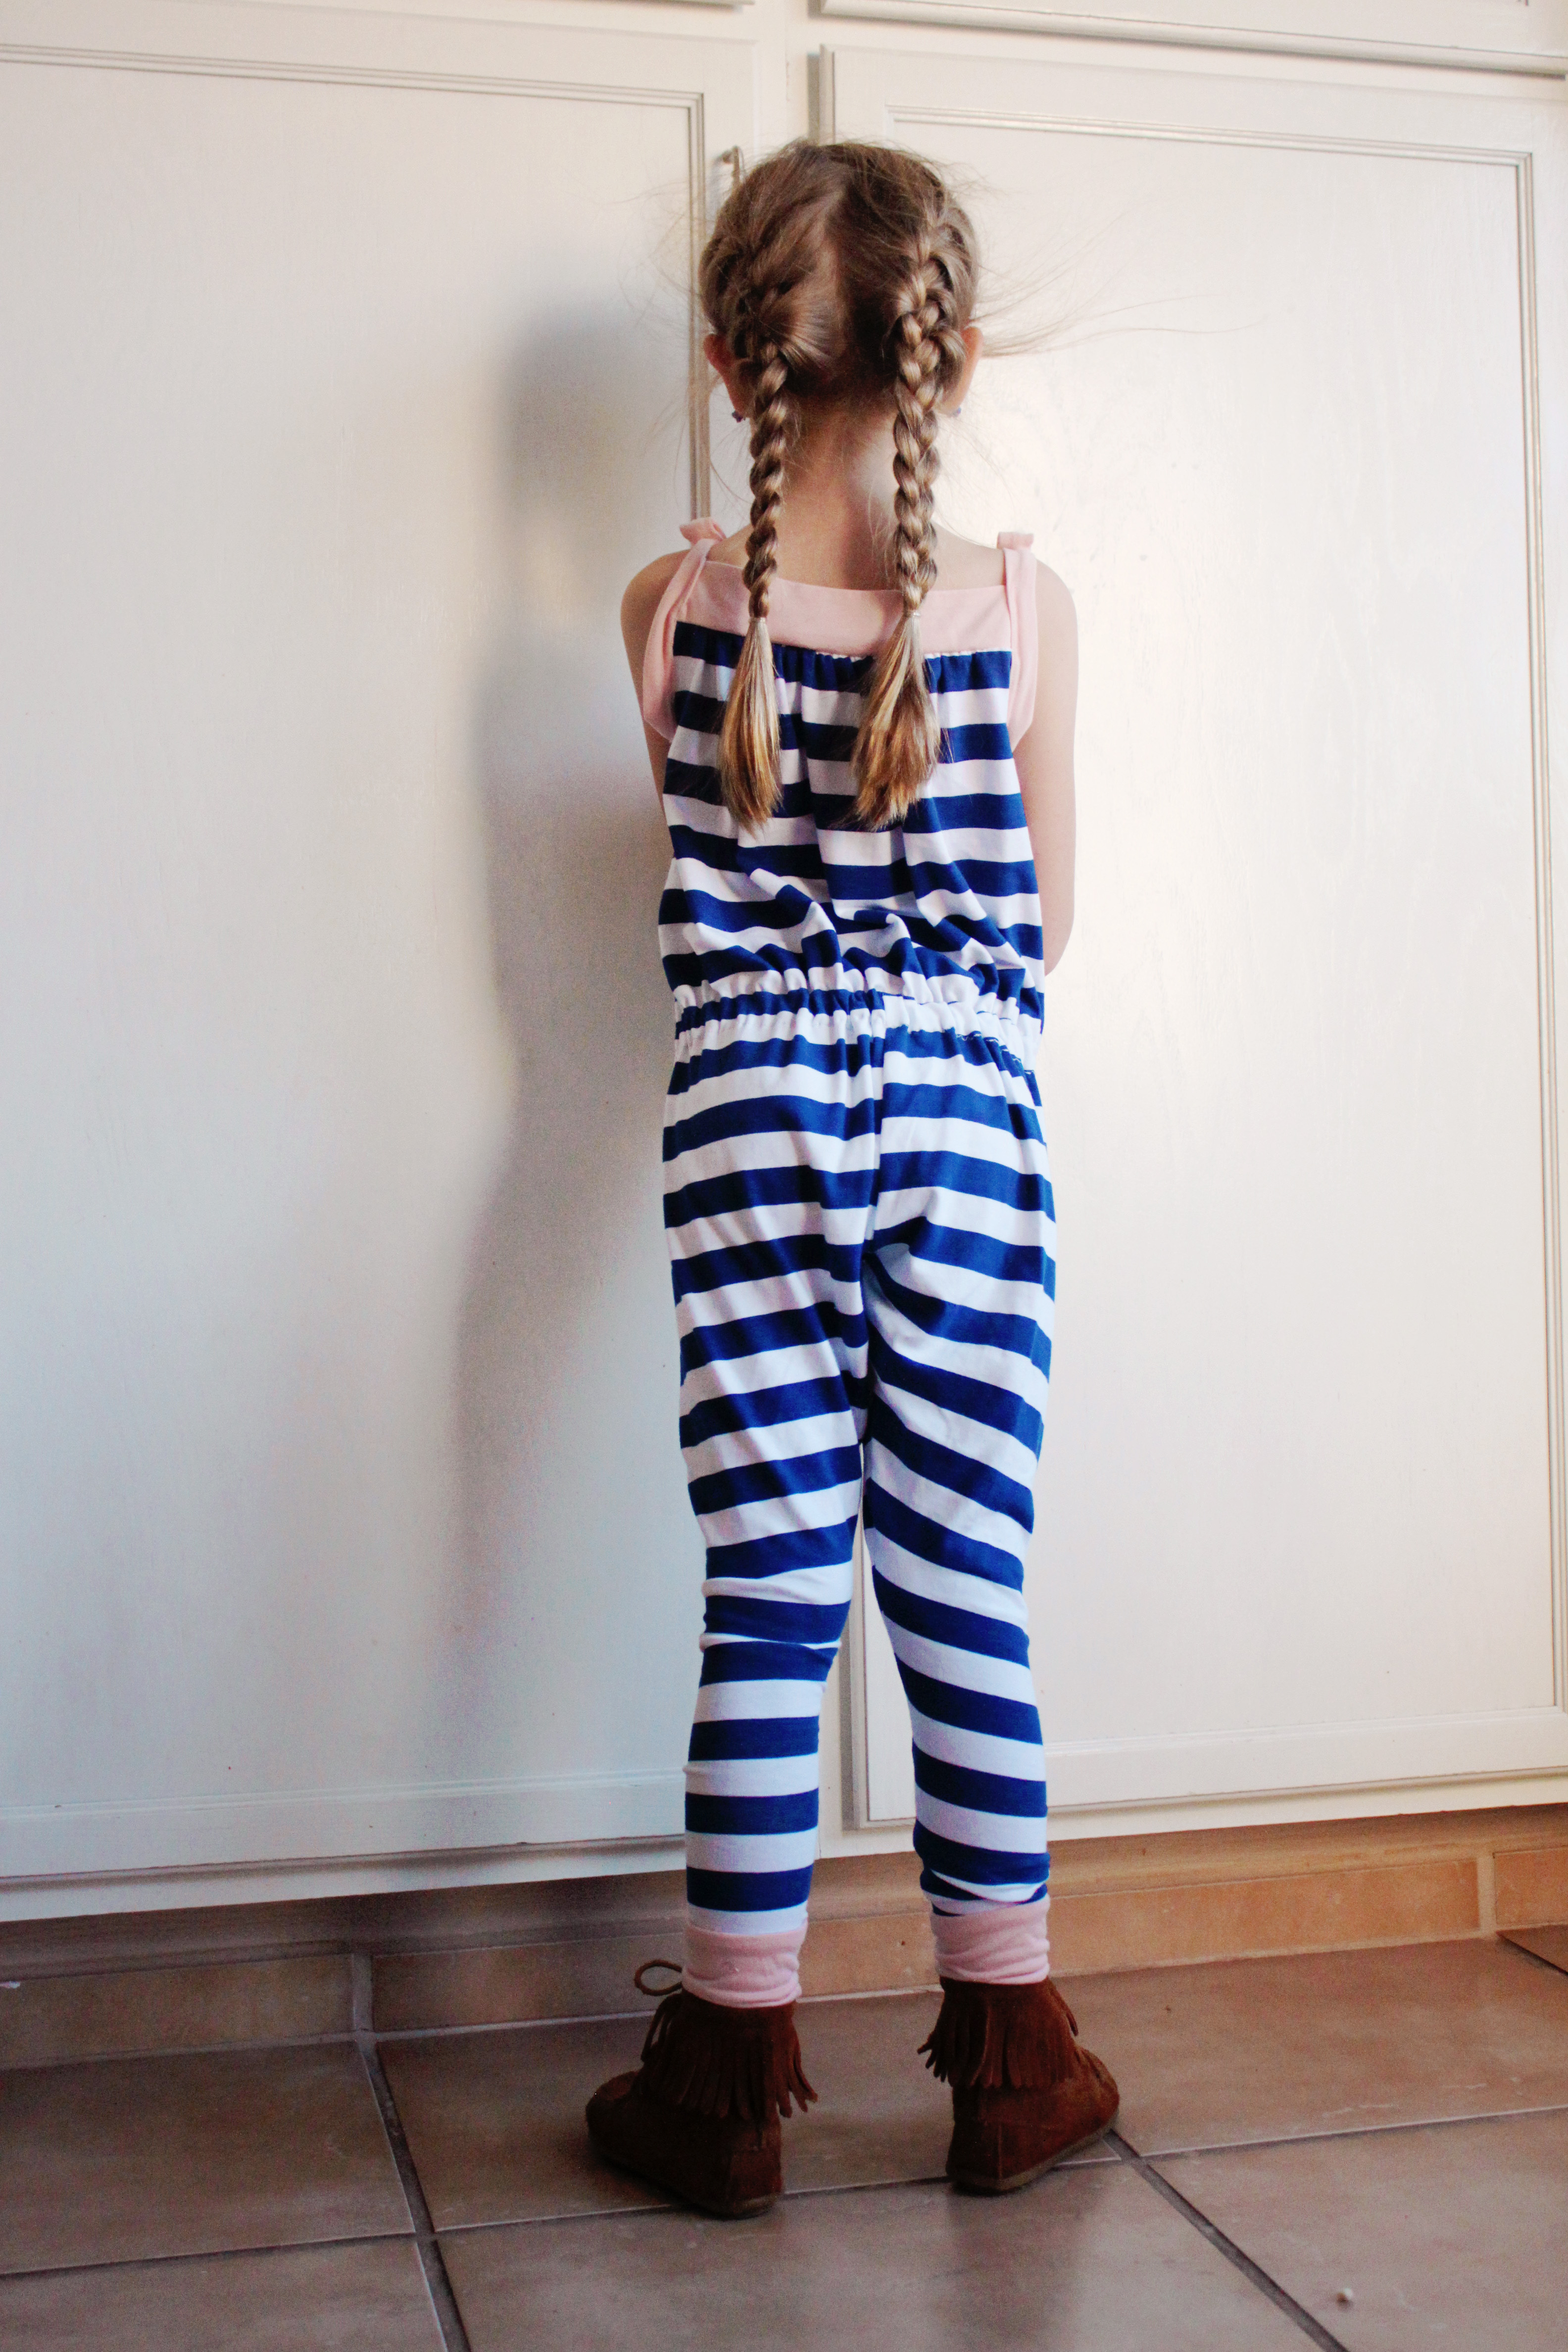
Another note: This messy hair look is what you get after an actual full day of kindergarten. It's the real deal.


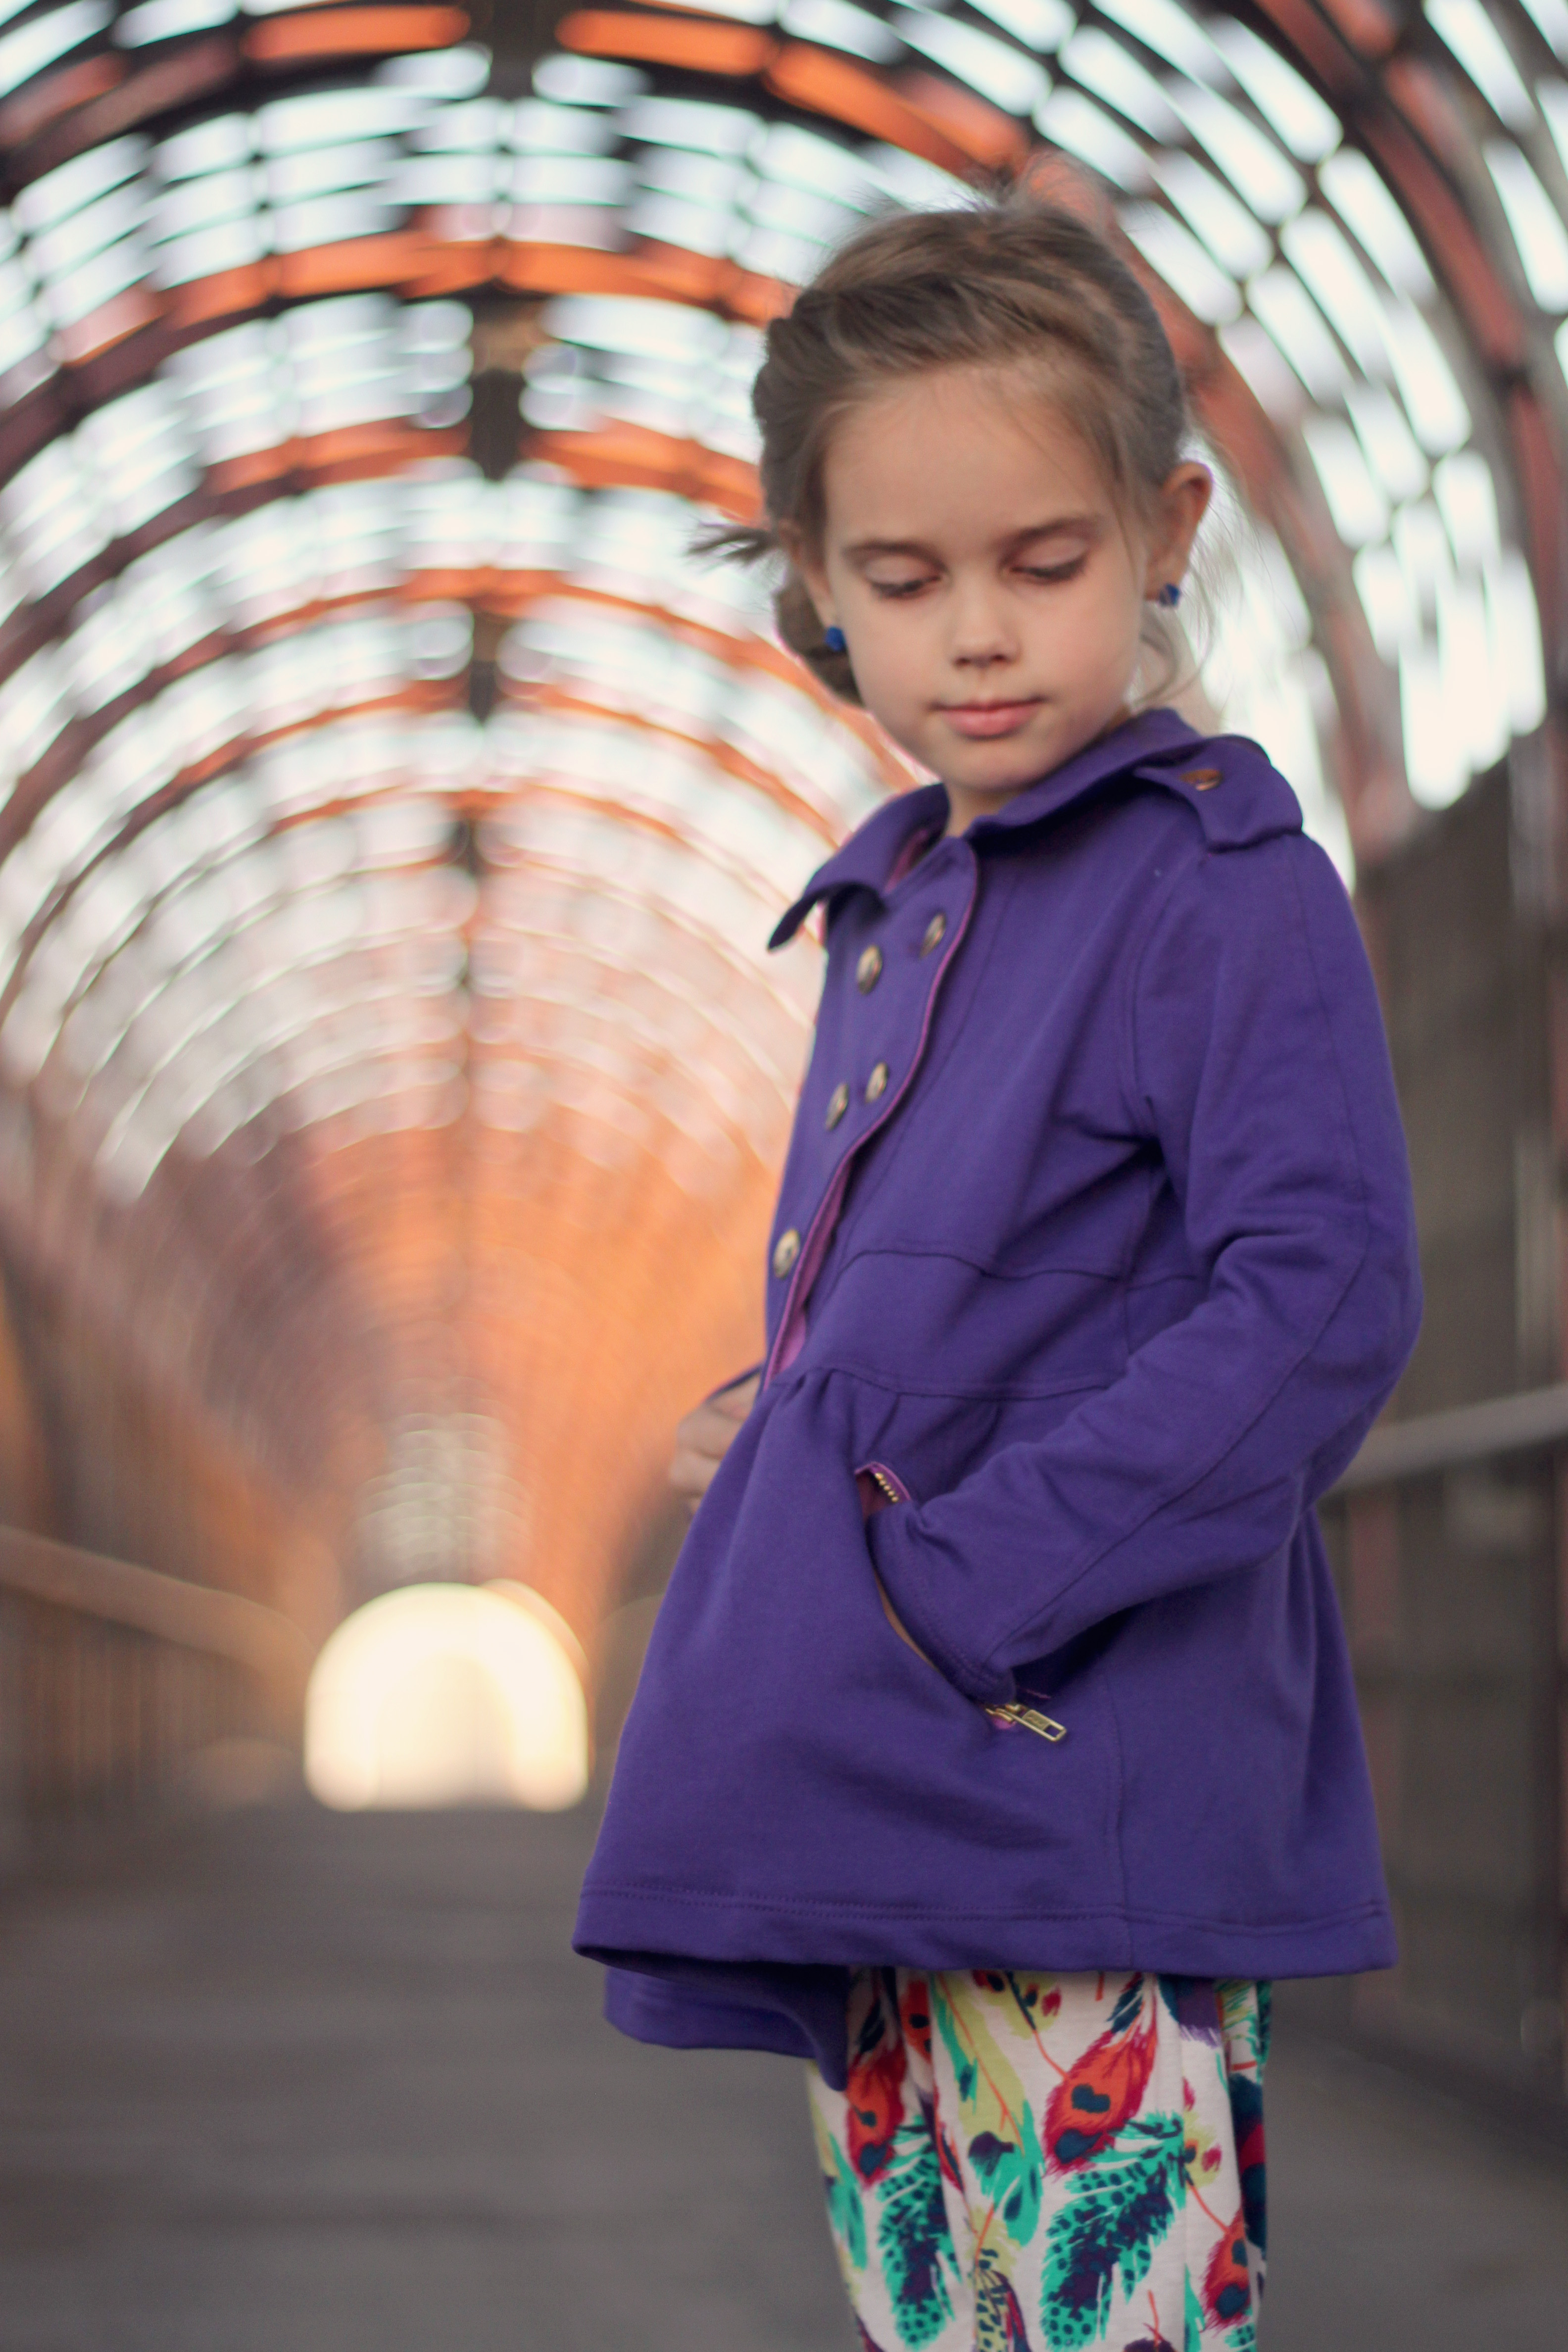
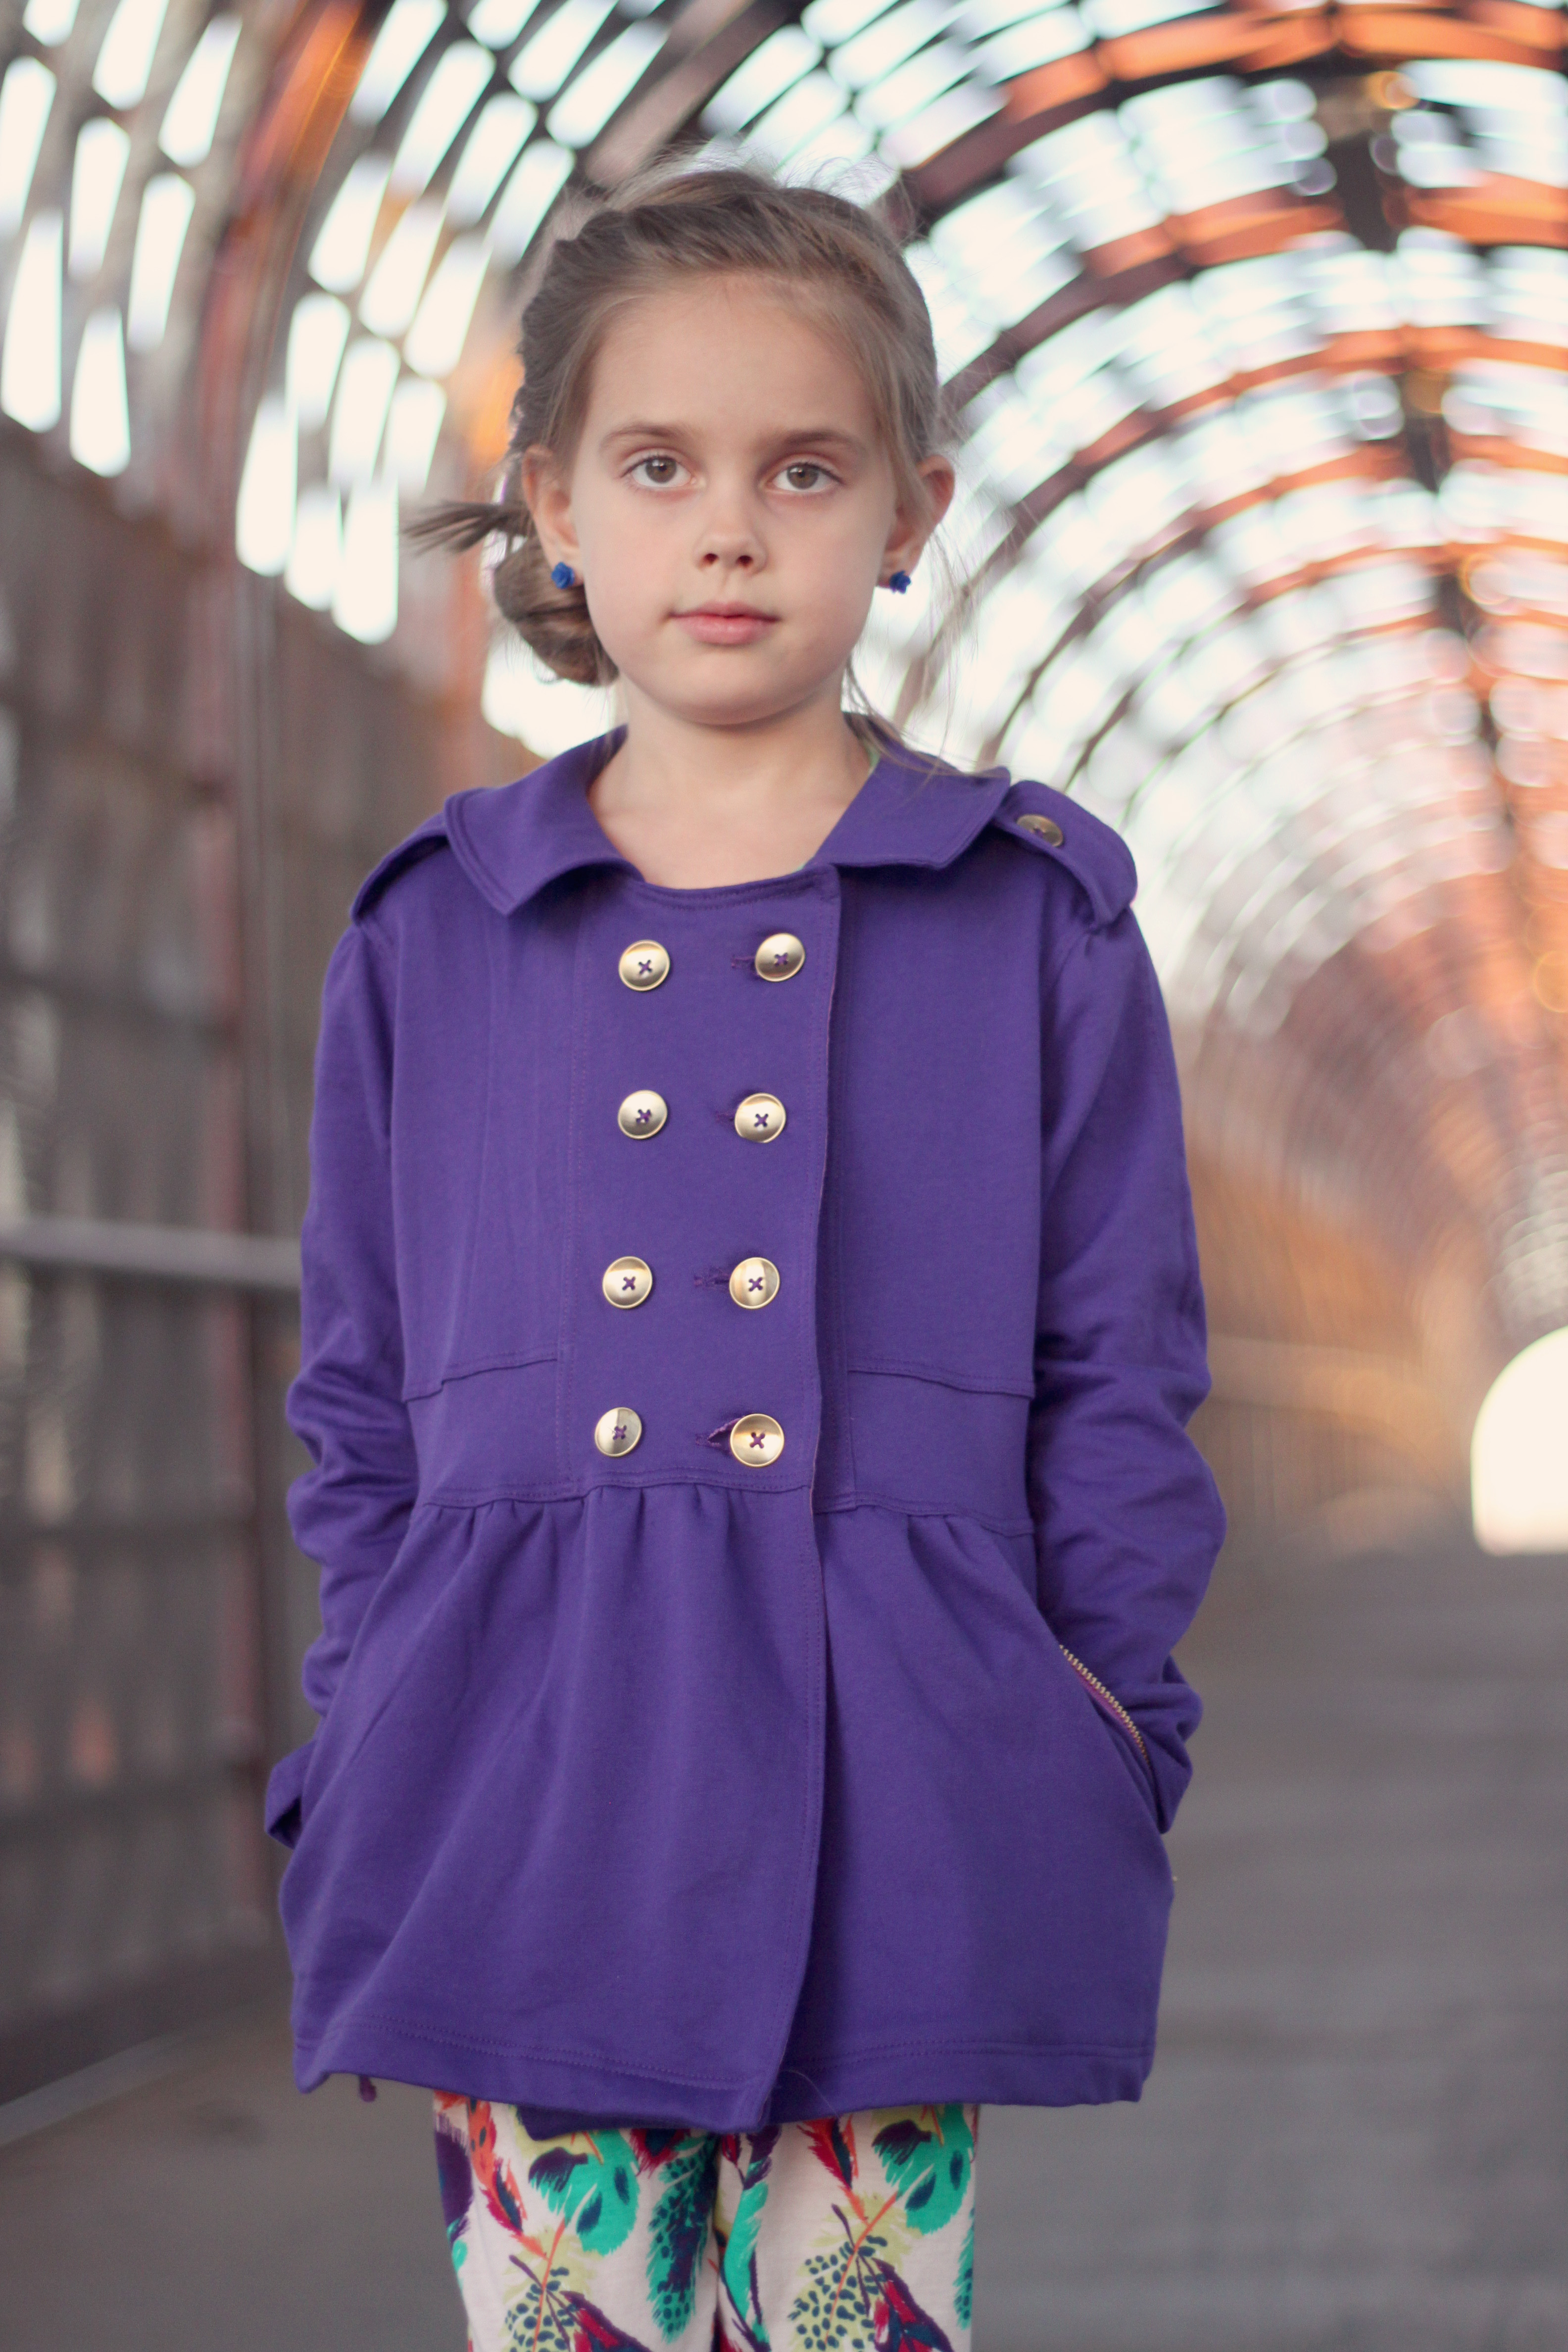
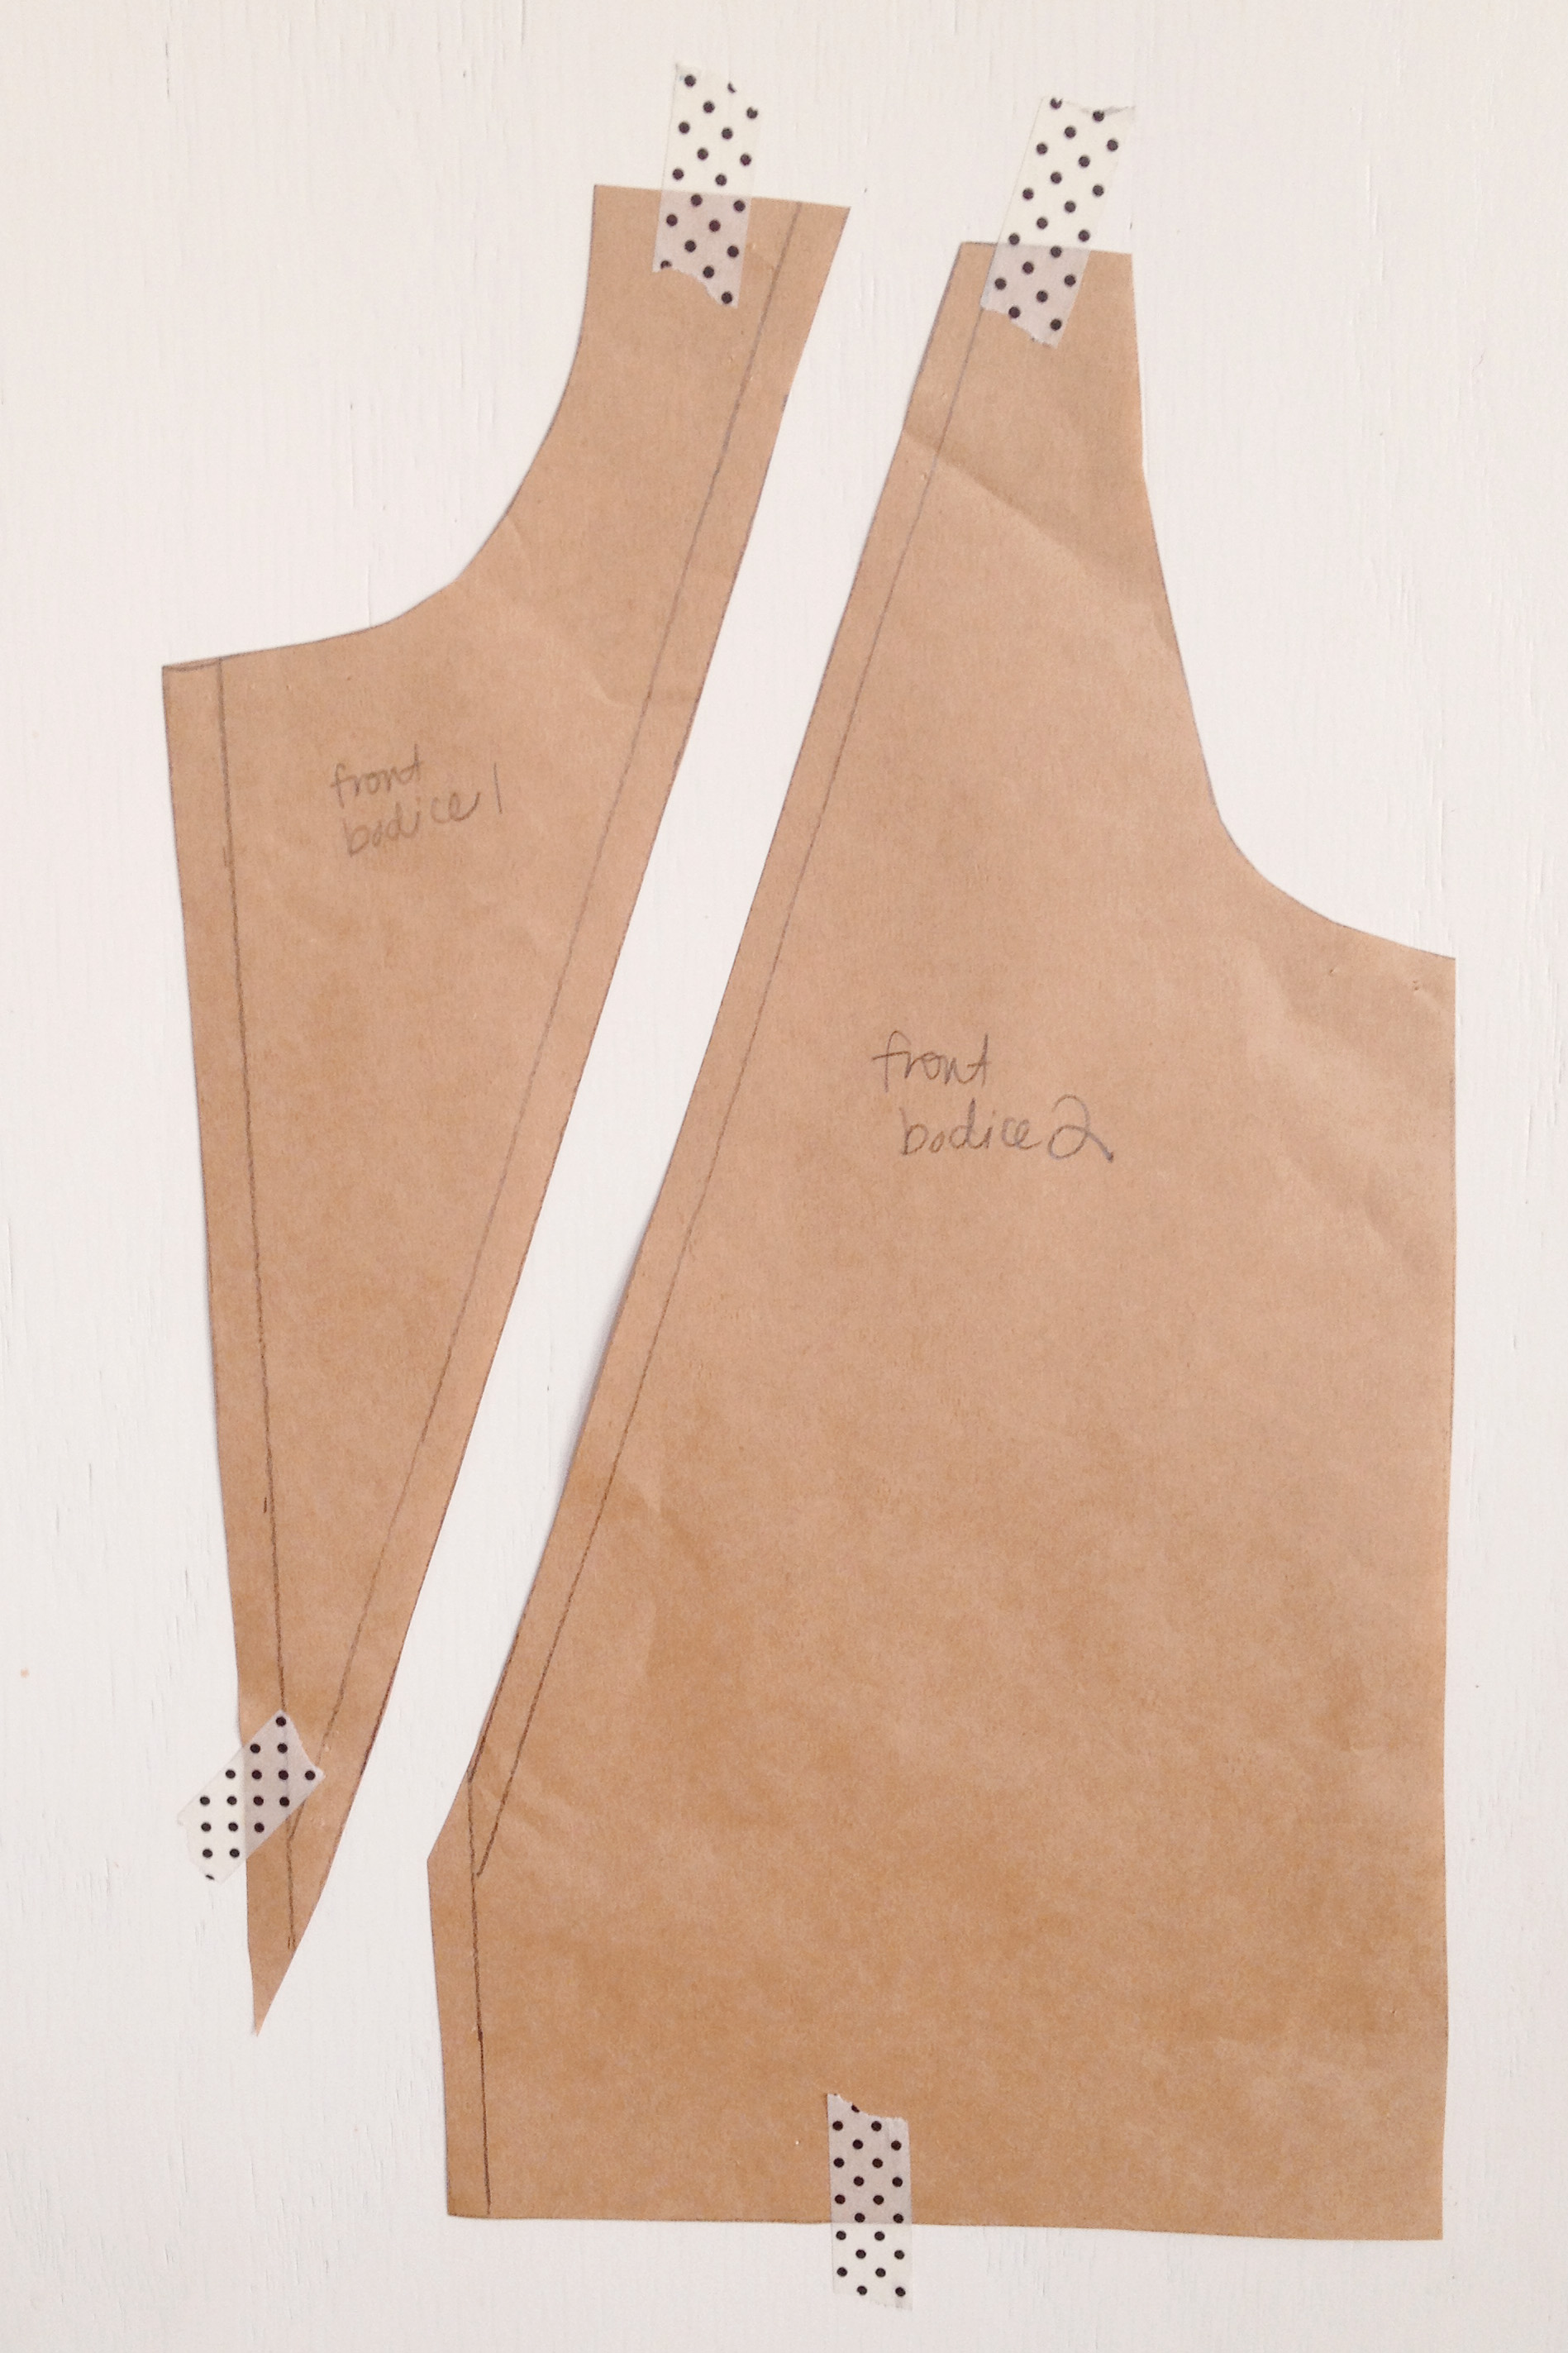
Below you can see how I made this pattern if you wanted to try something similar. Start with your favorite bodice pattern. Cut it from shoulder seam to the center, then add your seam allowances. If you want the V-look using diagonal stripes, you will need to have a seam down the center of the bodice. For the front and back bodice of this shirt (not including sleeves) there were 8 pieces.


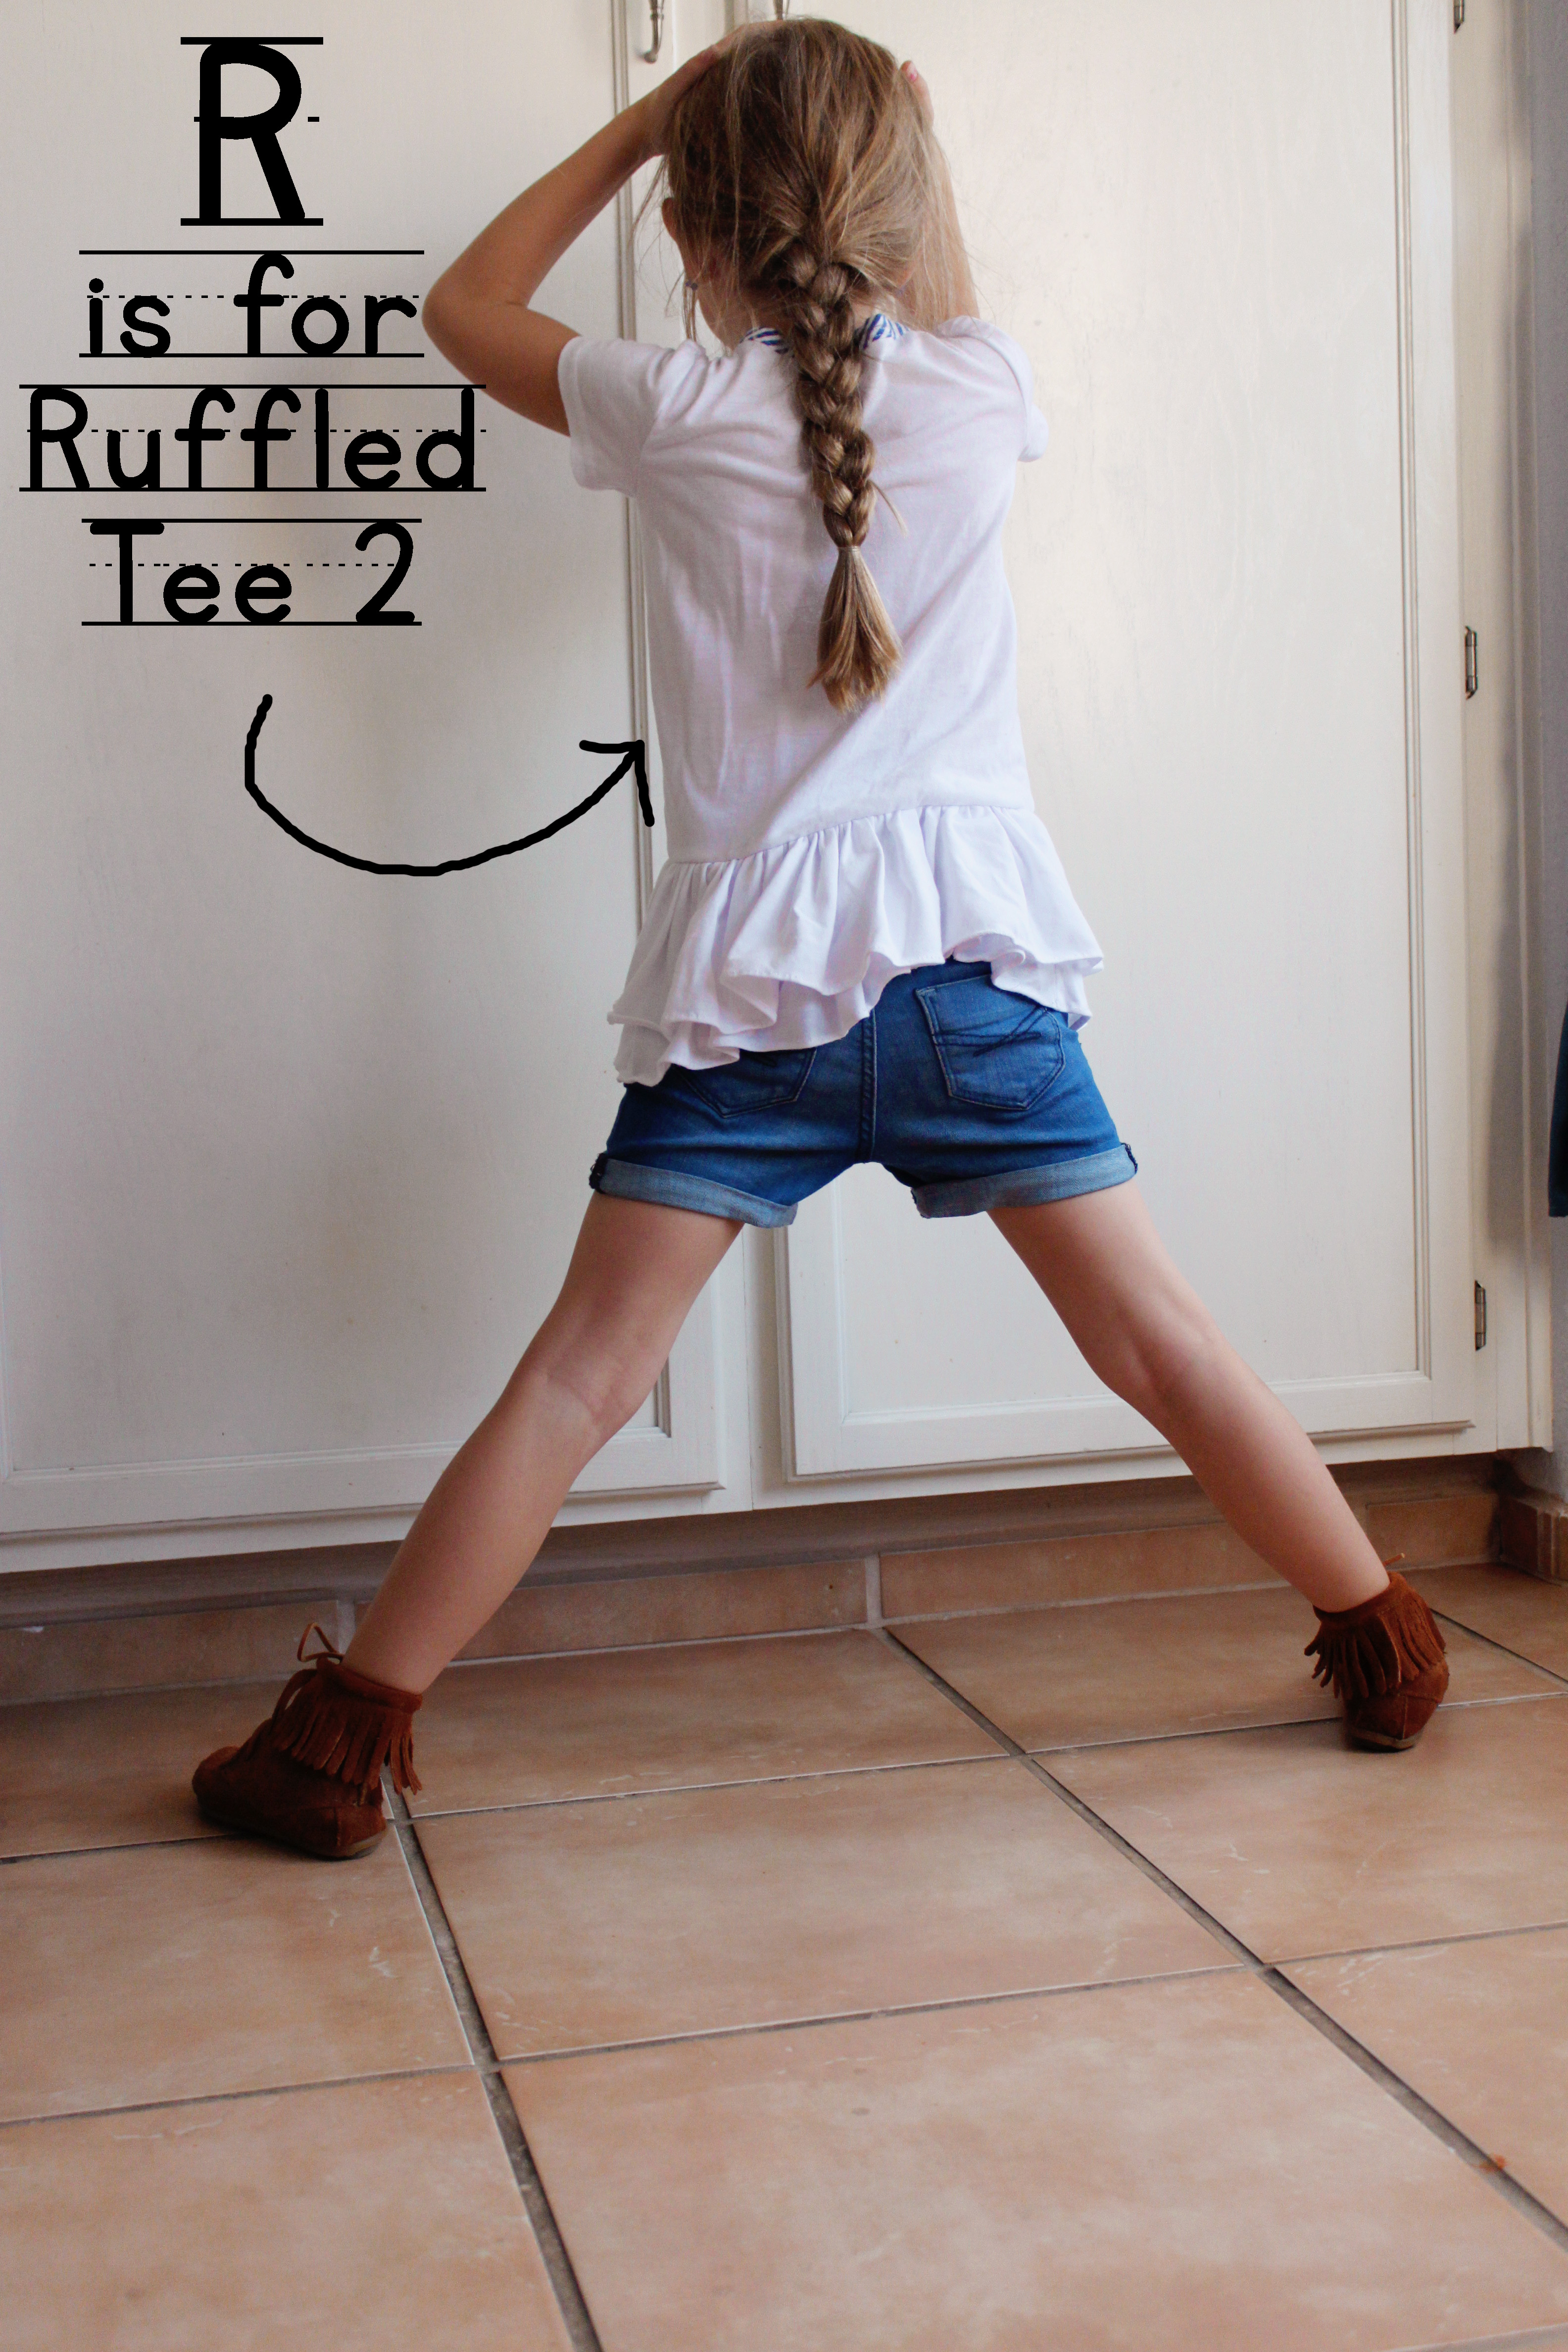
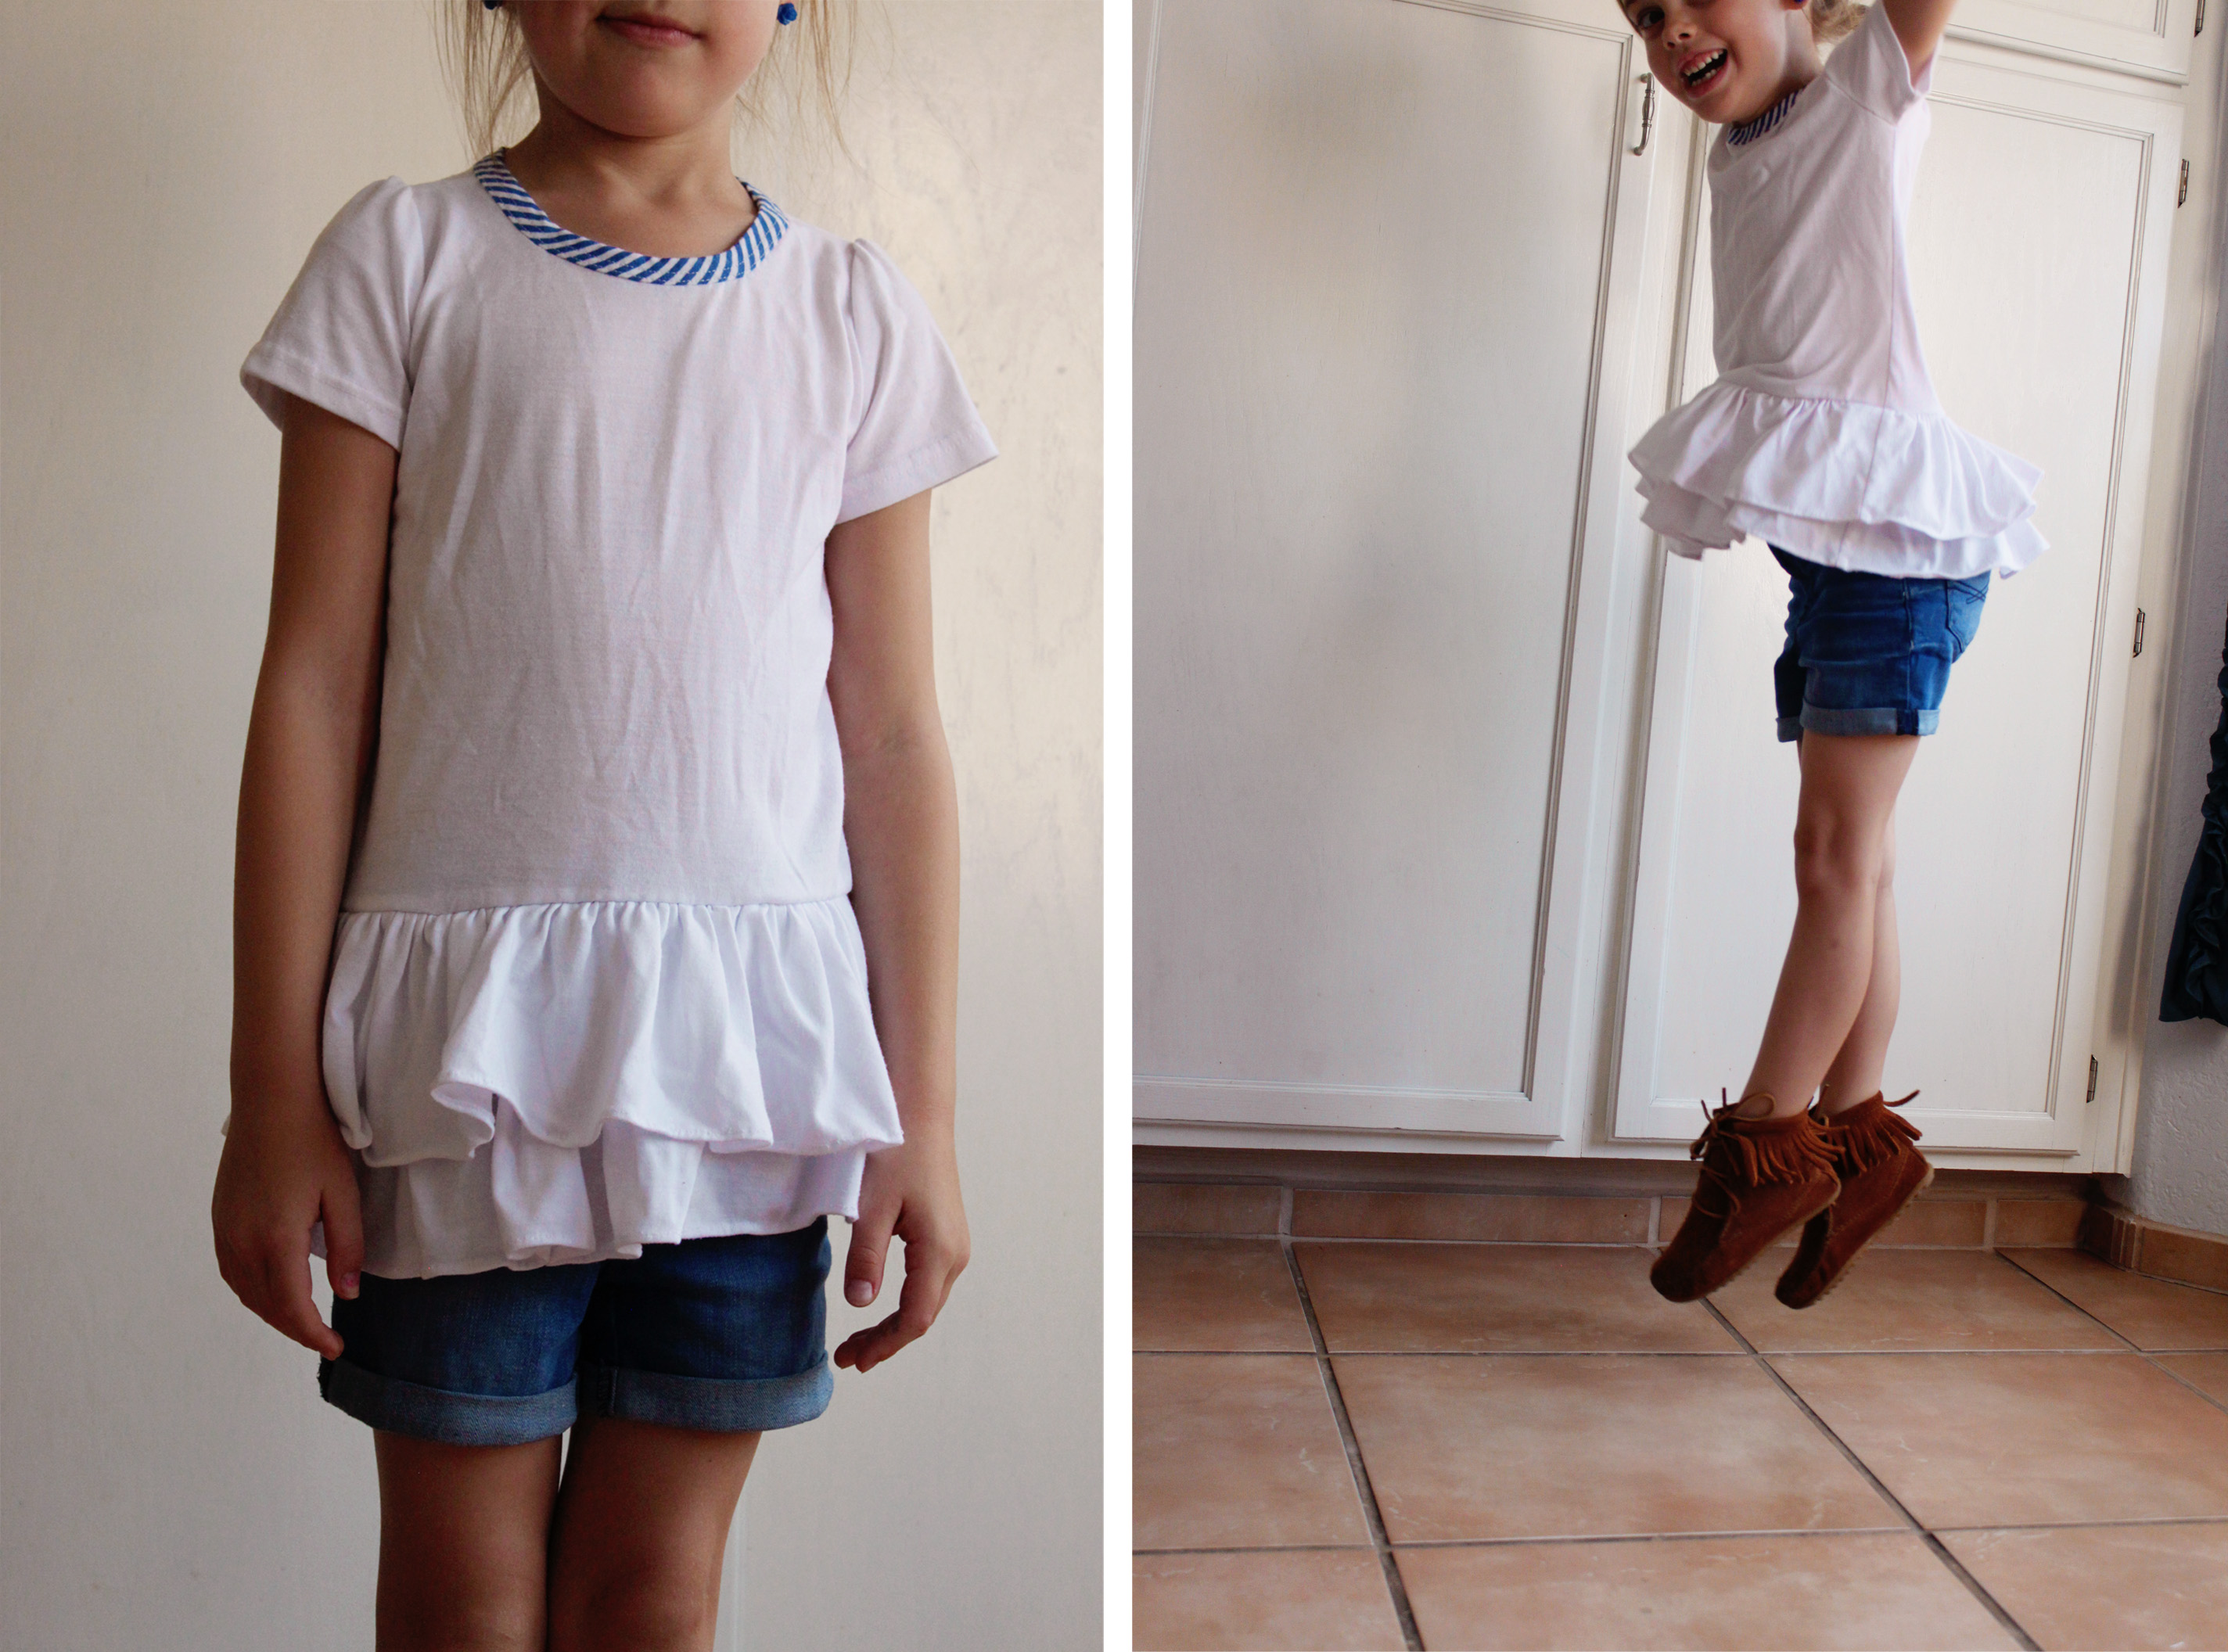
And another ruffled tee since I had already figured out the pattern. This one more simple though.


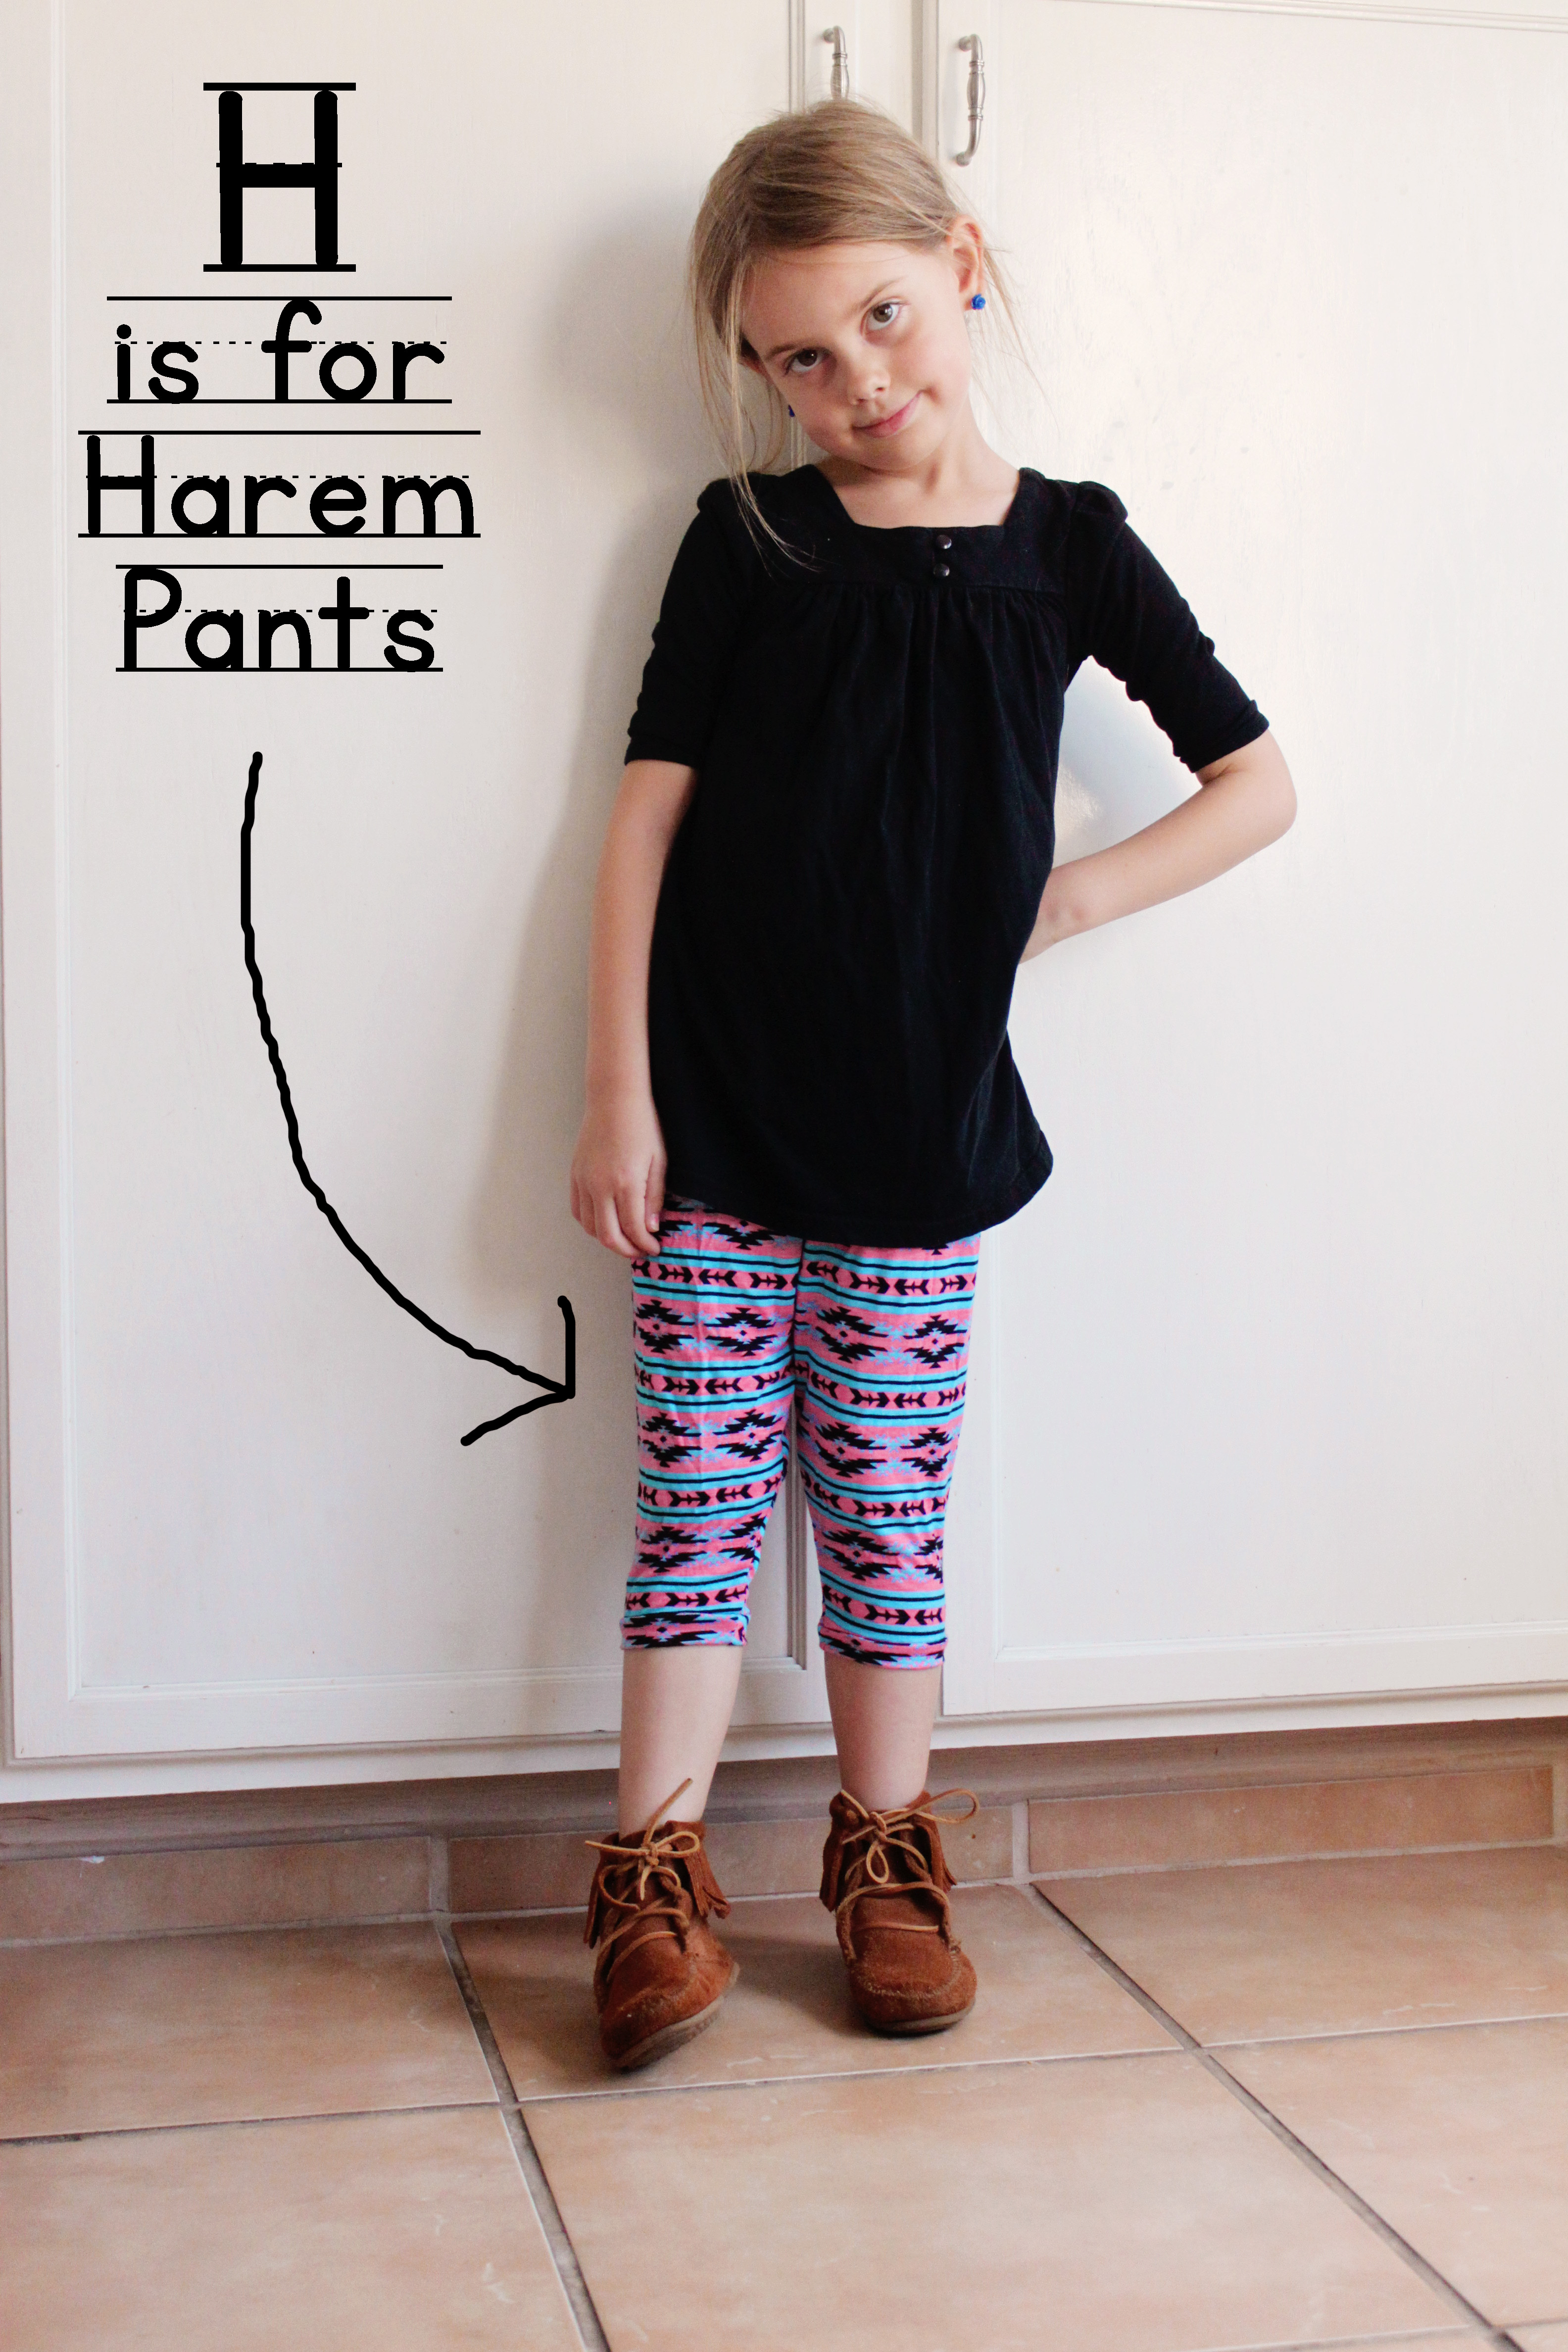
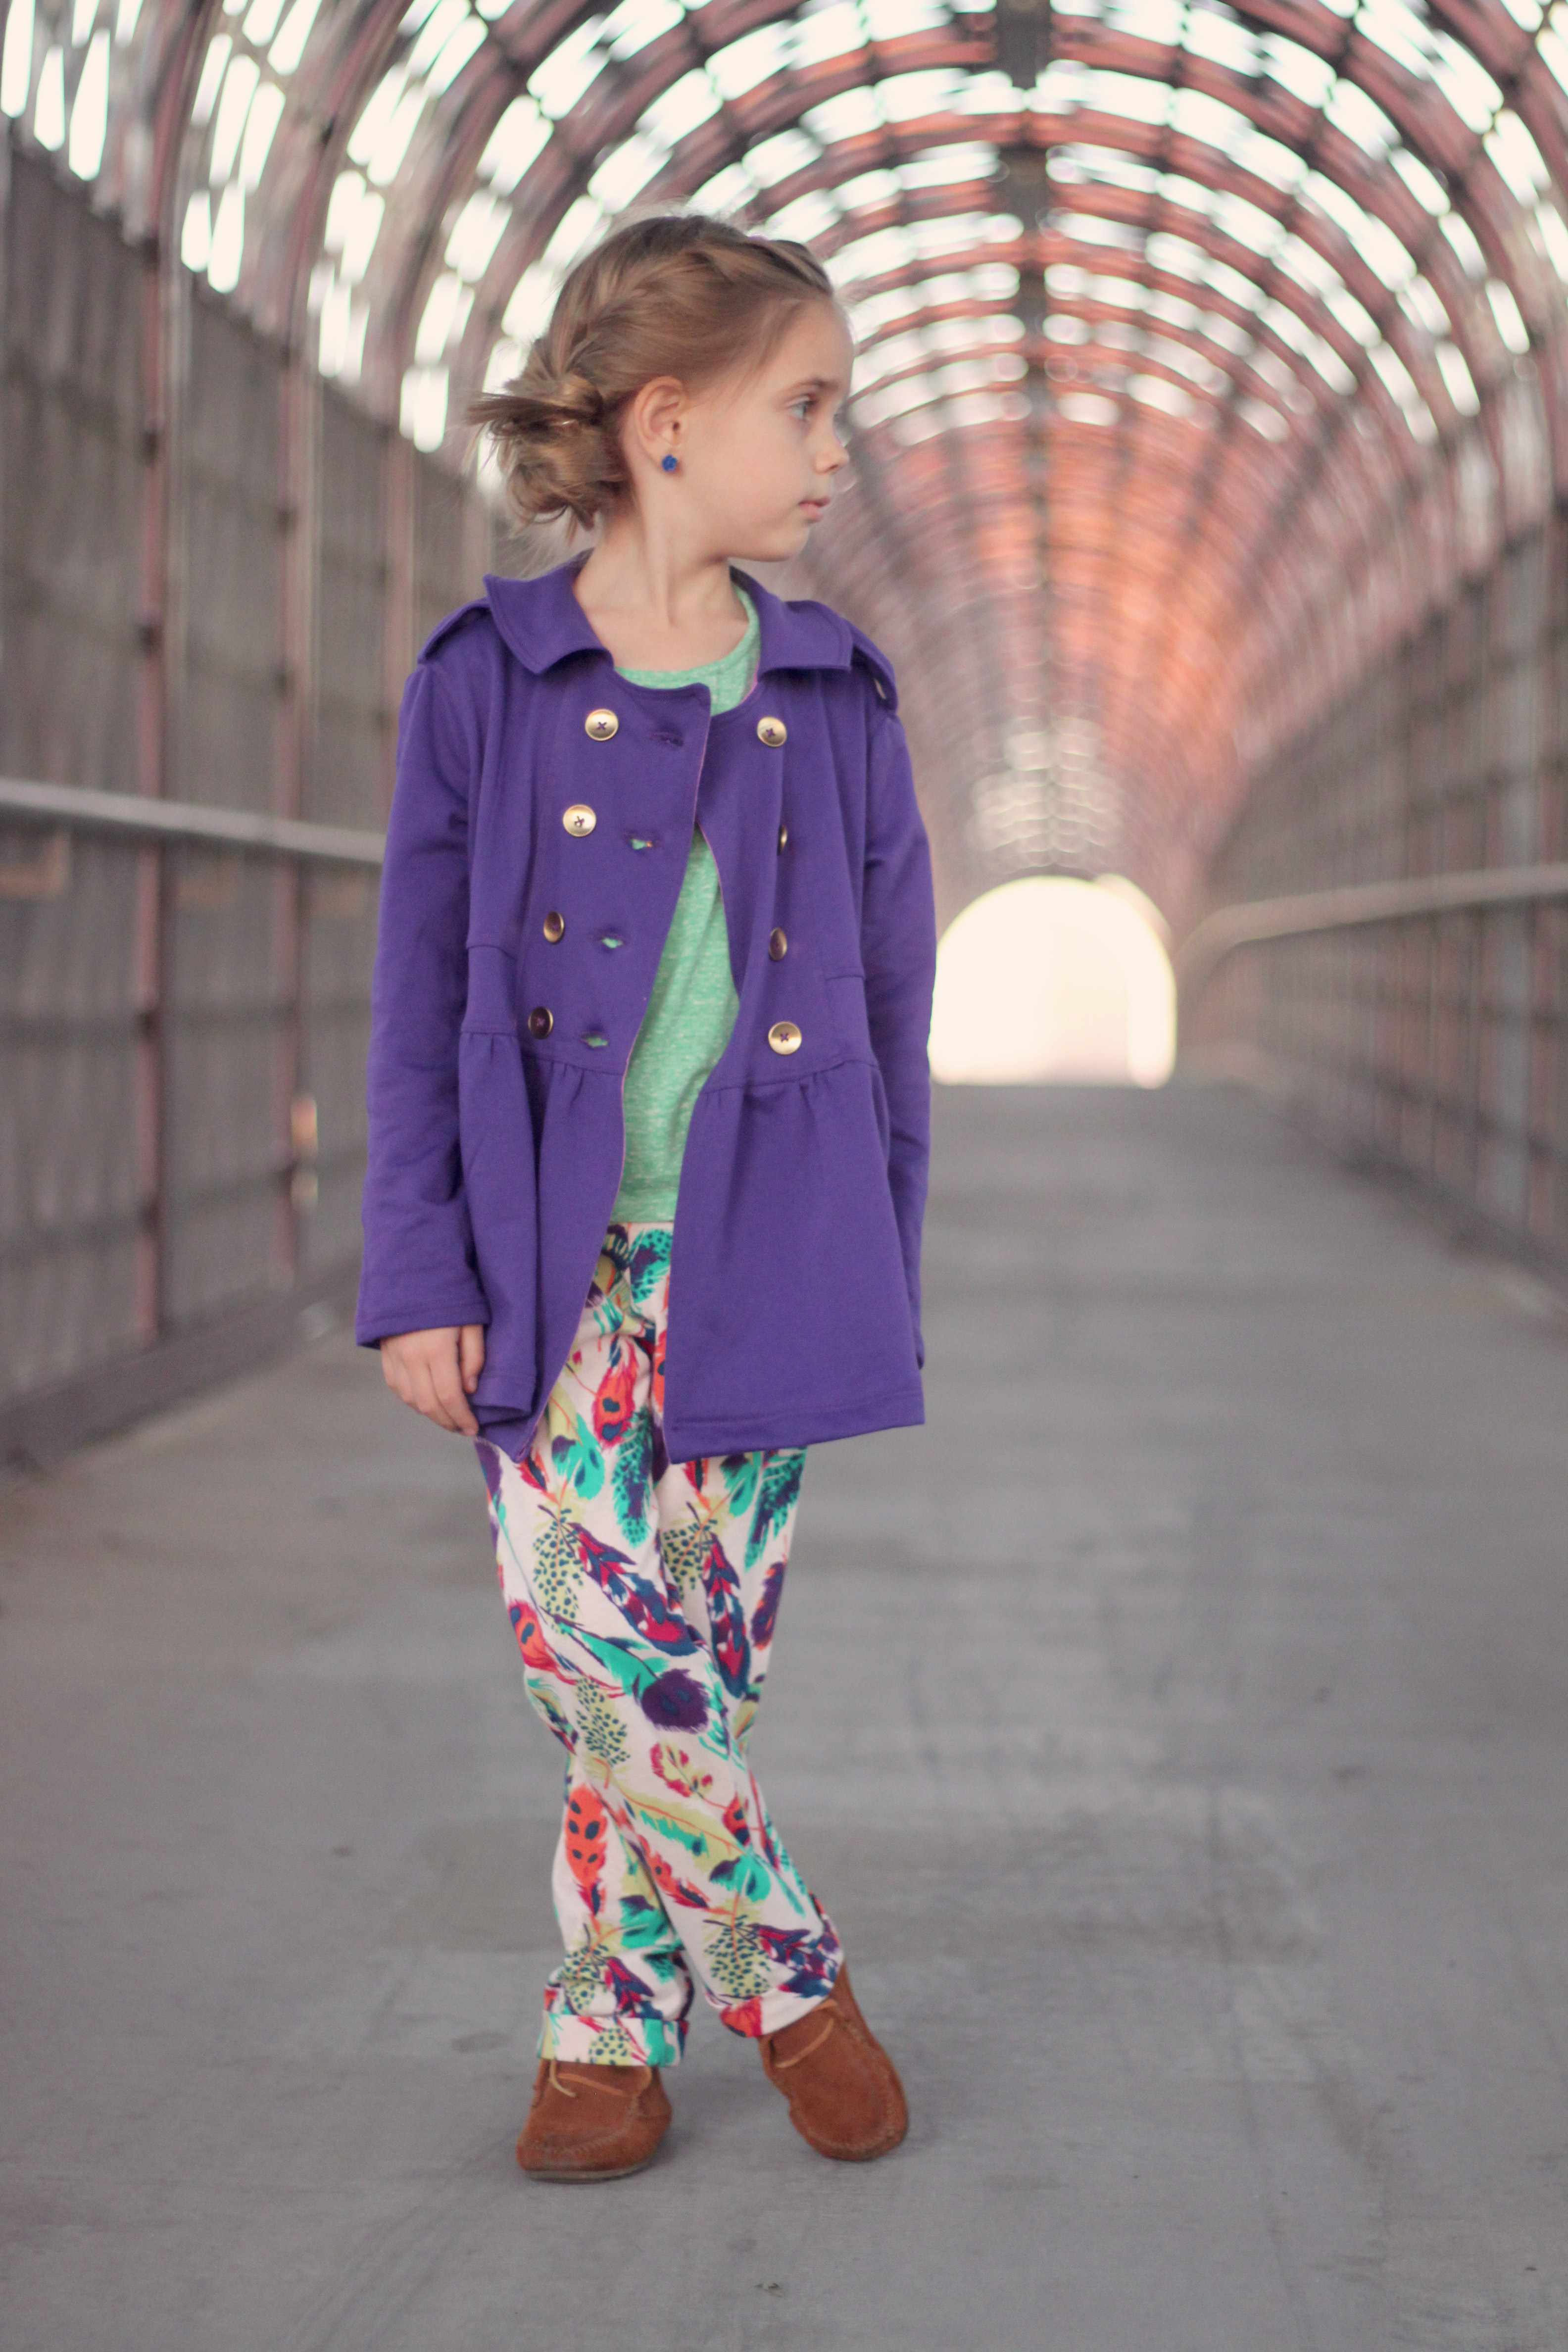
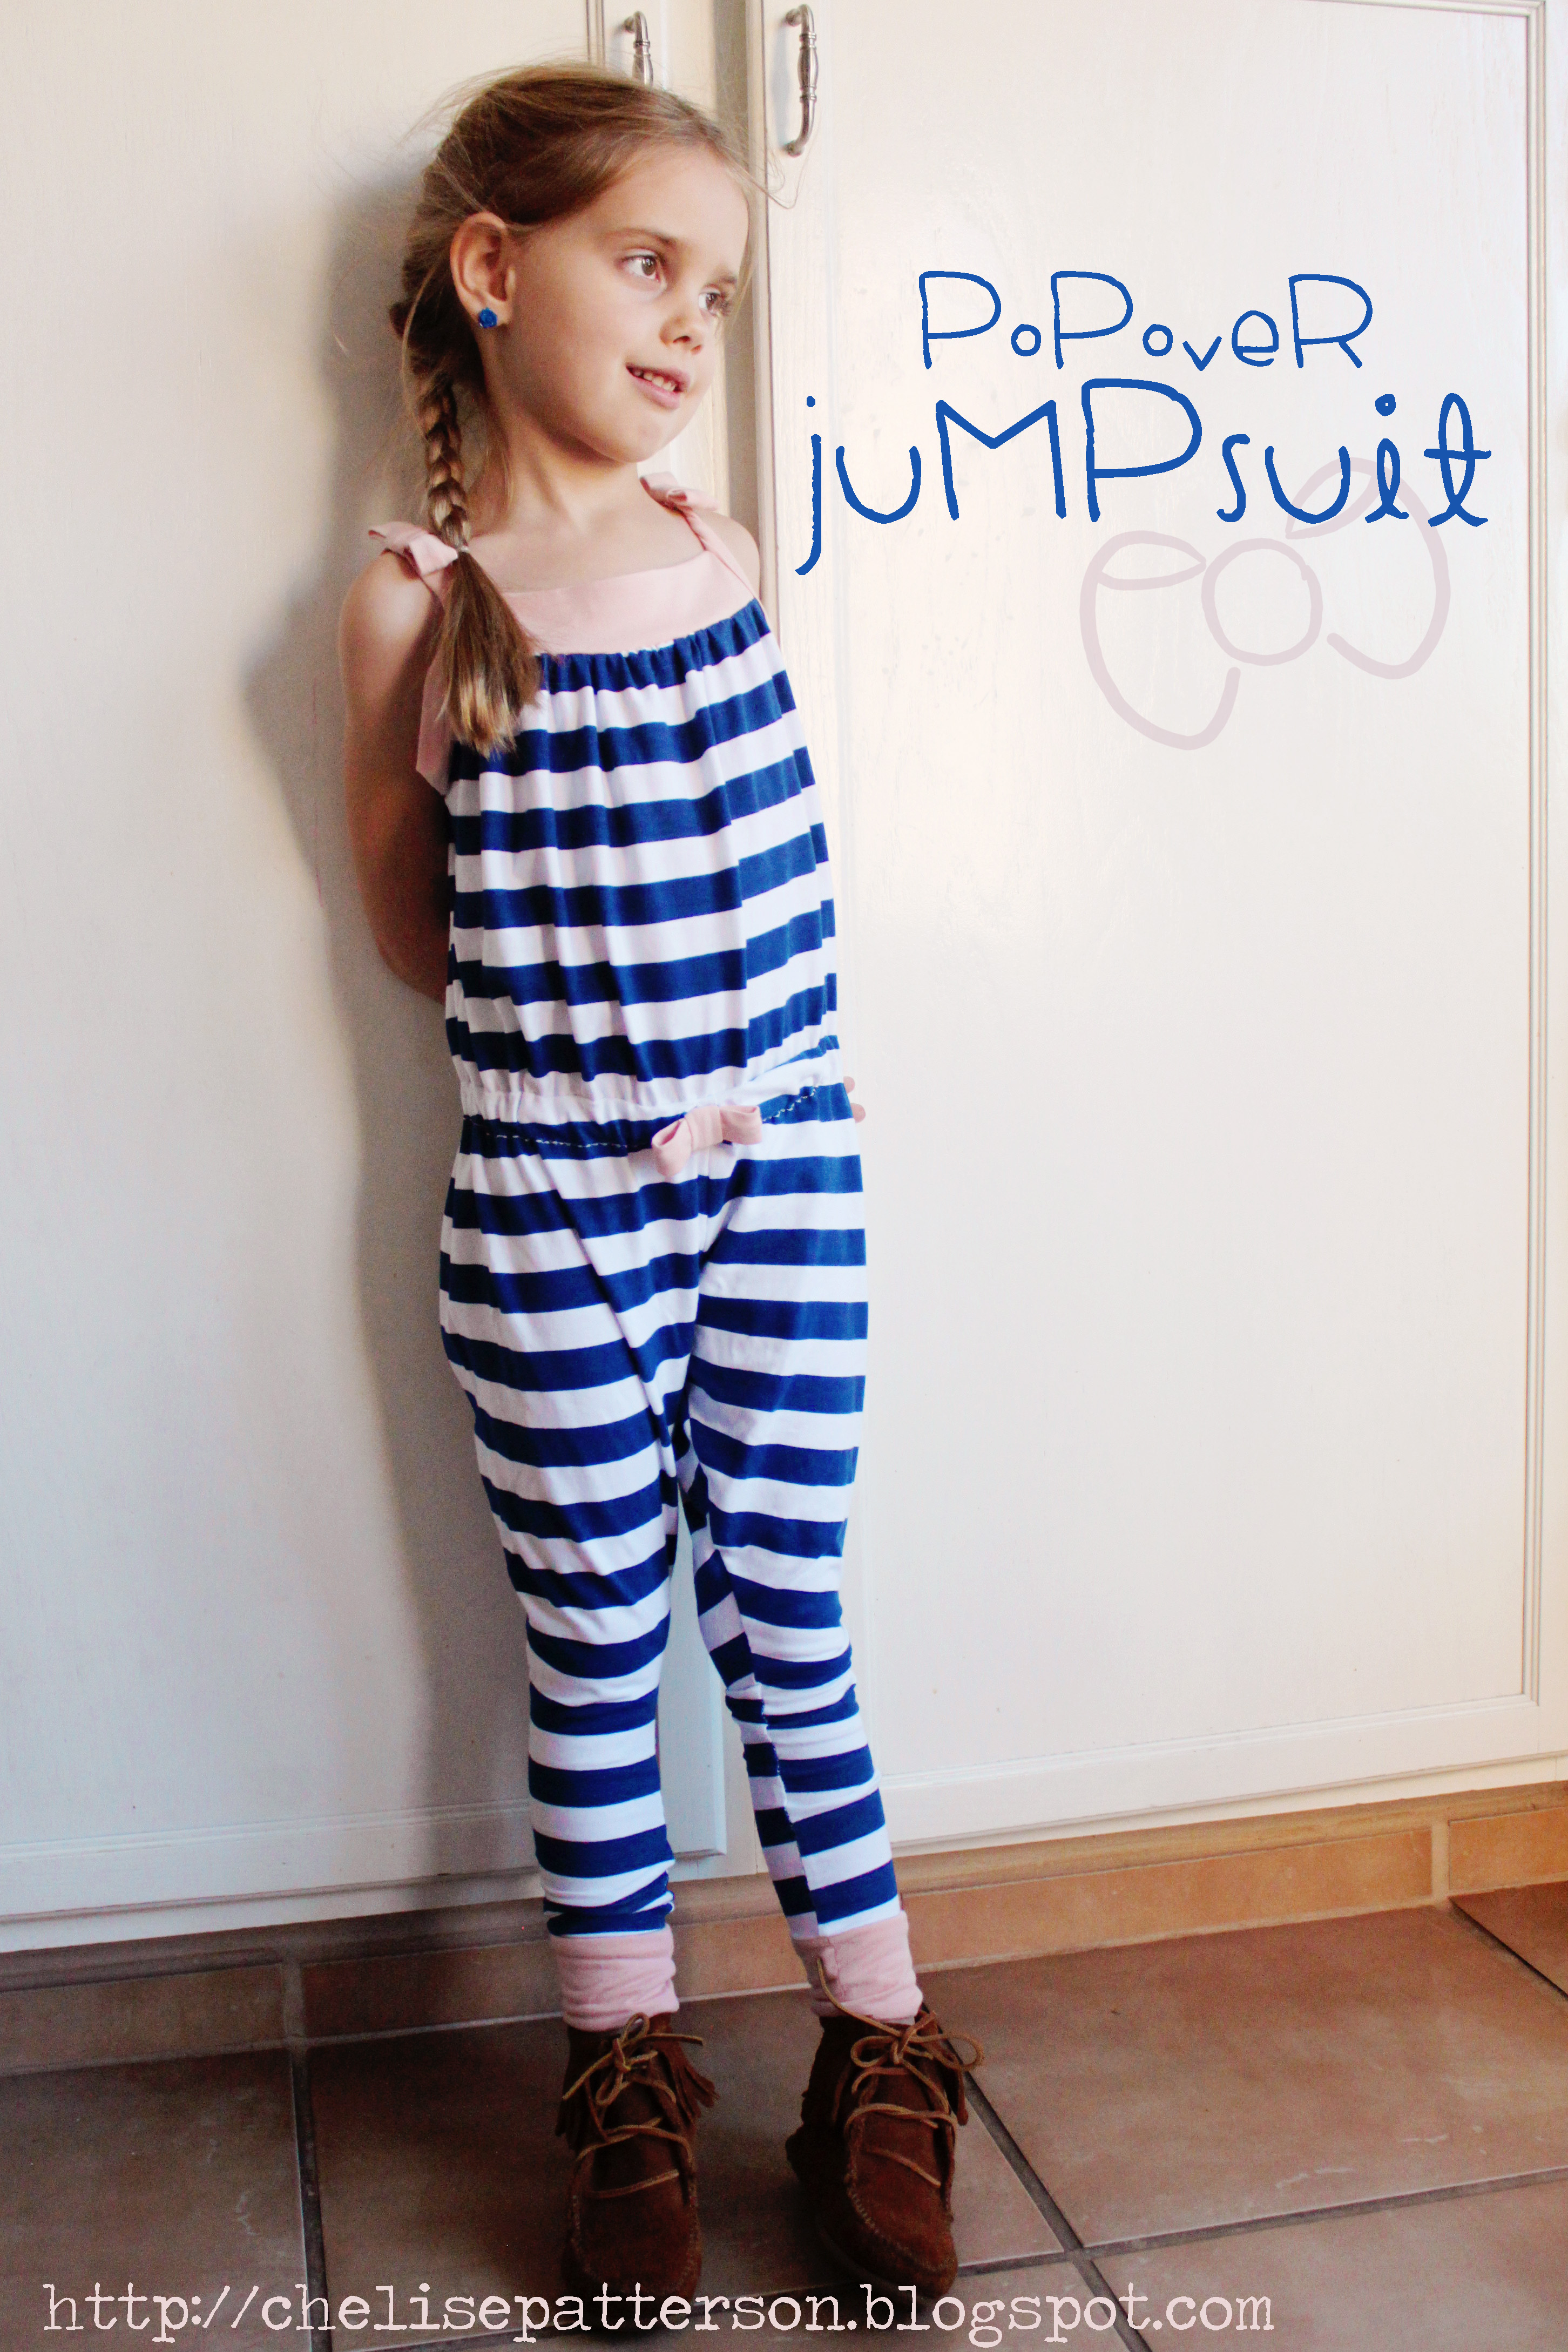
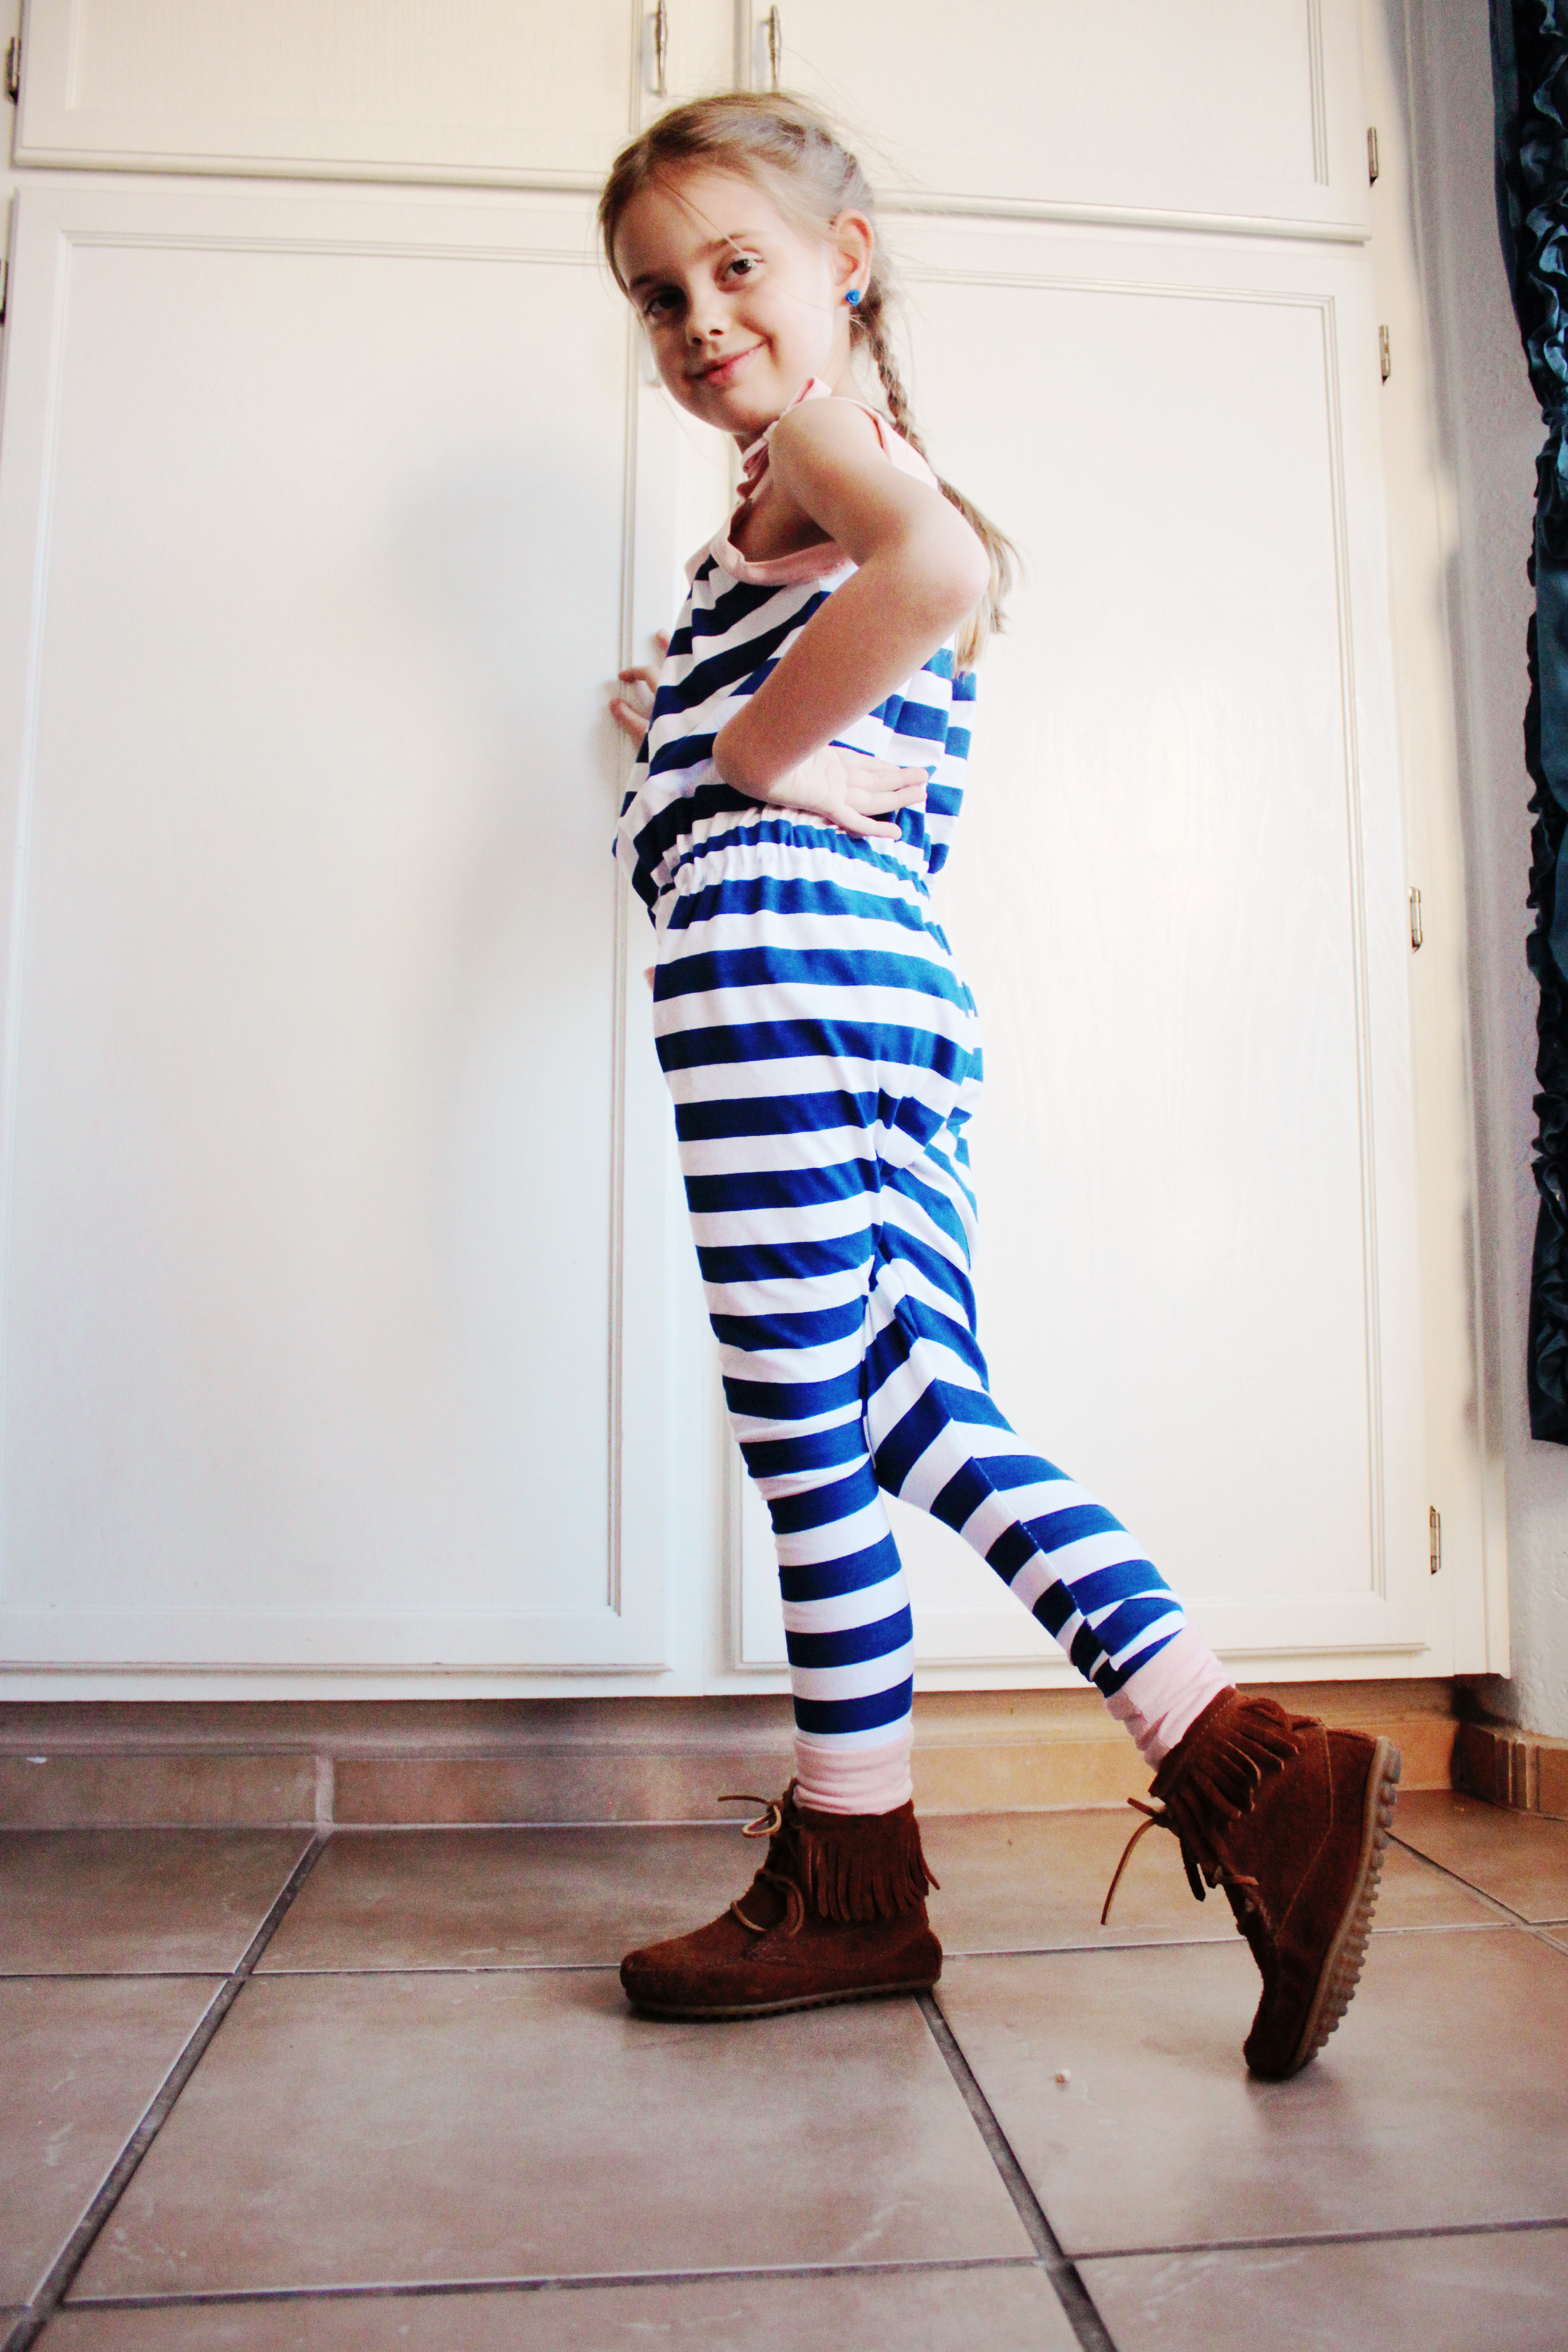
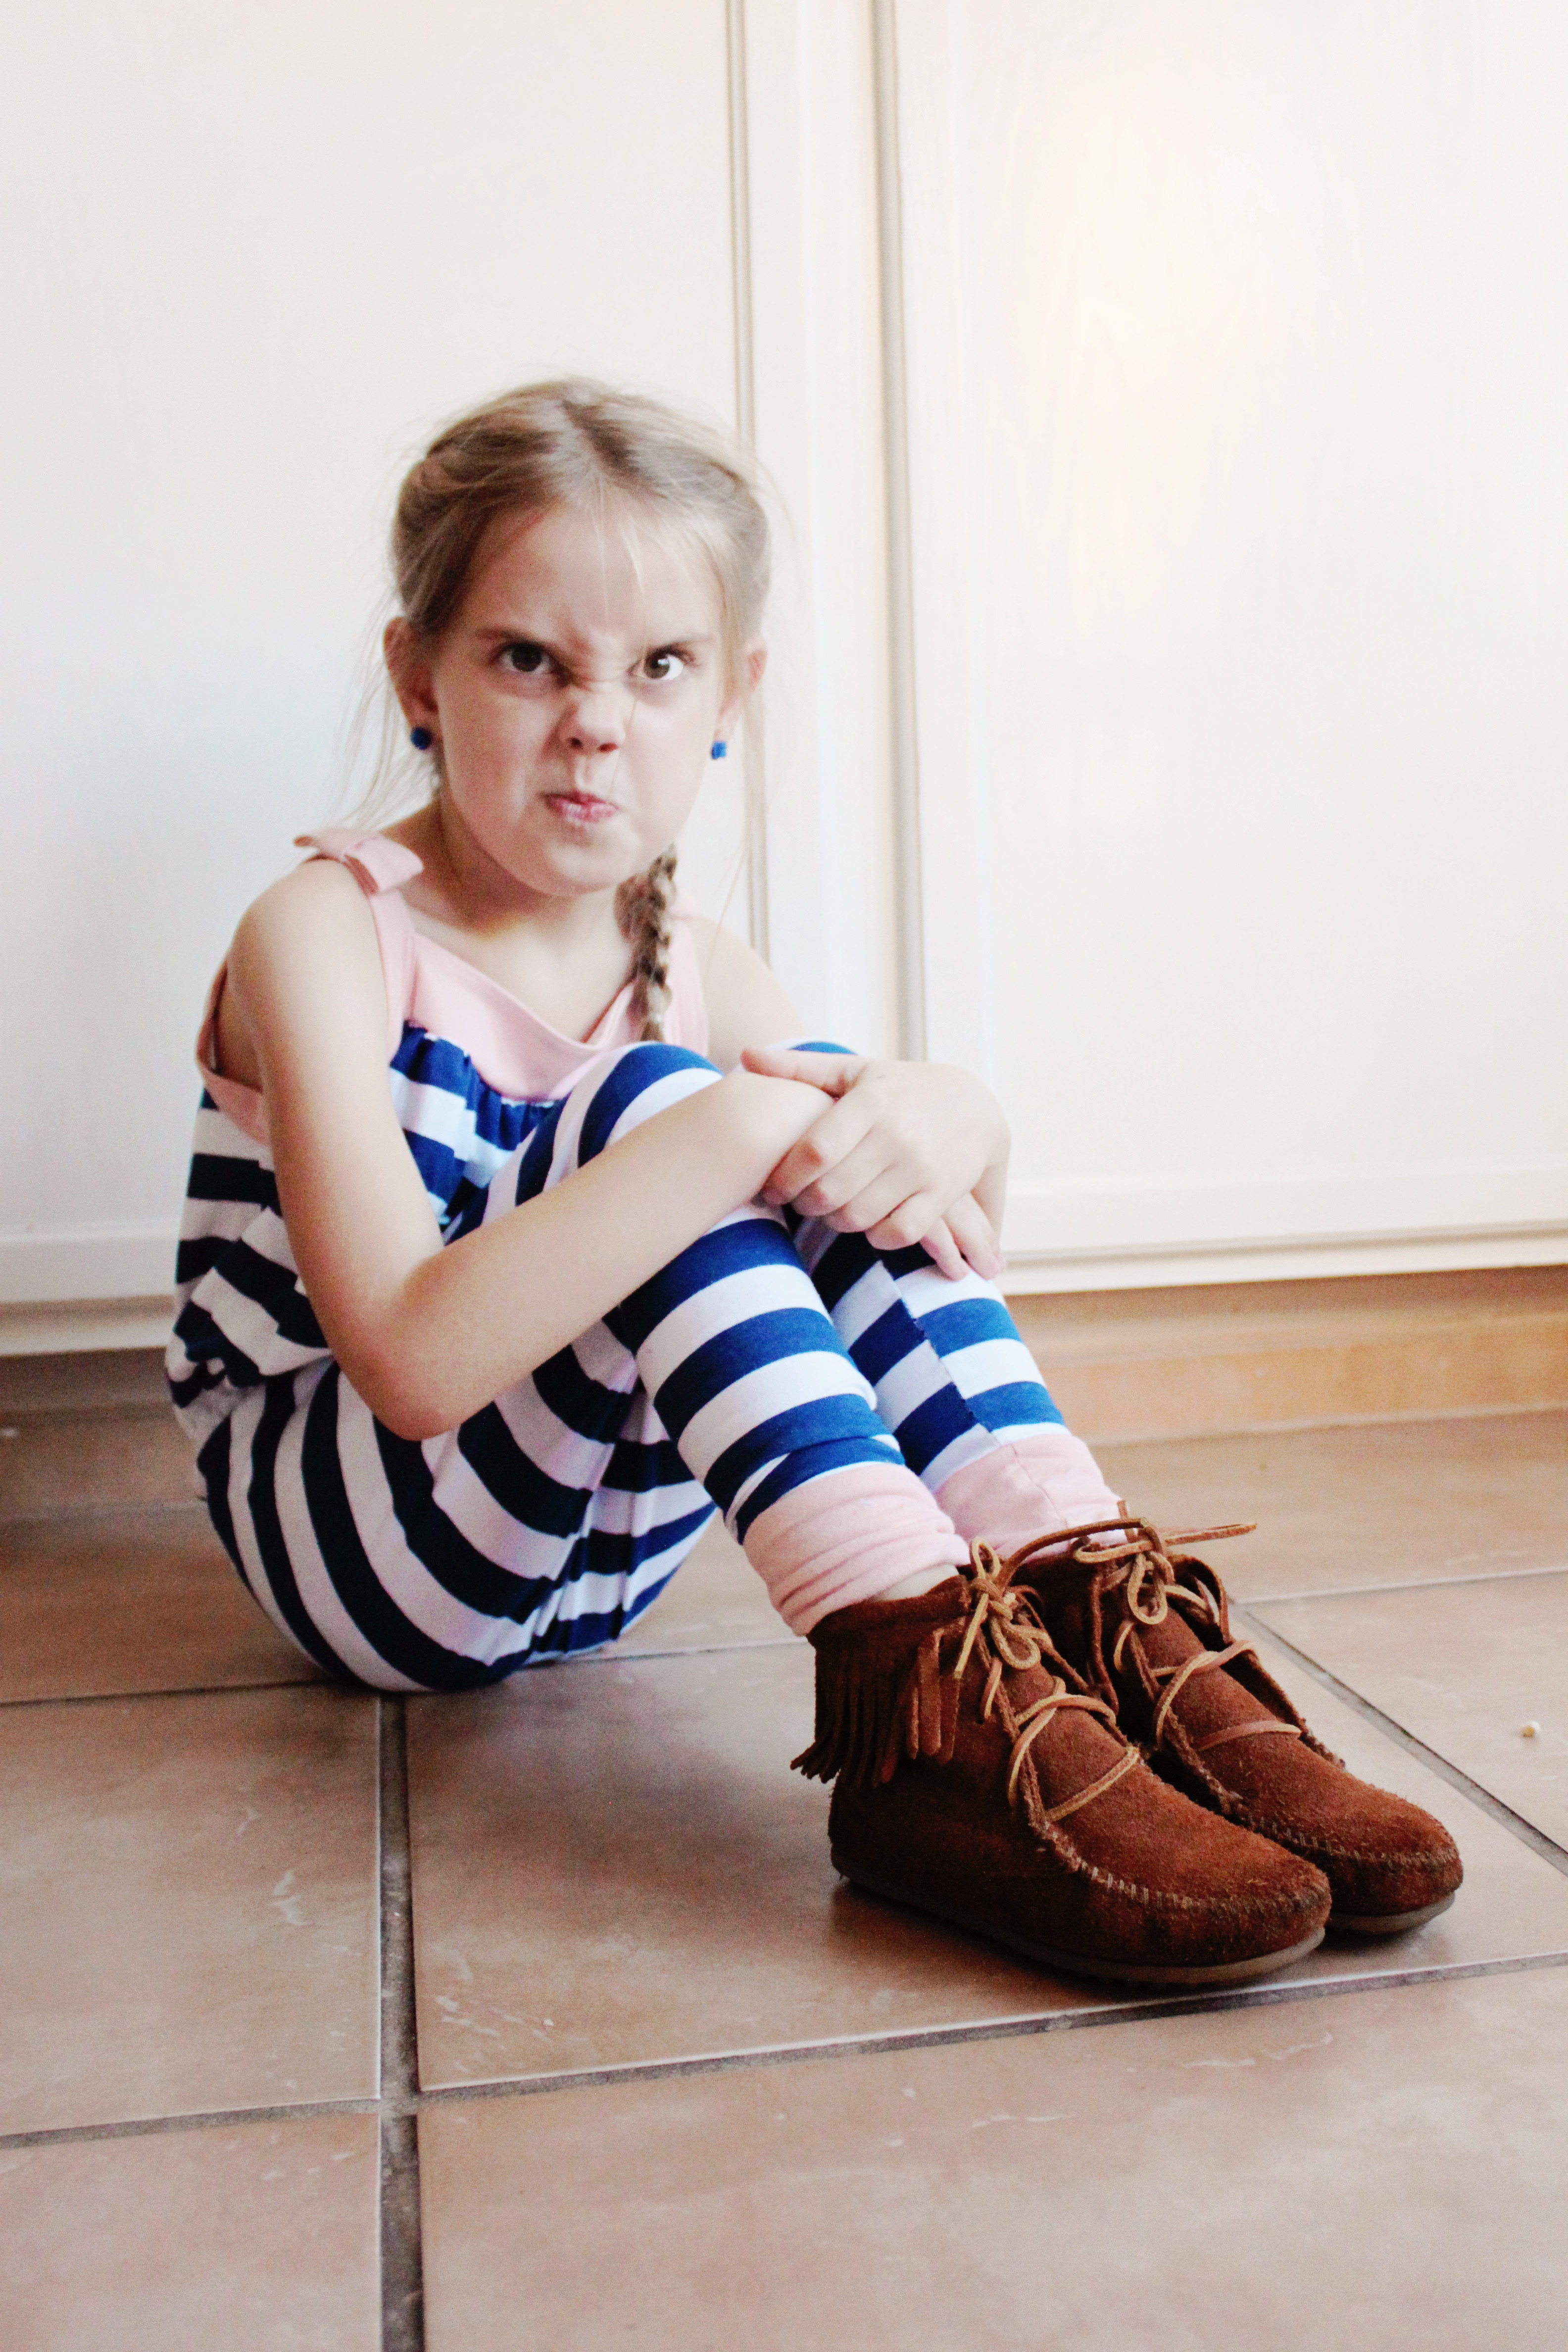
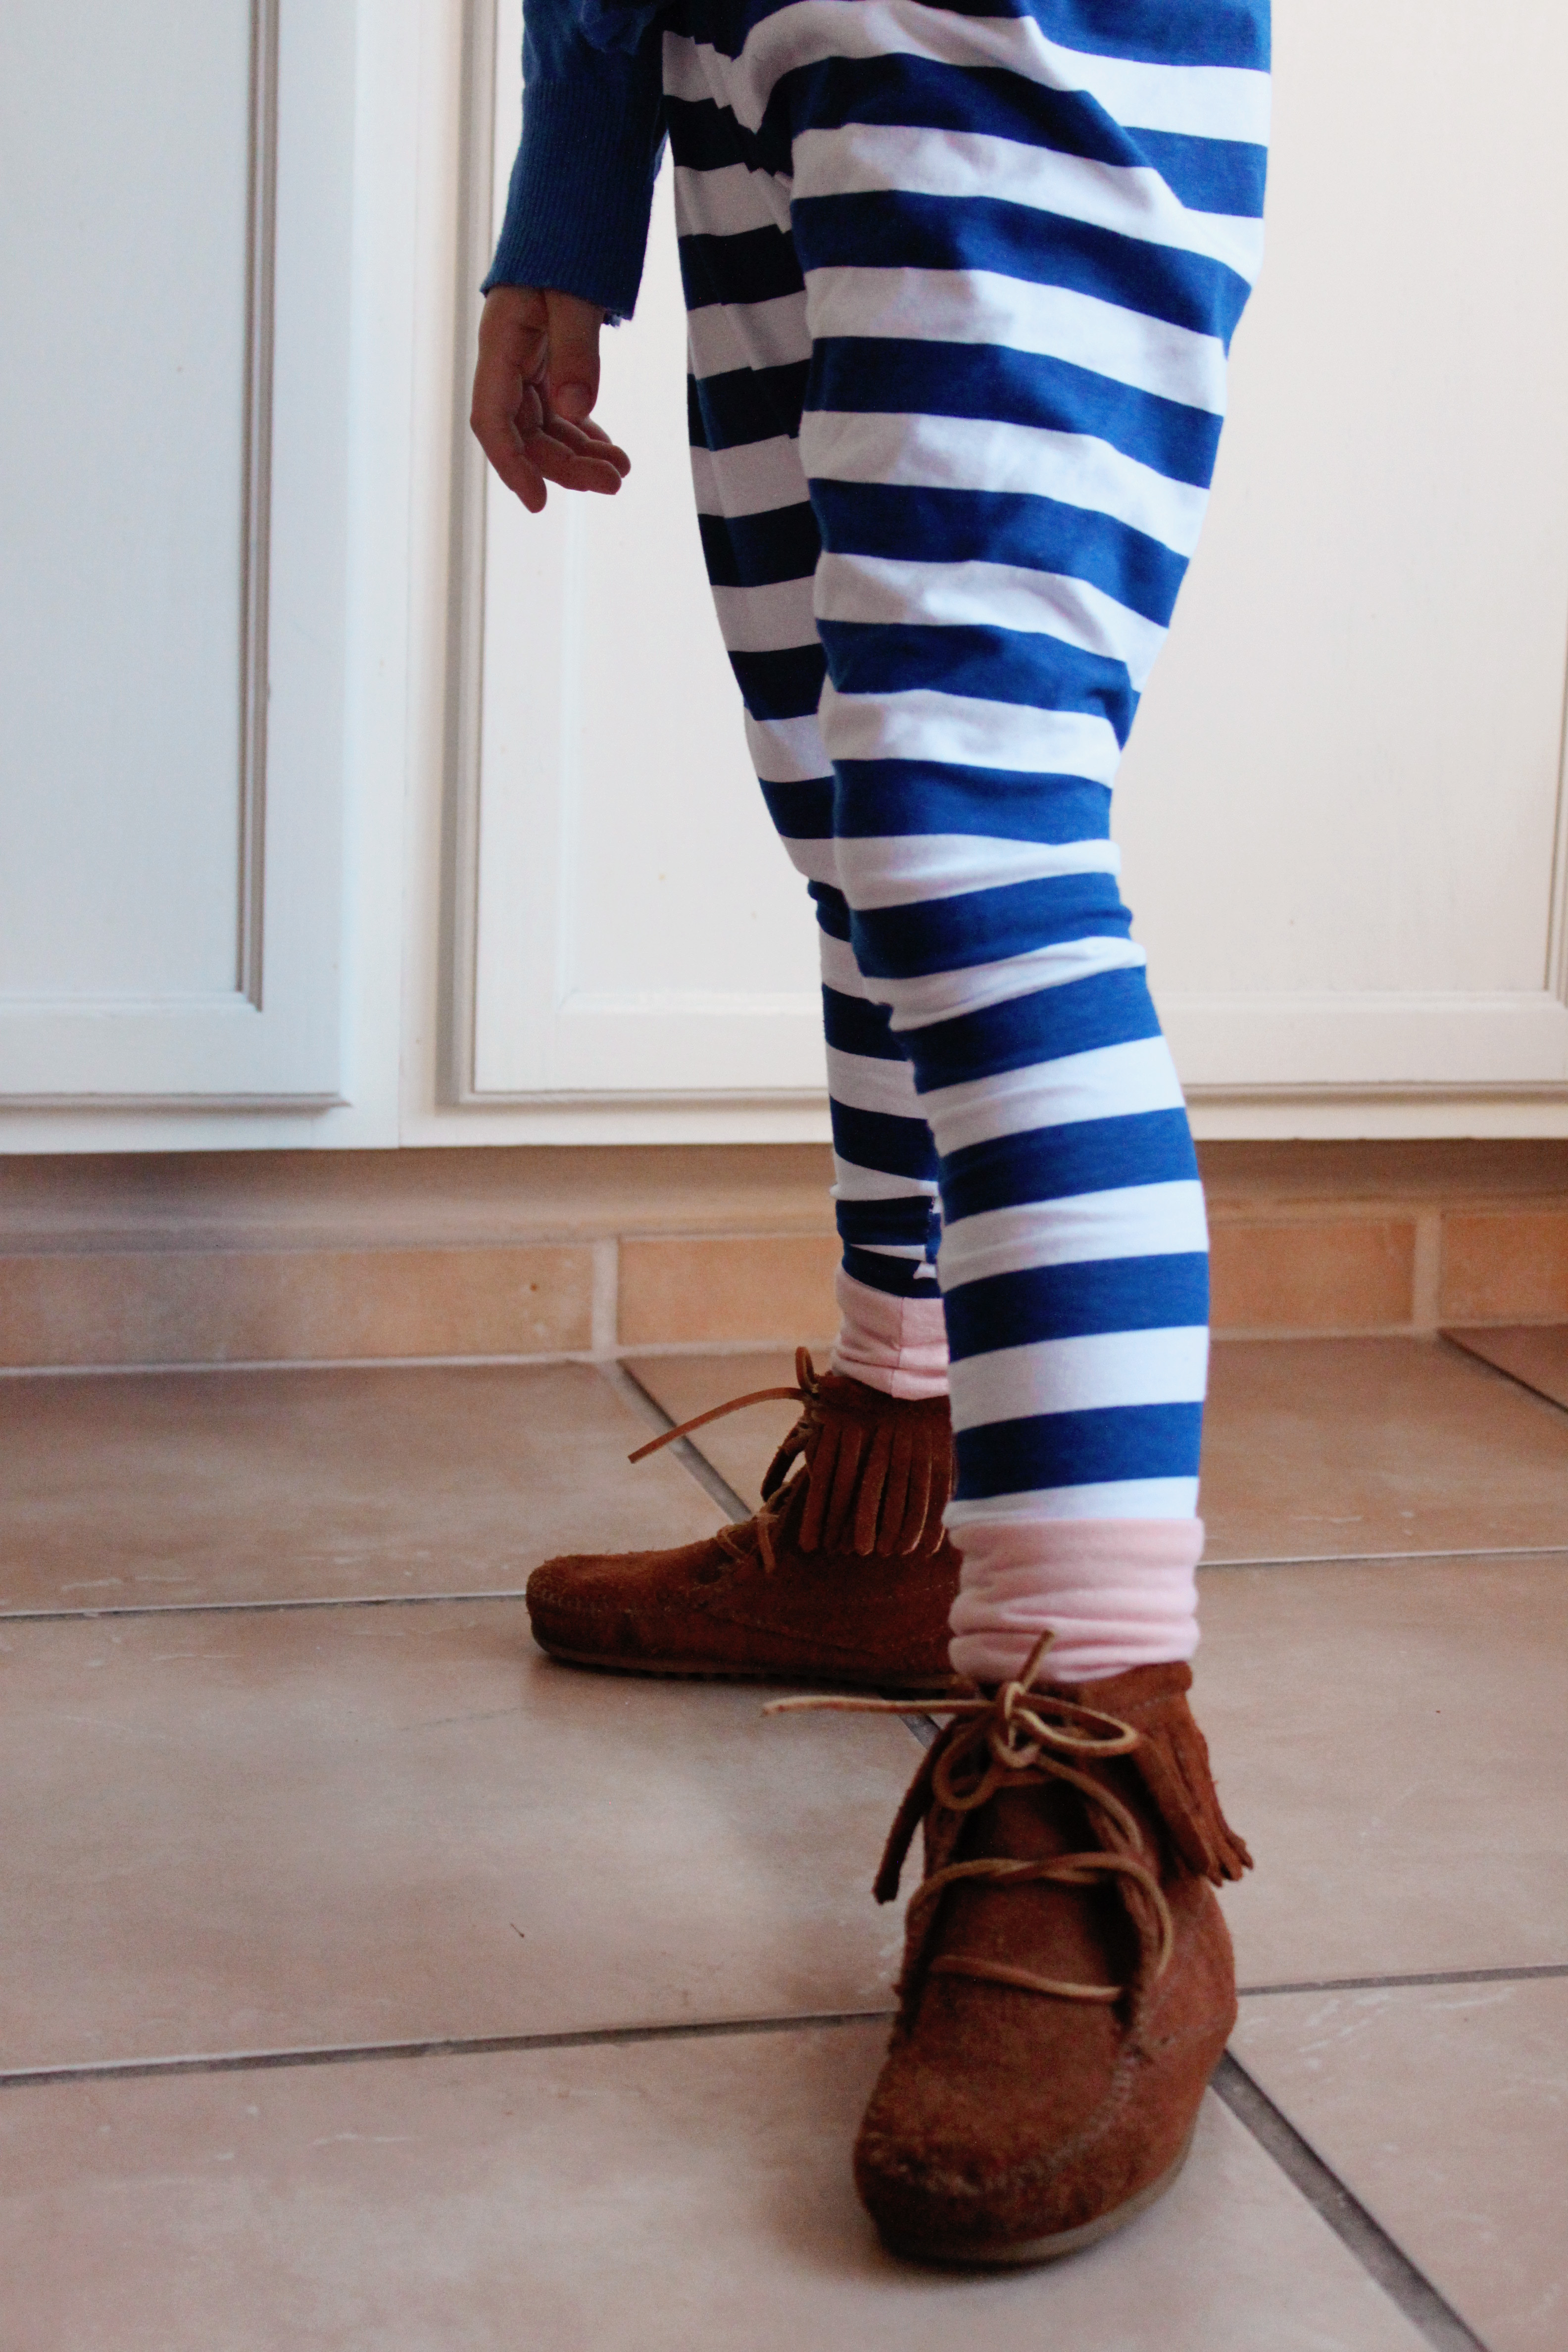
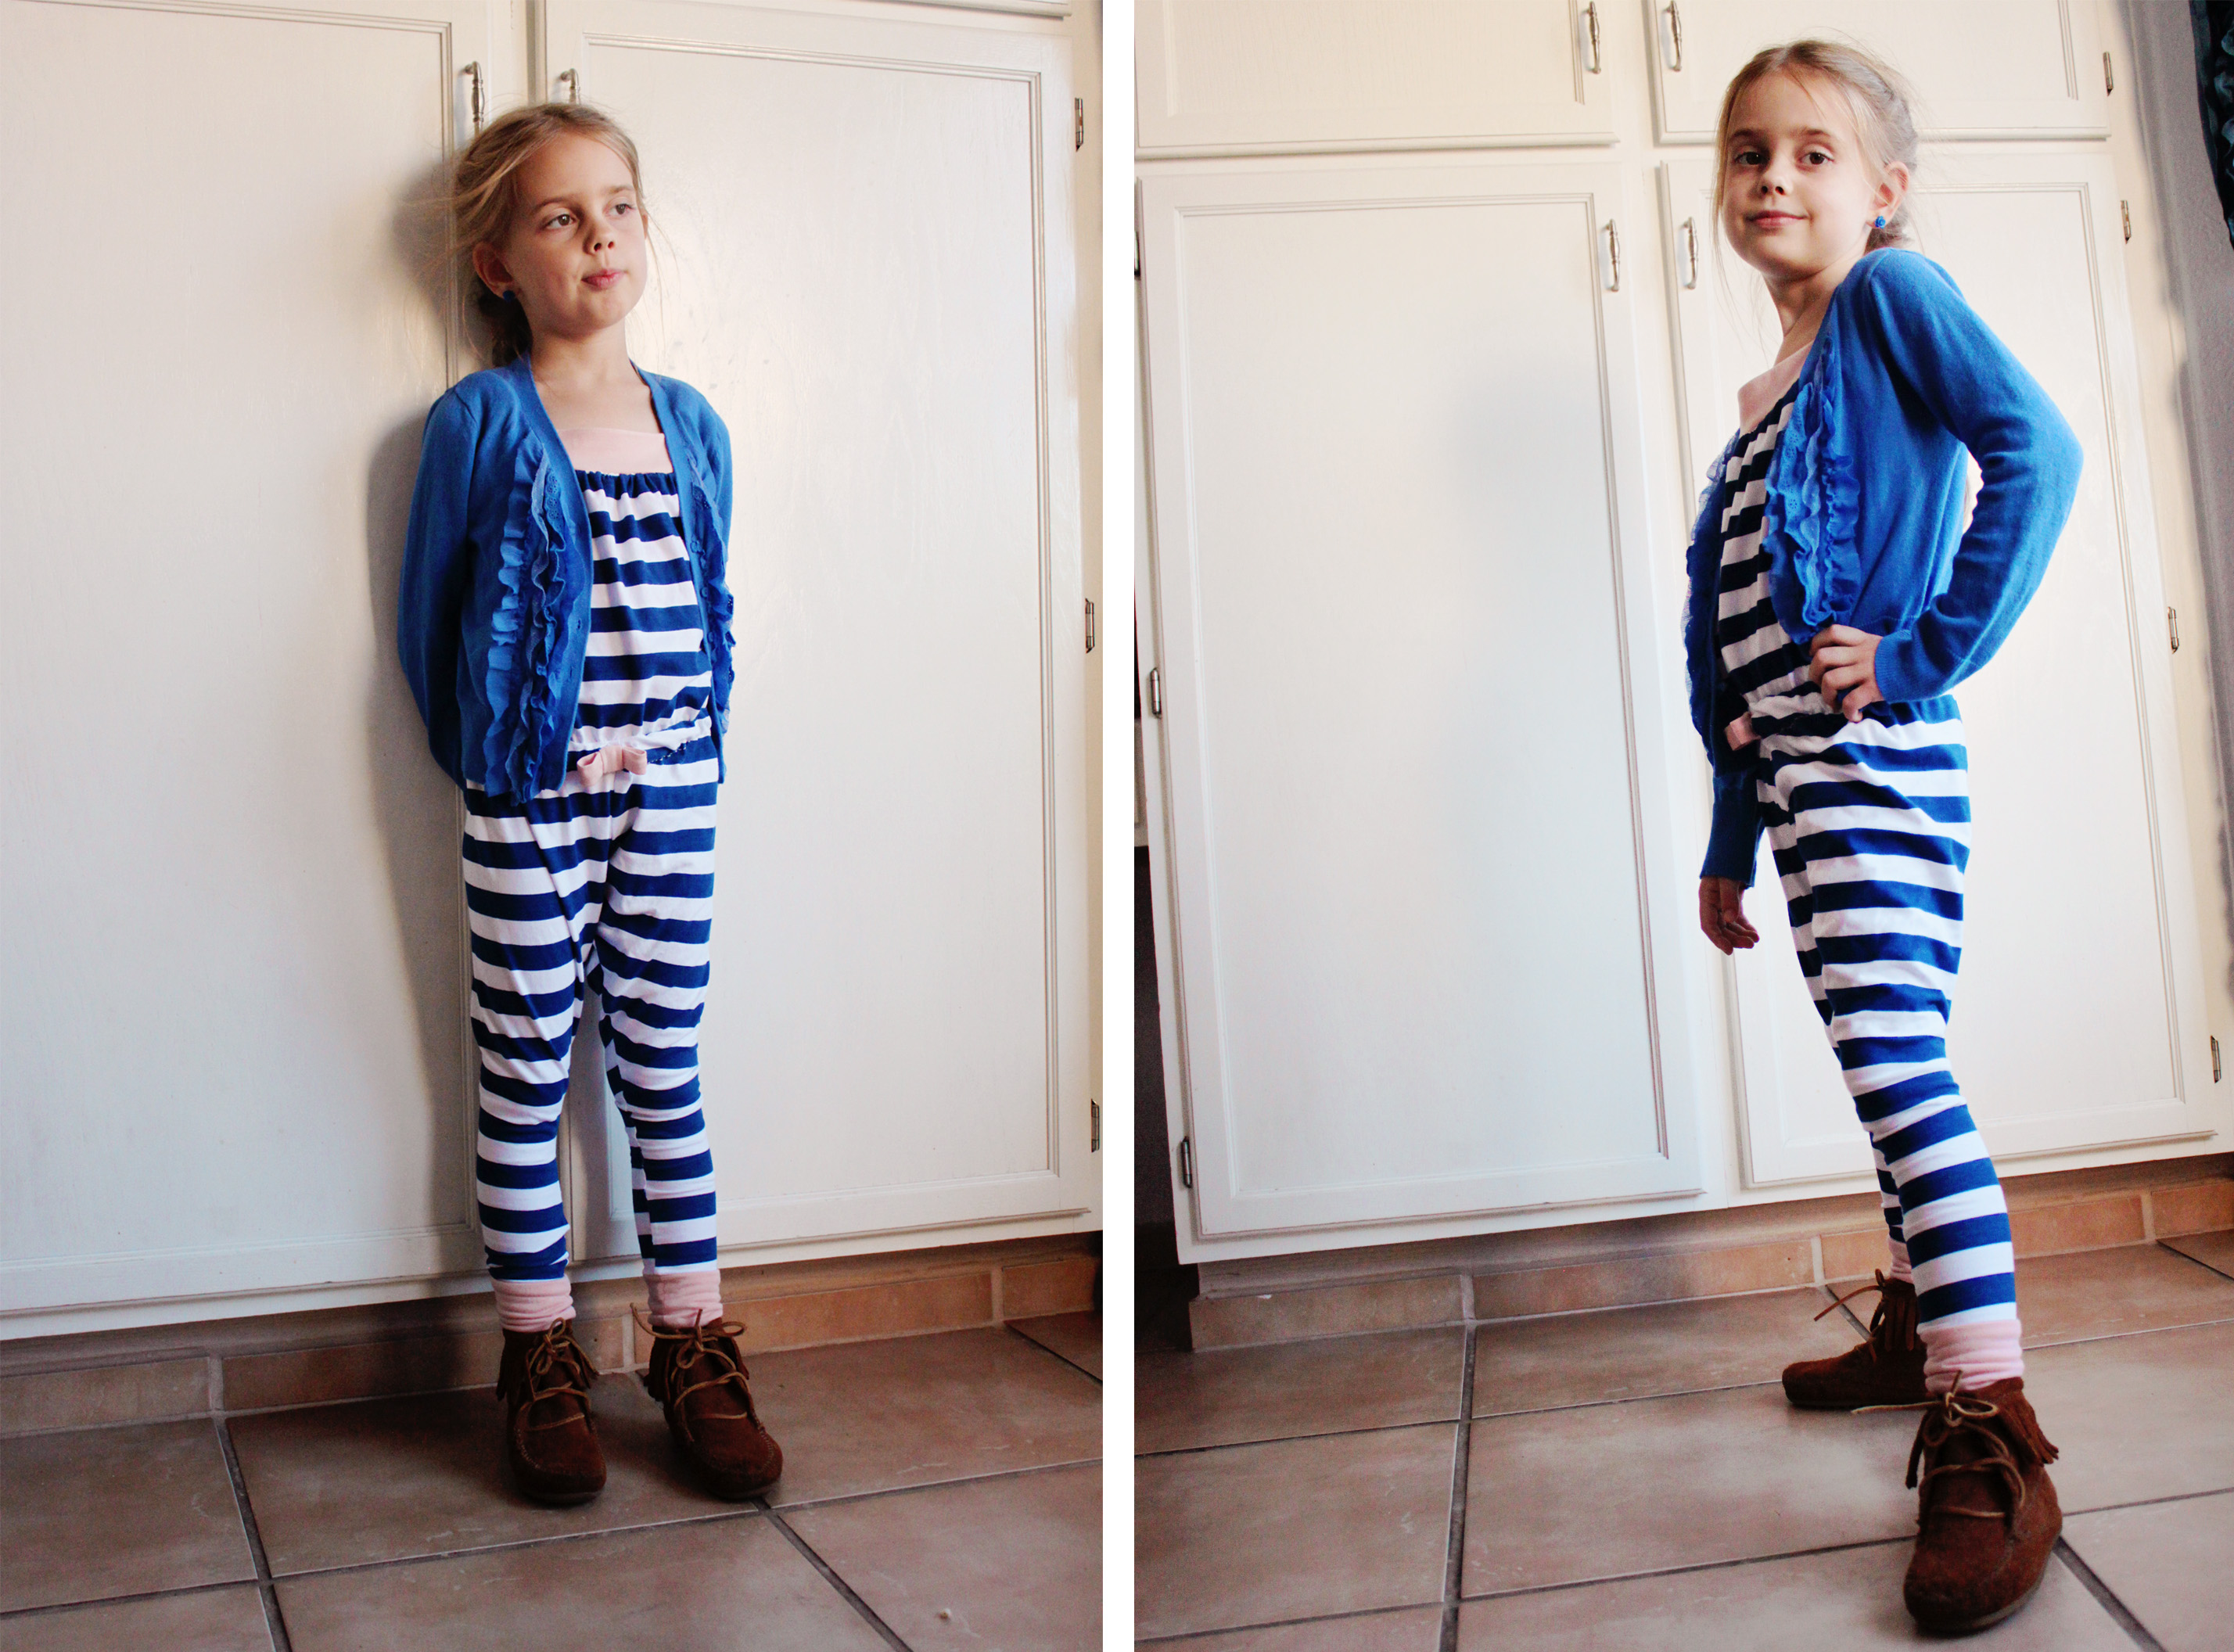
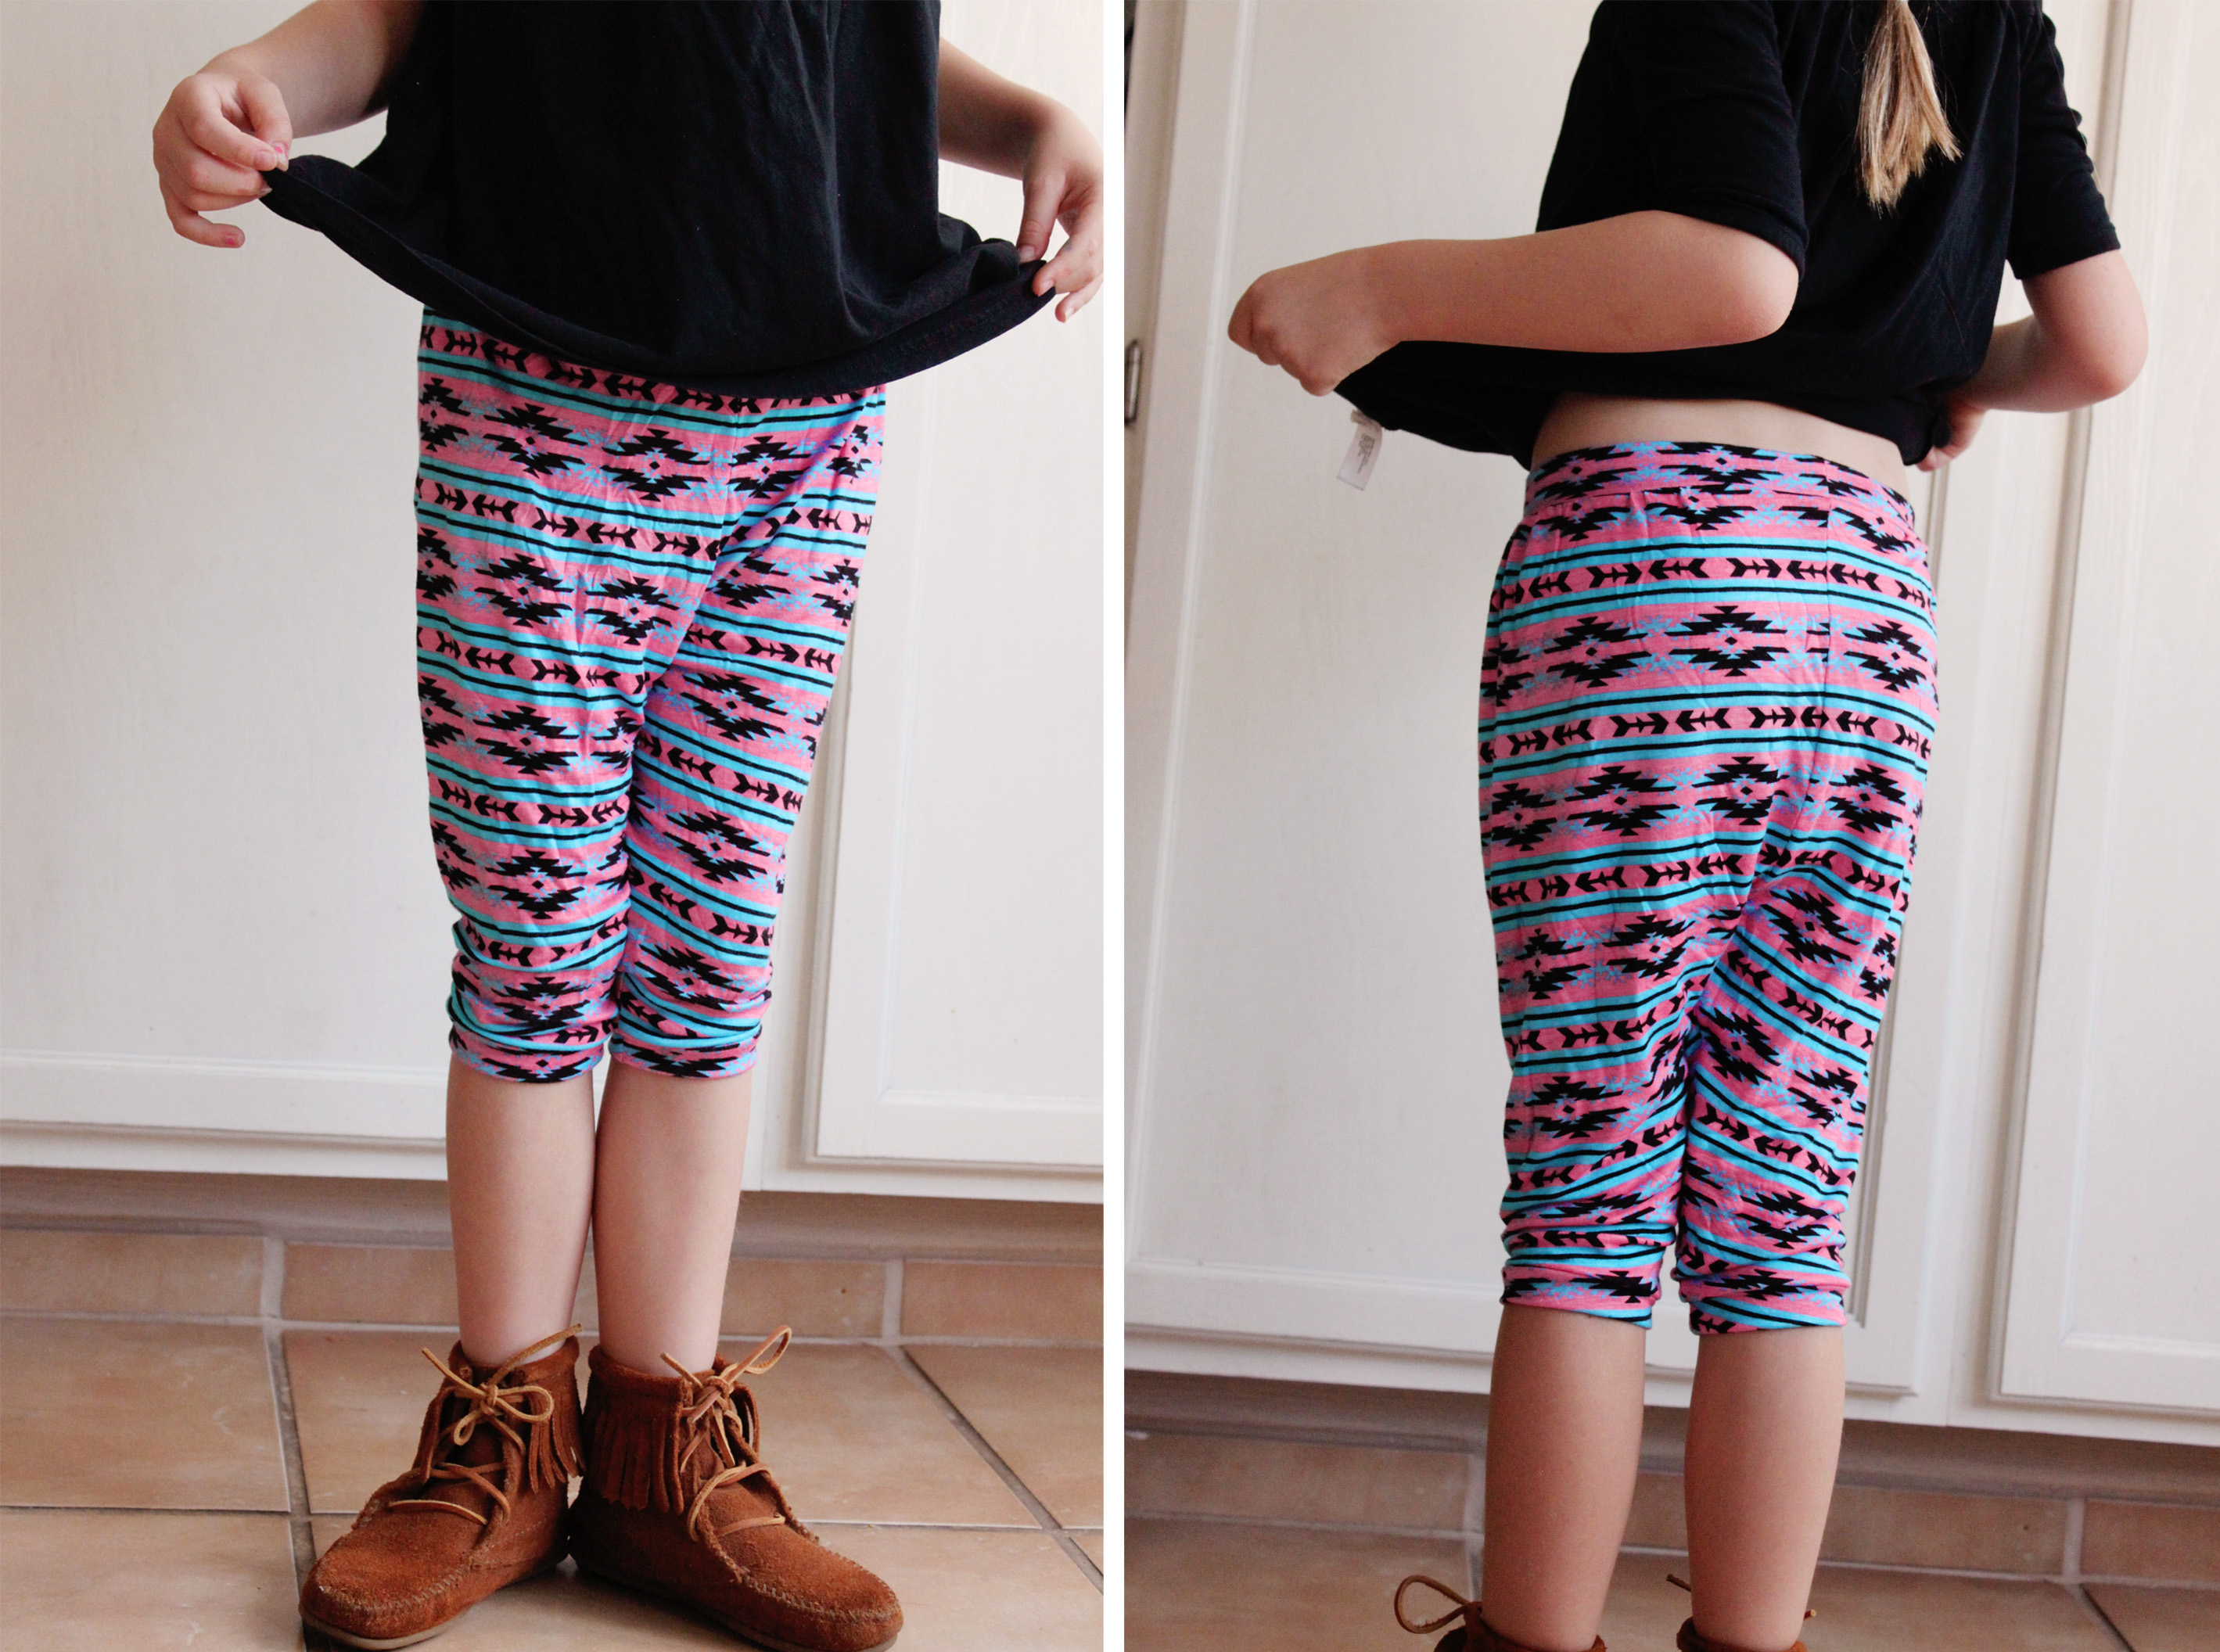
These harem pants are not very harem-y, I realize. They are definitely more slouchy around the crotch area than leggings though so I guess you could call them Comfy Pants or No-Wedgie Pants. Either way they are right down Drew's alley who is particularly sensitive about wedgies. I don't know why I cropped them above the calf. It was a last minute decision. I need to try making more No-Wedgie pants and tweak them a bit here and there.

If you'd like to try to make some yourself, see Mie's tutorial about altering leggings pattern to slouchy pants. I made my pattern almost exactly as she did.


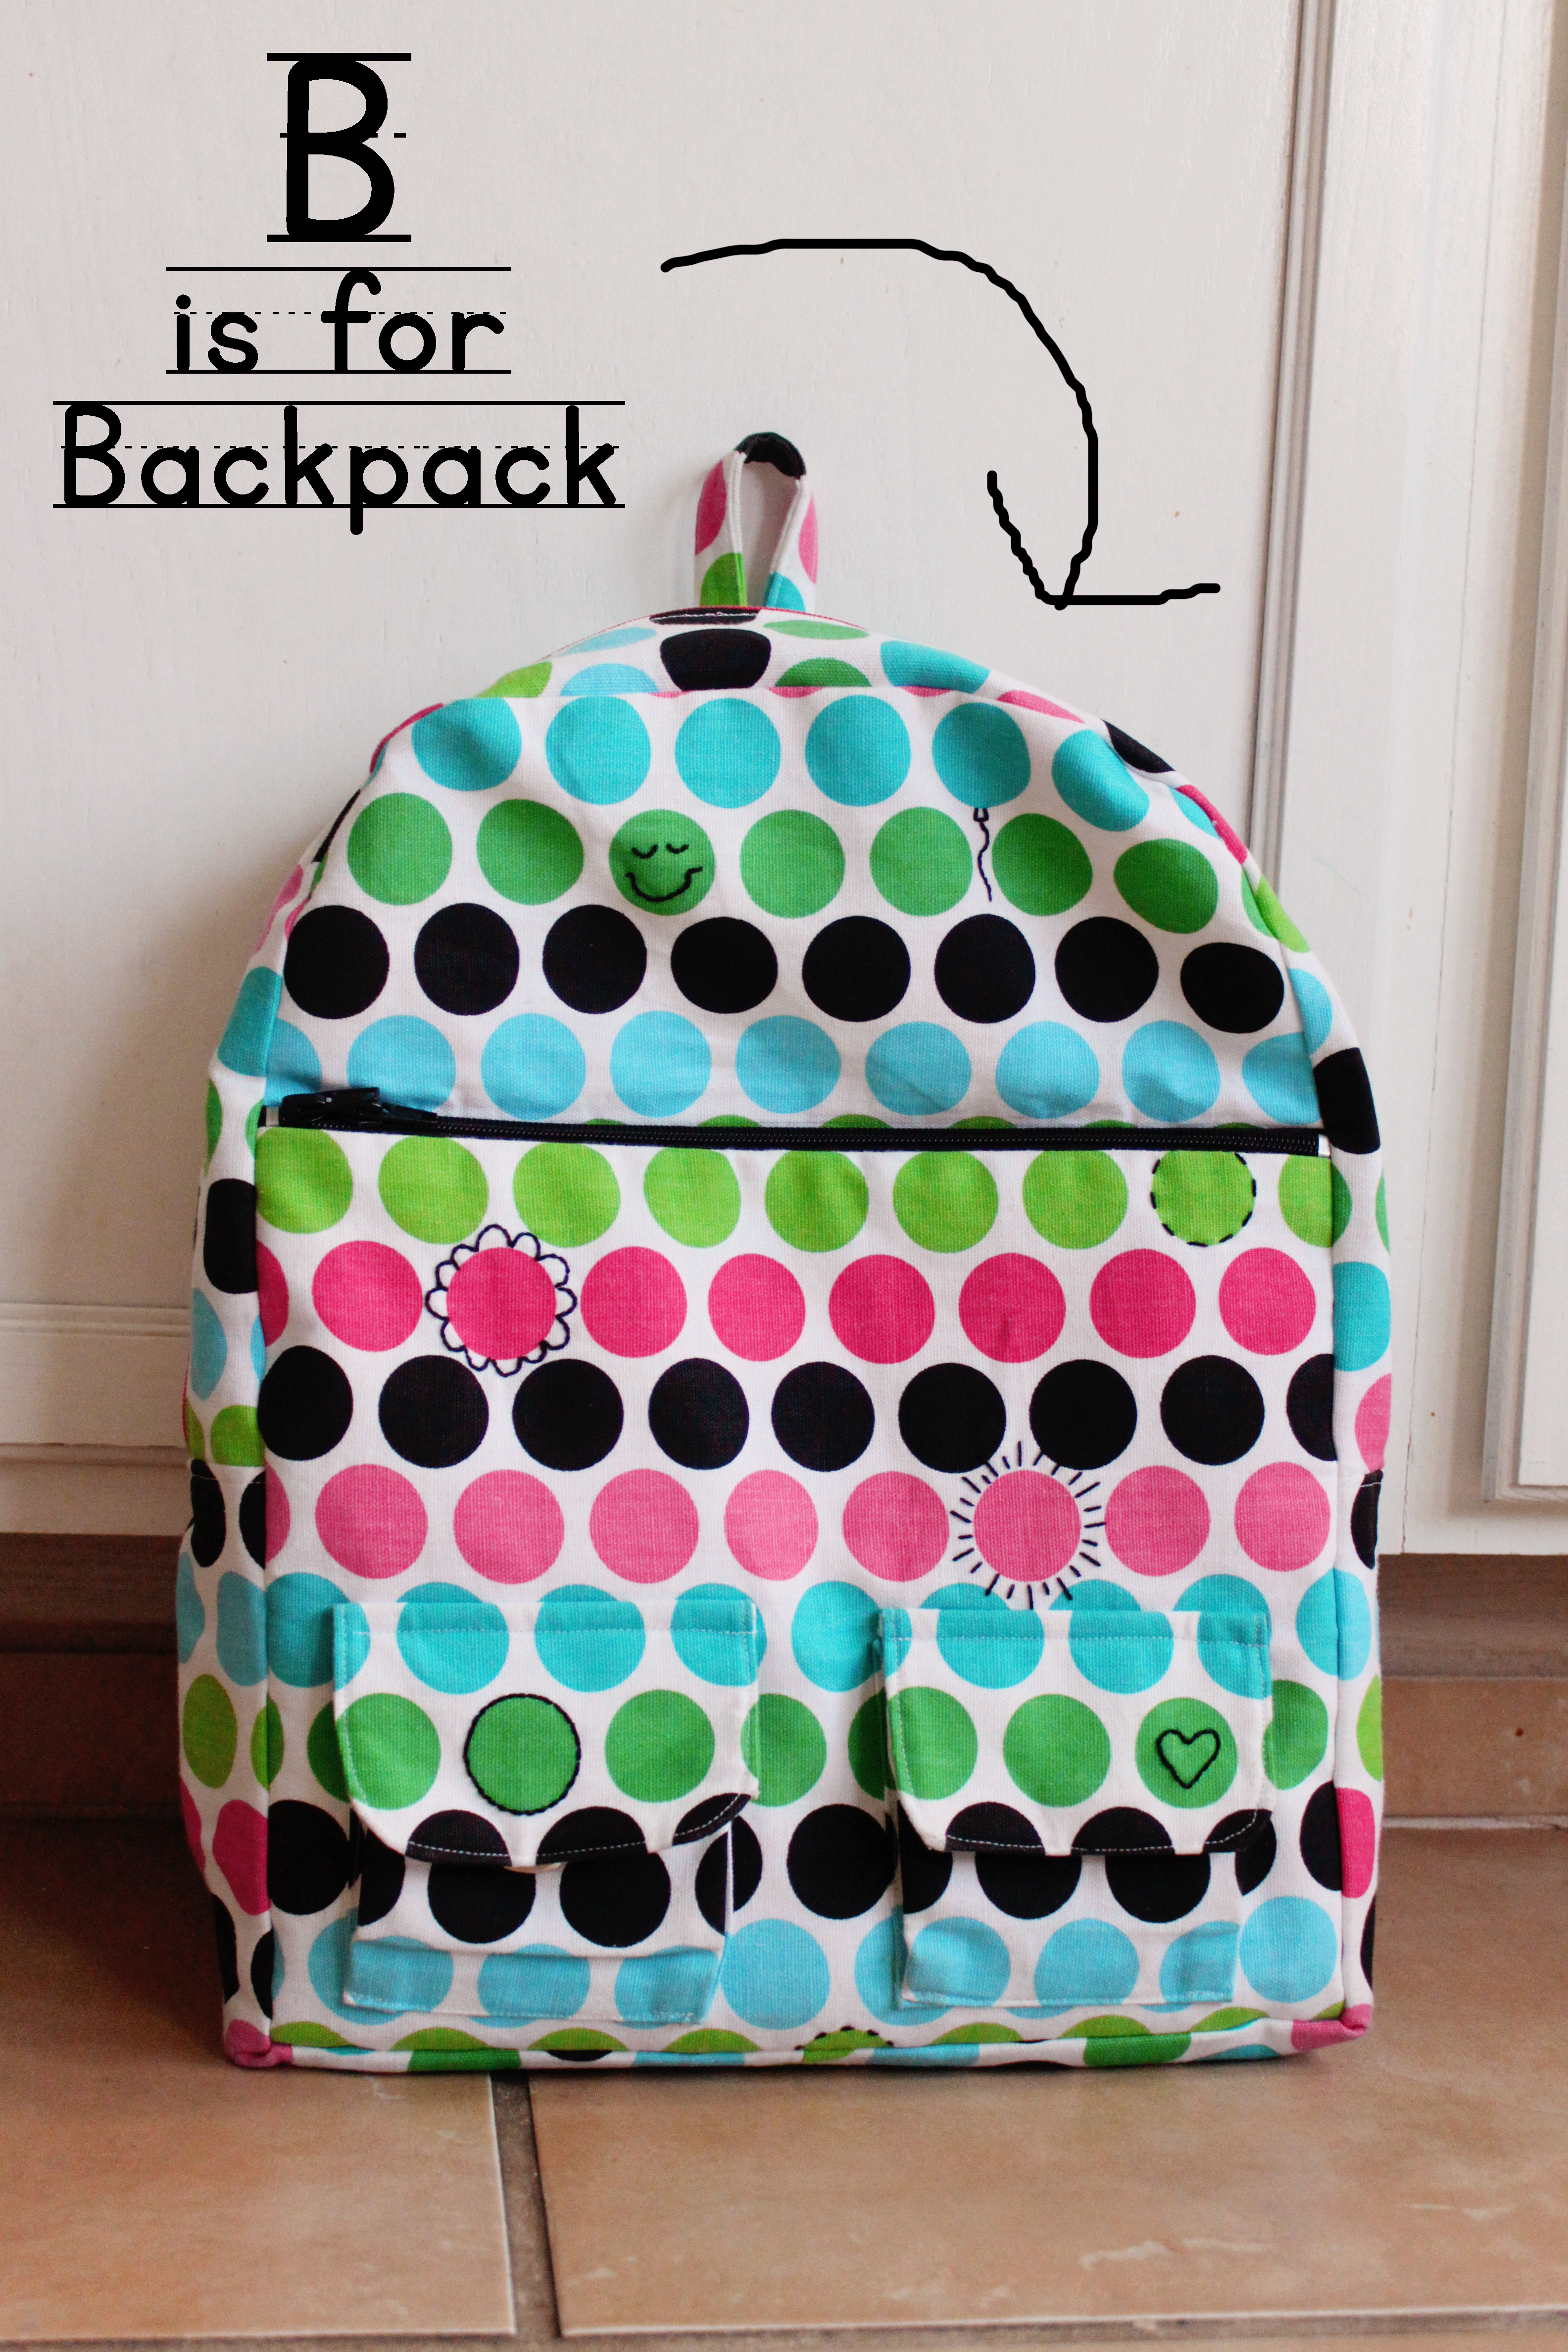
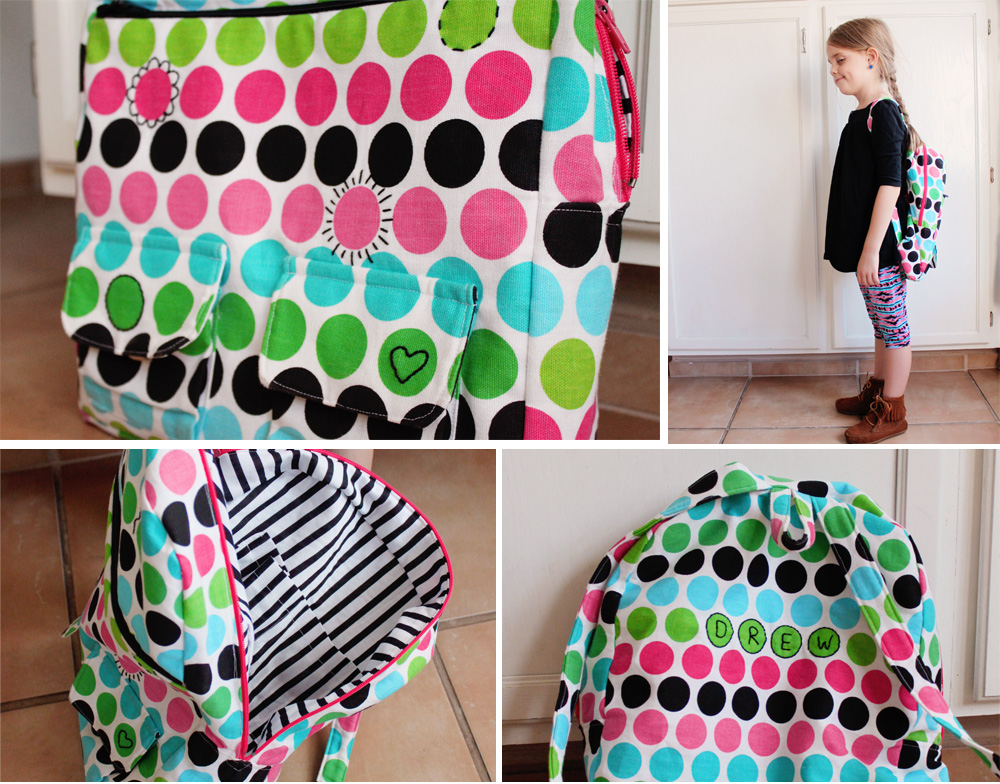
And lastly my piece de resistance. The backpack. I let Drew pick out the fabric and the style of pack she wanted. I altered the pattern quite a bit and spent hours putting this thing together. I even hand embroidered little extras to make it extra unique and special.


And then.

At meet the teacher night, the day before school started, I was told kindergarteners aren't allowed to bring backpacks to school! What? "They take up too much room. And we have these cheap plain totes for each child to use. And they cost $3."

So essentially, after making this awesome backpack I had to pay money for her to wear a plain yellow tote to school. Ah well. Maybe she will still like it for first grade?


Here is to new handmade clothes, new experiences, and a great school year!

Tuesday, April 16, 2013

Sequin Sparkle Easter Dress


Most of the time I am inspired first by a design then I think about the fabric second. But when I walked past this cream organza with flocked polka dots I had to have it and luckily Easter was around the corner and I had a purpose to use it for. Just bolts away from the flocked polka dots was a gold sequin overlay fabric that paired perfectly. The fabrics told me what they were to be made into.

{Nash is sort of covered up in the above photo only because I didn't sew his outfit, except for his tie. That doesn't mean that he isn't the most handsome sweetest little love of my life. Just that I don't really sew for boys, darn it.}


It's all about the collar. As a last minute thought, I used a metallic gold piping around the edges and it turned out to make all the difference. There are so many frustrations in designing and sewing that it is nice when something turns out just like you wanted it the first time you tried it. I think I kissed that collar after it was sewn in.


I also scored these cute mint and gold shoes from H&M (to match the brother's shirt) and a cream tutu underskirt on clearance for $2.50 that was exactly what the dress needed. You can see it peeking under the dress and I could kiss it too.


I tried to keep the design simple on purpose but did add a couple details like the exposed metallic zipper in back and the button closings on the back of the sleeve cuffs.


Hey even Bunny got a matching dress for Easter. I thought about making hers with the collar, but then I thought no. There are more crucial things in life than sewing collars for stuffed bunnies.


And not only did Drew's Easter dress come together so smoothly, but my kids actually loved eachother when I was trying to take pictures of them. I'm glad I documented this early because on actual Easter morning when I tried to get pictures before church, things were not so friendly.


And just for fun...


It was last year's Easter dress that voted me into the Project Run & Play competition! I love that dress although I think she only wore it once or twice. She decided to grow super tall and make that short dress a little inappropriate for church.

Stop growing up!